Roles
Bundle permissions into roles such as "Packer" or "Warehouse manager" and assign them to your employees.
A role – in X-Sitter called permission group (Rechtegruppe) – bundles permissions under one name, for example "Packer", "Picker" or "Warehouse manager". Instead of ticking dozens of permissions for every new employee, you assign the role once. If you change the role later, all employees with this role get the new permissions.
Before you start
- Your user needs the permission for roles in Company Settings. Ask your administrator.
- You can only put permissions into a role that you have yourself.
Step by step
Create a role
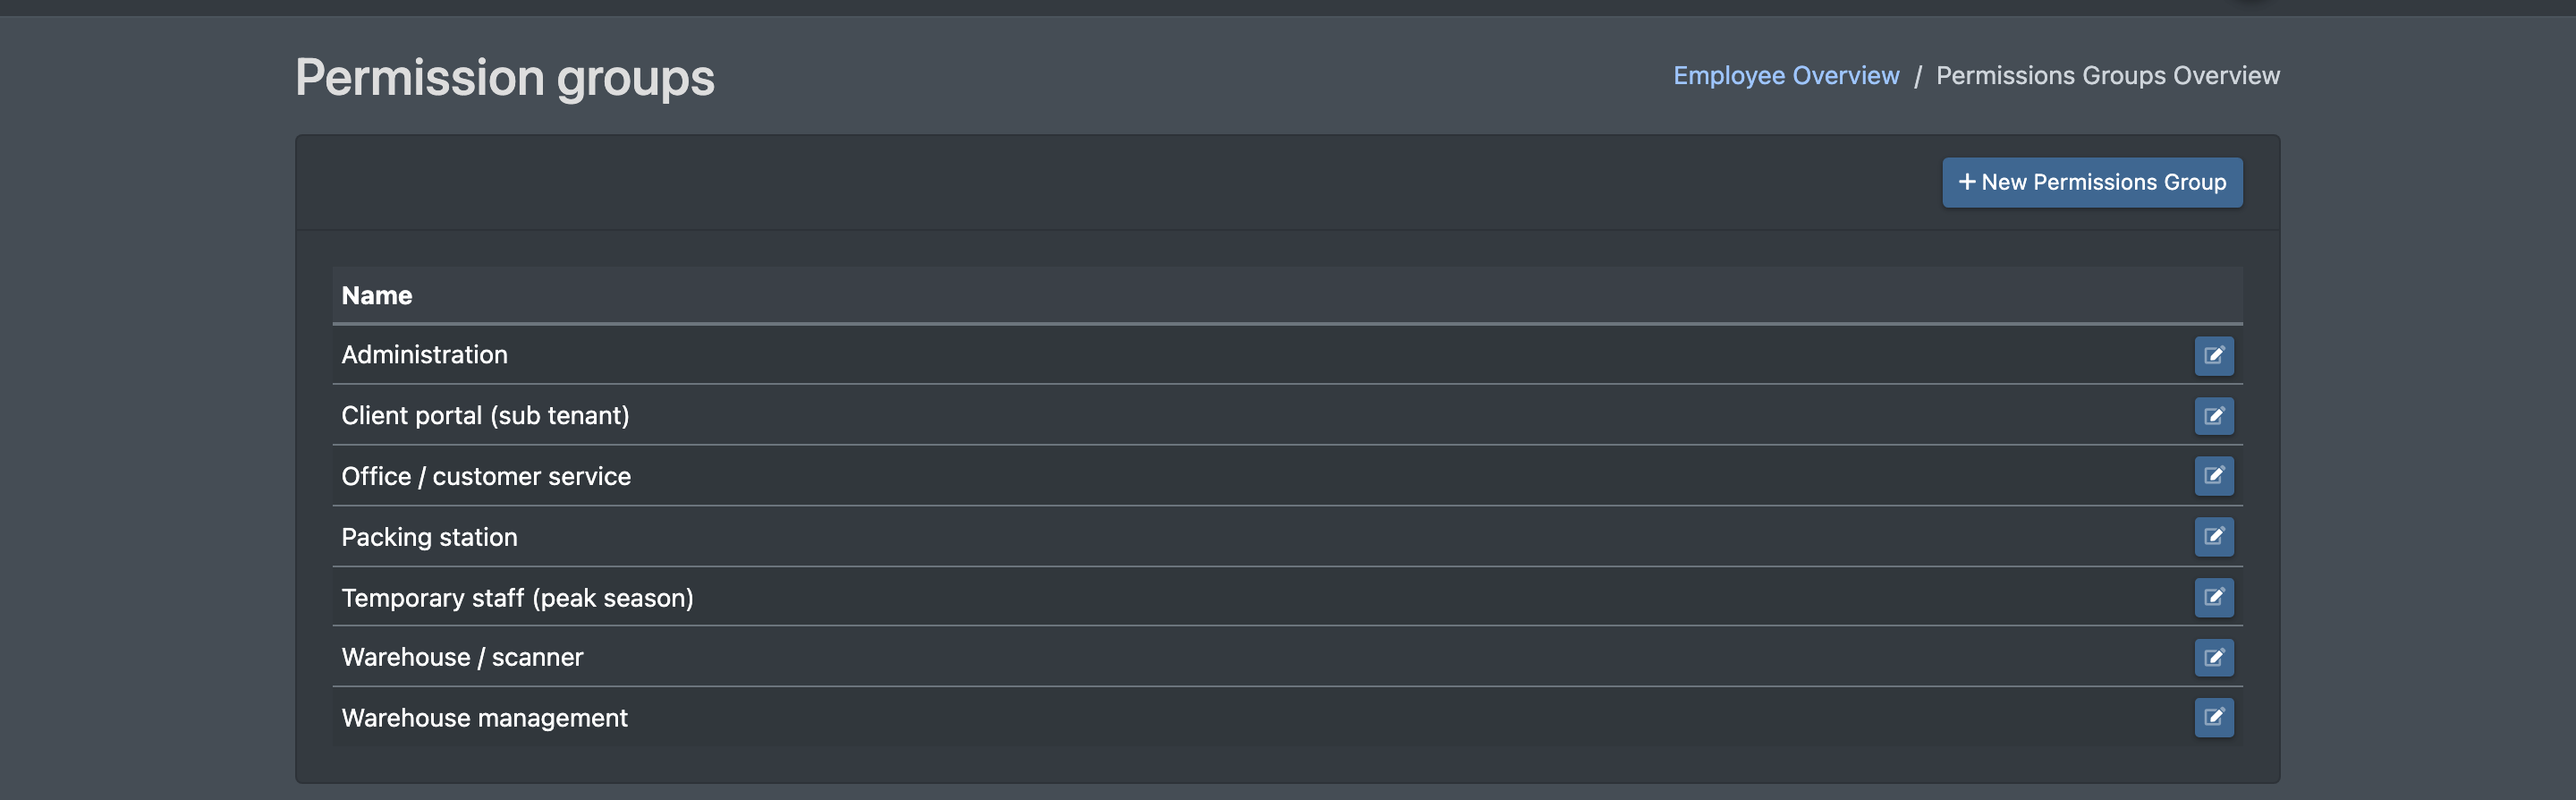
- Open Company Settings › Manage Roles (Firmen Einstellungen › Rollen verwalten). You can also get there from the Employees list with the button Manage Roles. You see the Permissions Groups Overview (Rechtegruppen Übersicht).
- Click New Permissions Group (Neue Rechtegruppe).
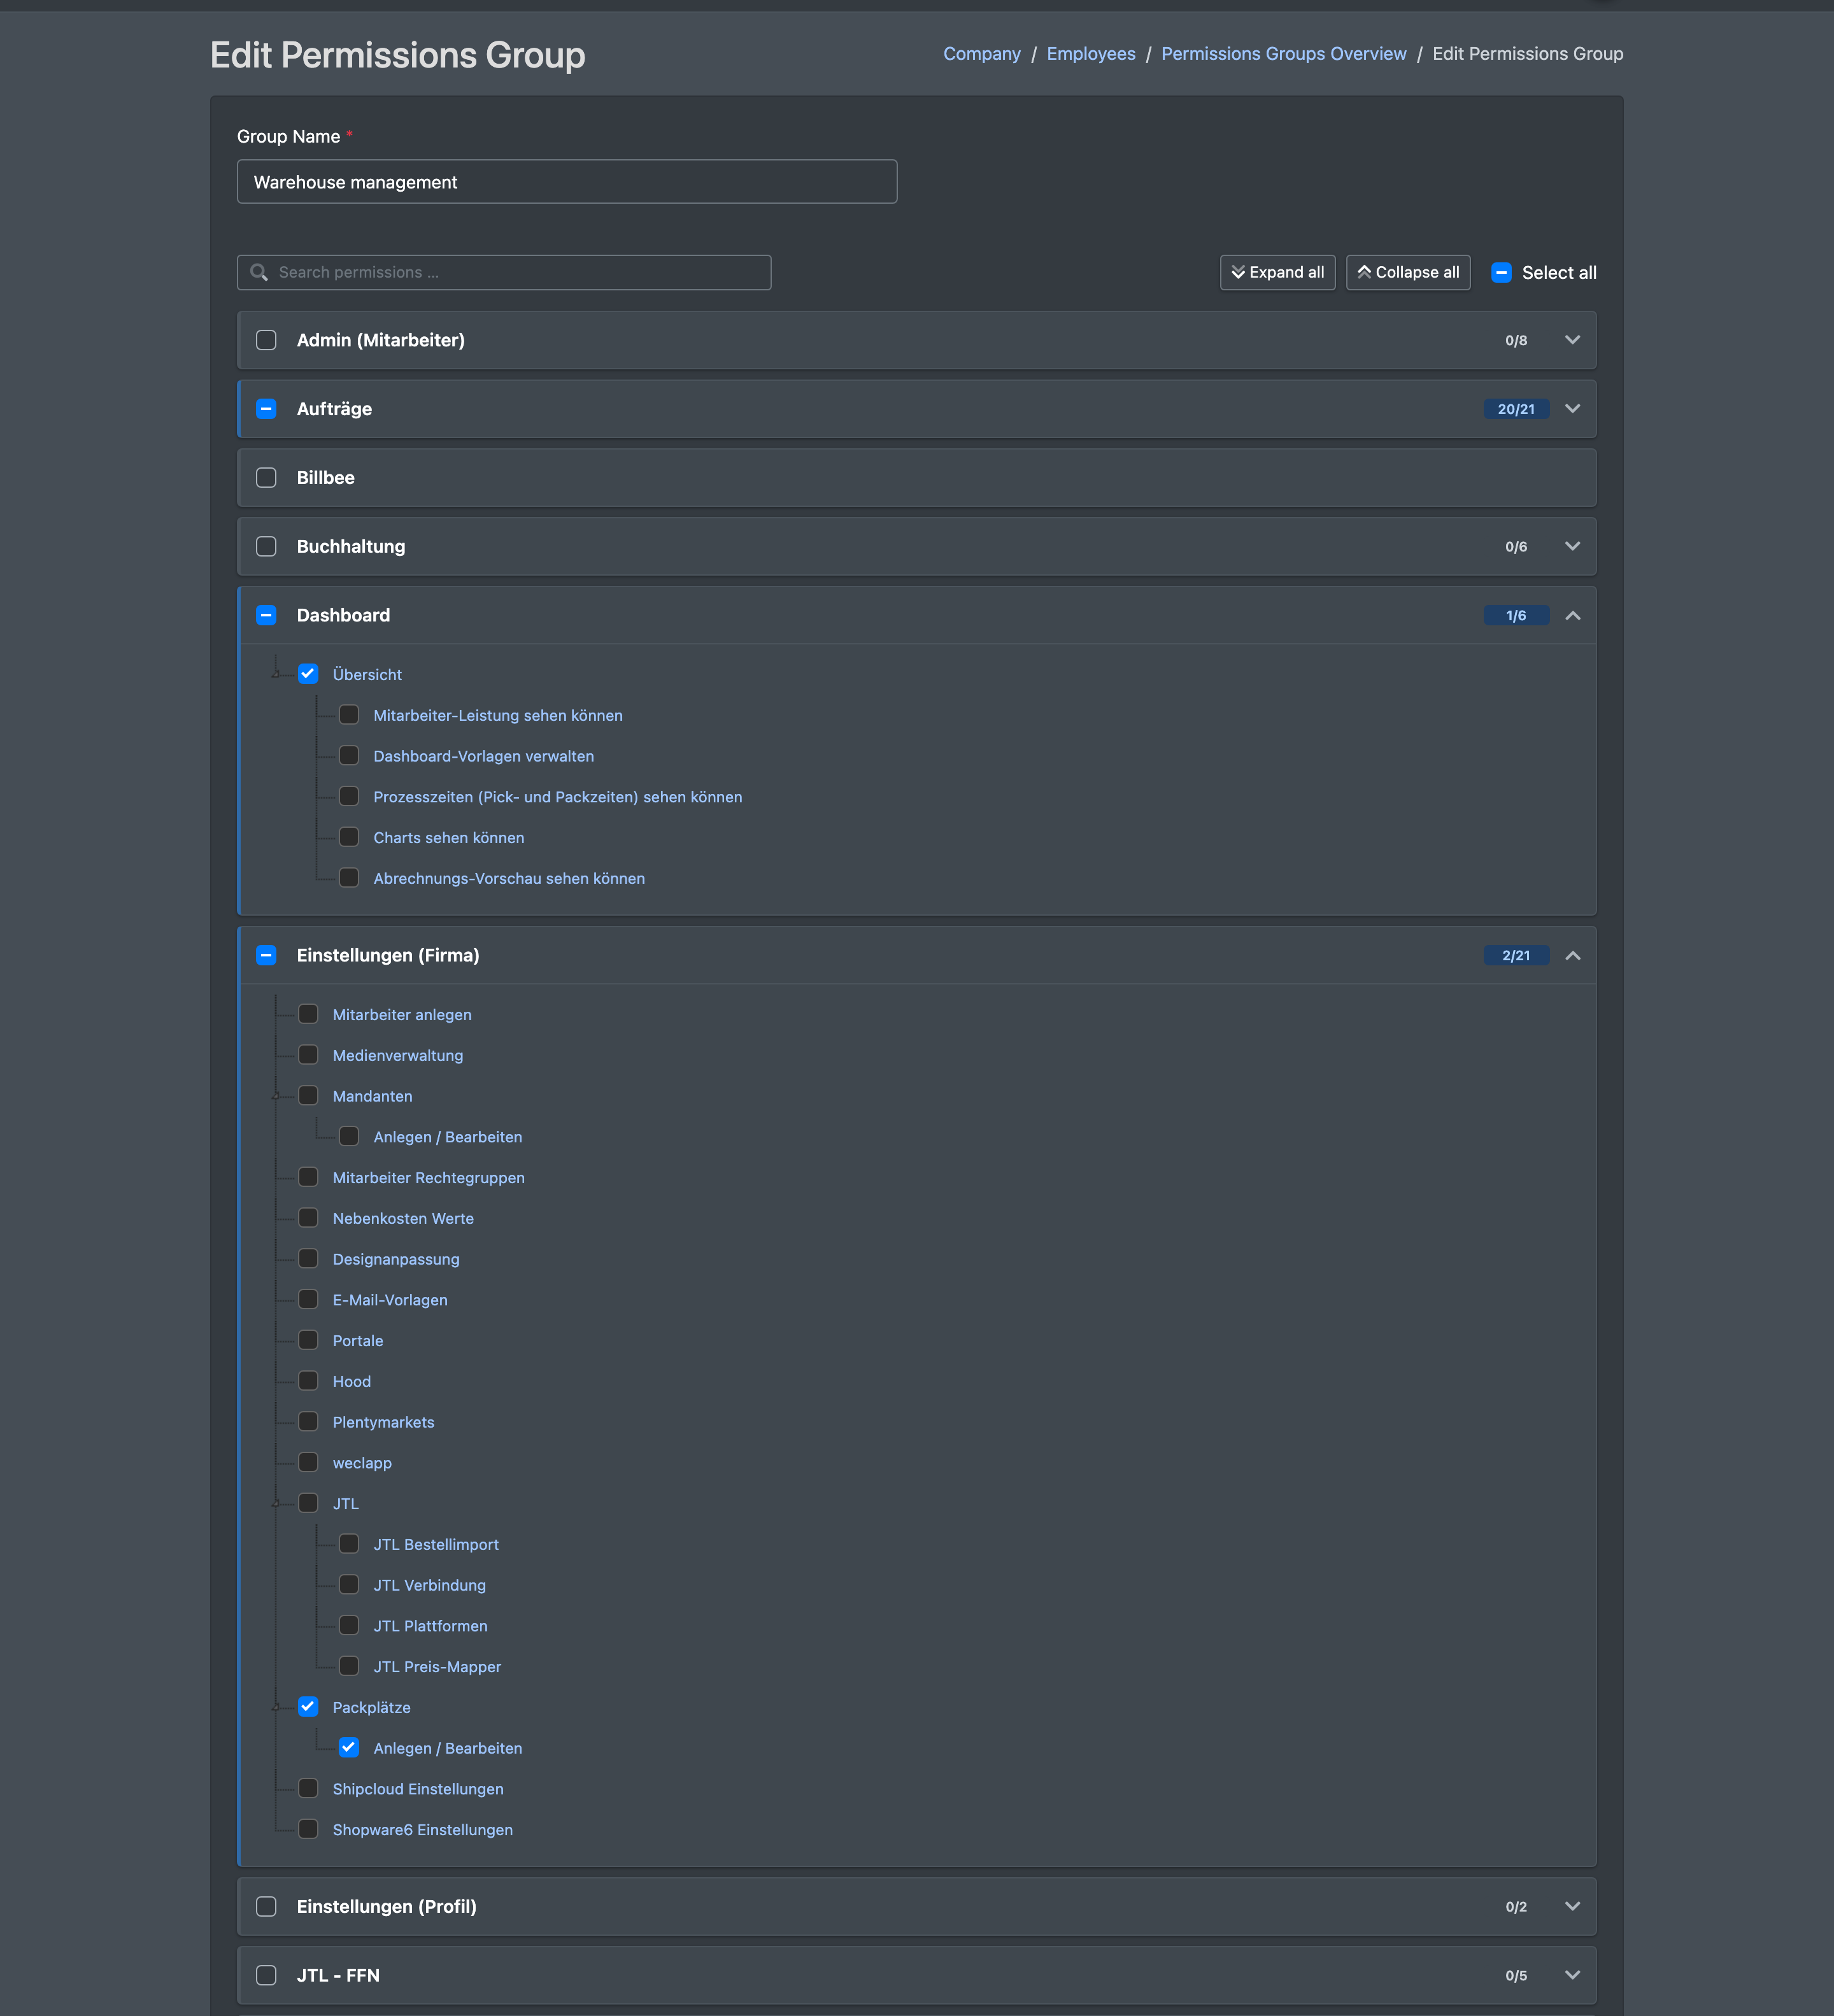
- Enter a Group Name (Name der Gruppe), e.g. "Packer".
- Tick the permissions in the tree. Use the search field, Expand all / Collapse all (Alle aufklappen / Alle zuklappen) or Select all (Alle markieren).
- Click Save (Speichern). You see "The rights group has been saved!".
Edit a role
- In the overview, click Edit group (Gruppe bearbeiten) next to the role.
- Change the name or the ticked permissions.
- Click Save.
The permissions of the role are replaced completely with what is ticked when you save. Employees with this role get the new permissions the next time they log in.
Delete a role
- In the overview, click the delete button next to the role.
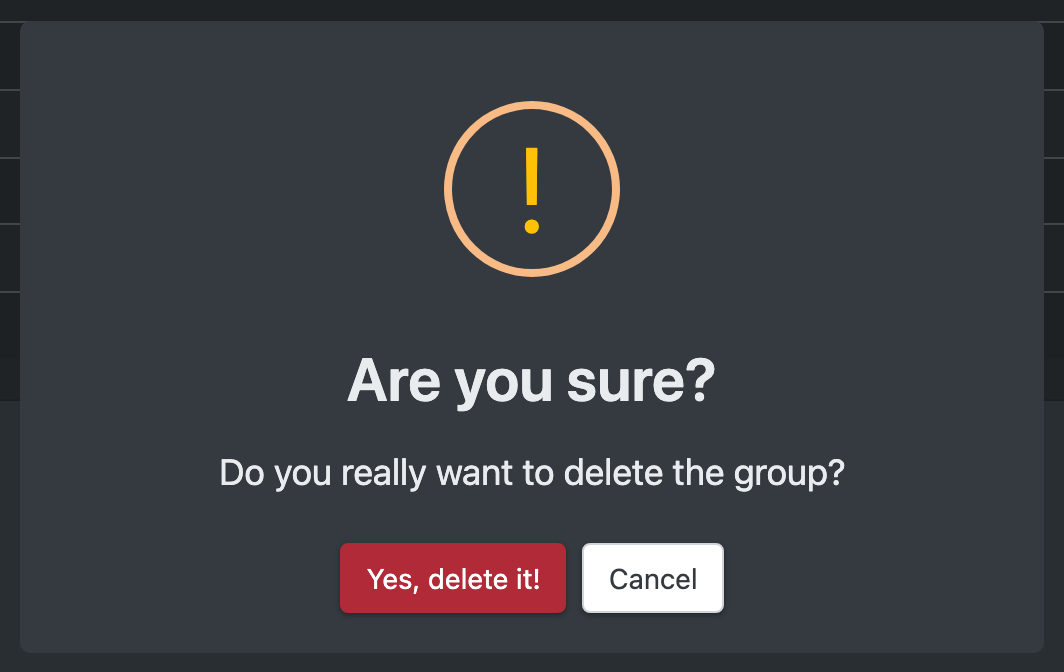
- Confirm the question "Do you really want to delete the group?" (Gruppe wirklich löschen?).
- You see "The rights group has been removed".
Assign a role to an employee
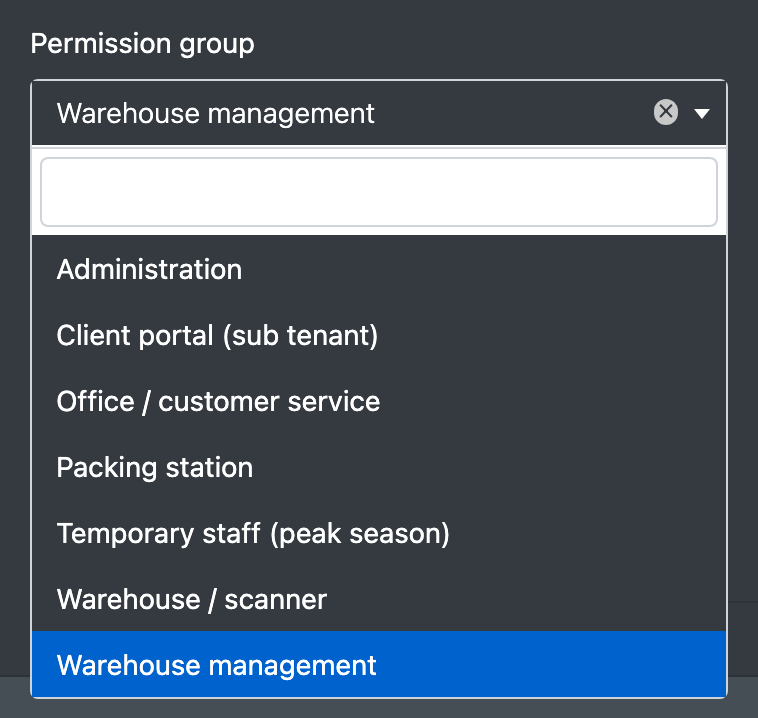
Open the employee under Employees and choose the role in the field Permission group. As long as a role is chosen, the individual access rights of that employee are ignored.