Employees
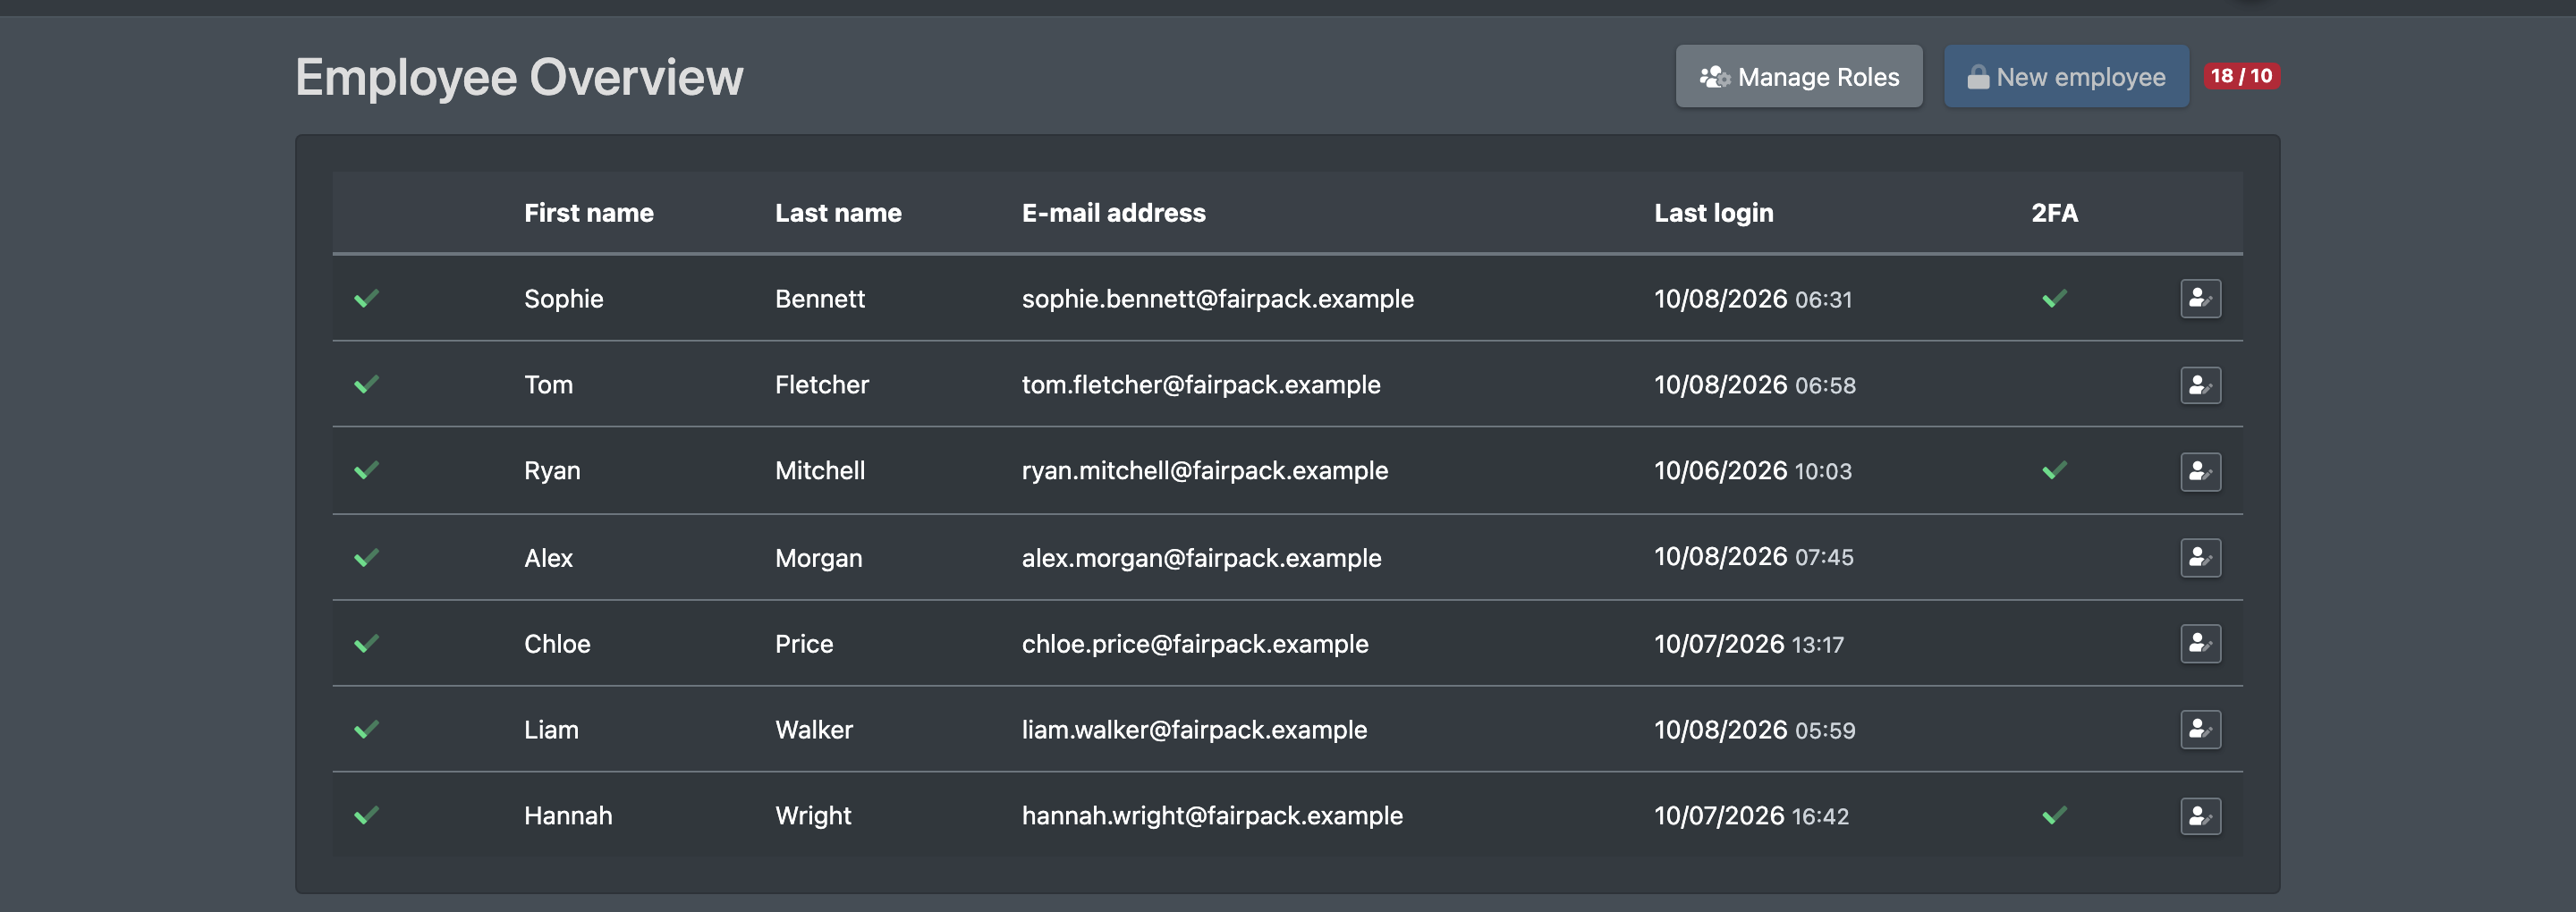
Under Employees your company administrators create user accounts – for your own staff and, as a logistician, also for the staff of your clients. You decide what each user may see and do, either with a role (permission group) or with individual permissions. The list also shows when a user last logged in and whether two-factor authentication is active.
Before you start
- Your user needs the permission Company Settings › Employees. To choose a role or open Manage Roles, you also need the permission for roles. Ask your administrator.
- Your package must still have room for another active user. Users of your clients count against your package as well. If the limit is reached, contact X-Sitter support.
- If you want to work with roles, create them first under Roles.
Step by step
Create an employee
- Open Company Settings › Employees (Firmen Einstellungen › Mitarbeiter). You see the Employee Overview (Mitarbeiter Übersicht).
- Click New employee (Neuer Mitarbeiter).
- Fill in salutation (Mrs. / Mr.), First name (Vorname) and Last name (Nachname).
- Switch Status on, so the user can log in.
- In Company (Firma), choose your own company or one of your clients.
- Enter an E-mail address (E-Mail Adresse) and/or a Username for login (Benutzername für Login). At least one of them is required.
- Leave Password (Passwort) empty to have a temporary password generated, or enter one yourself.
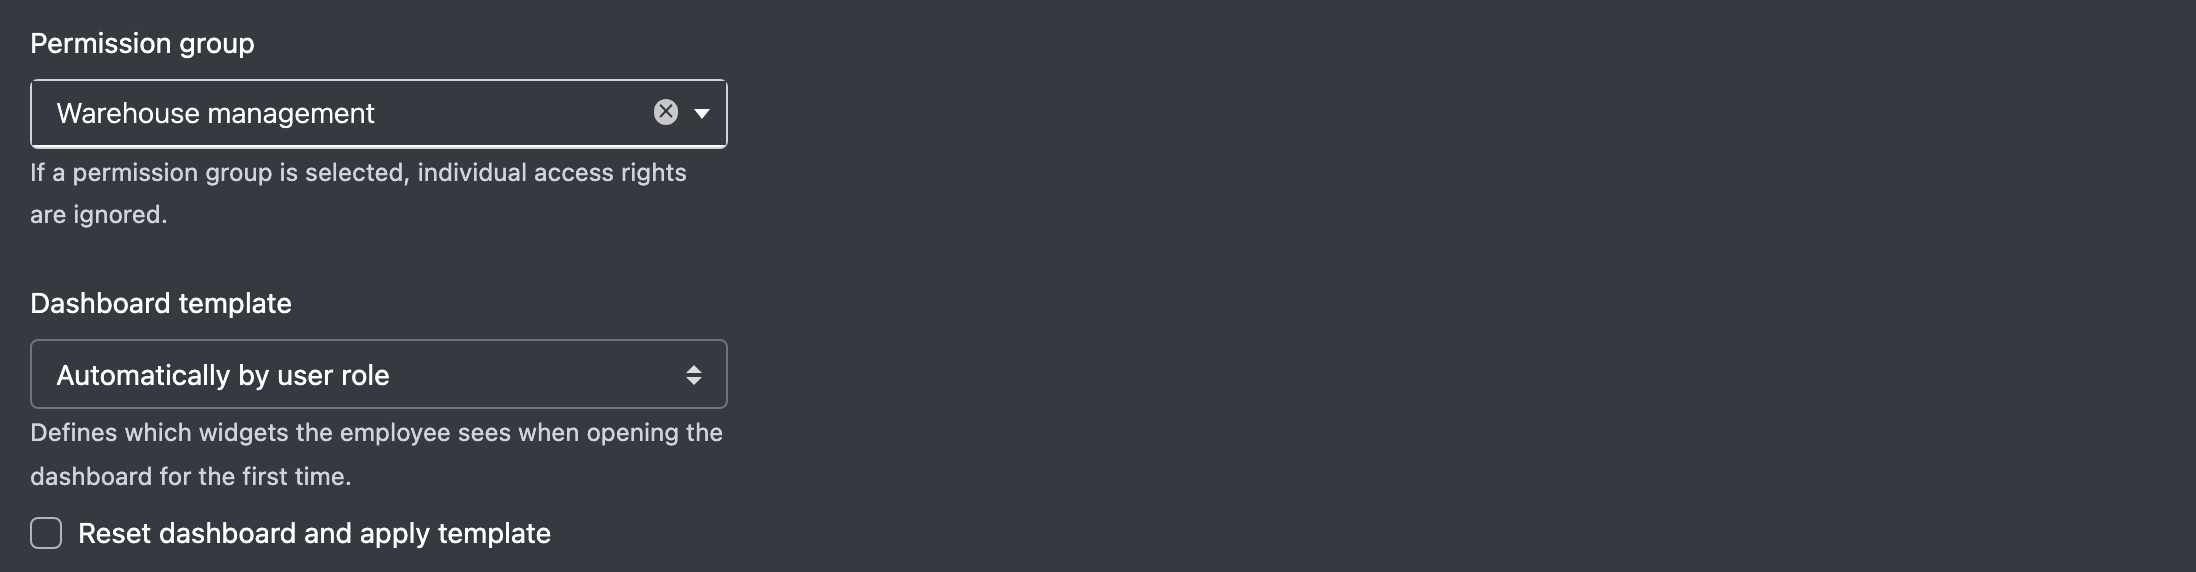
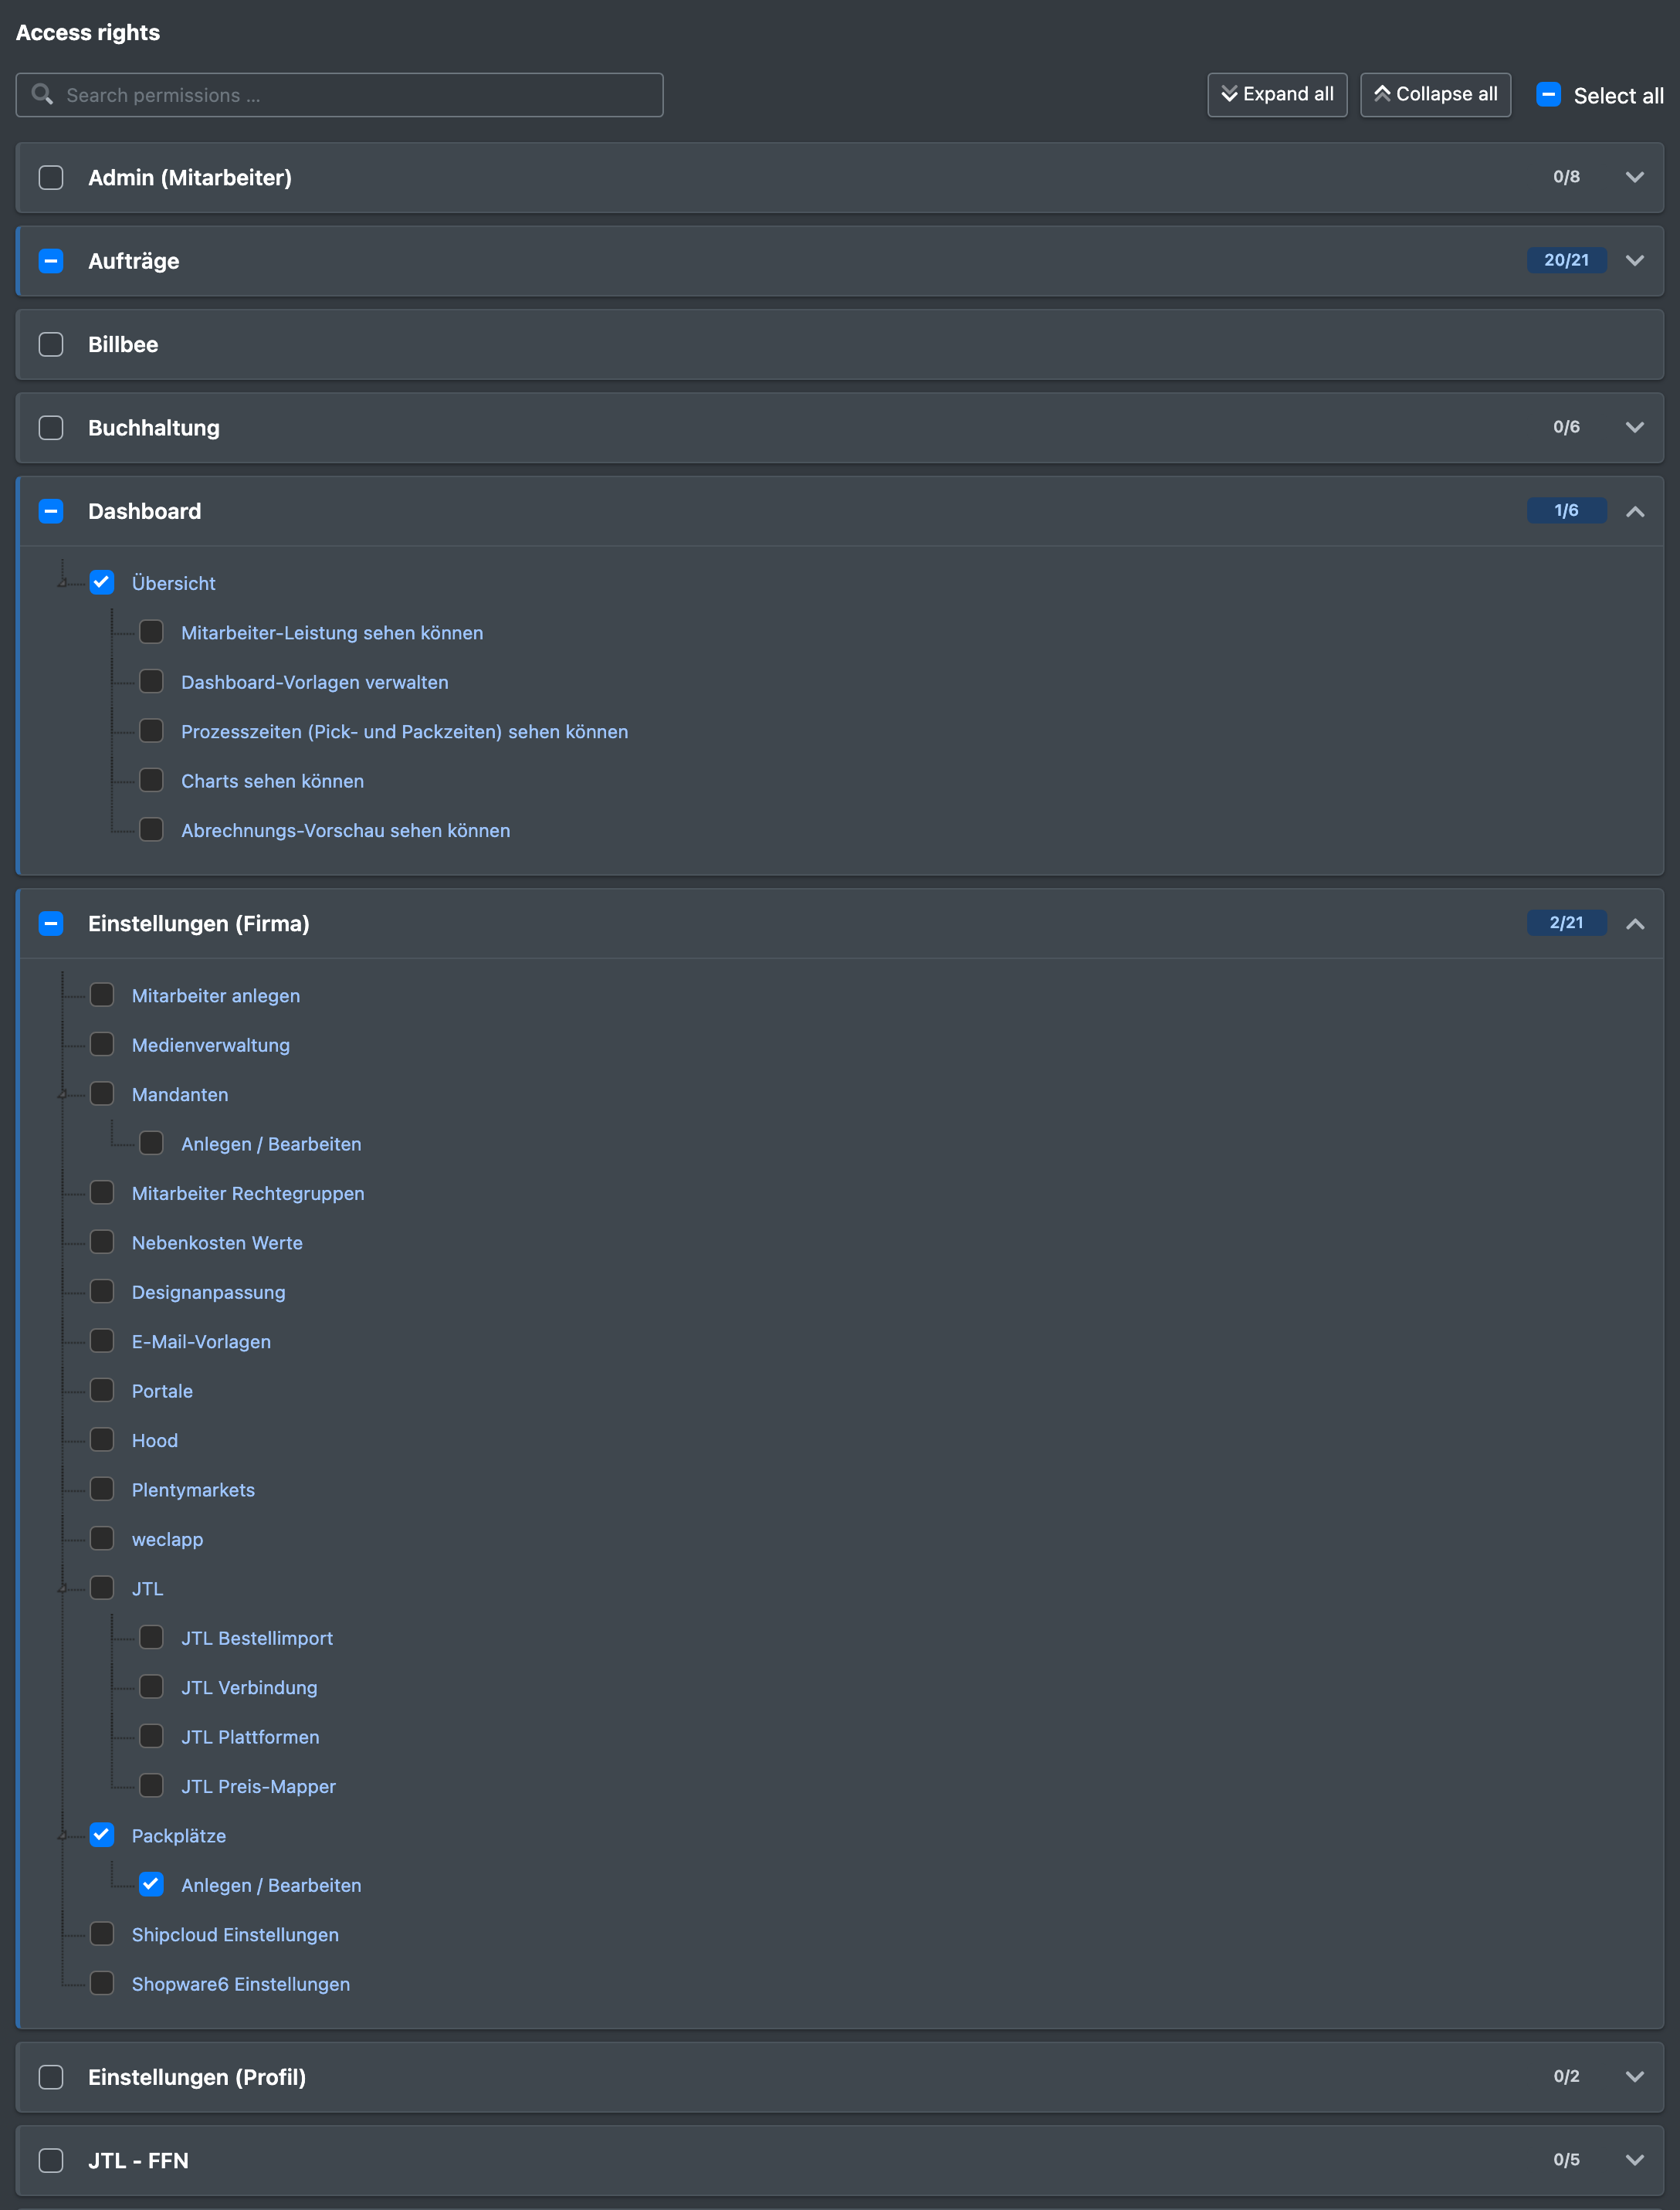
- Choose a Permission group (Rechtegruppe) – or leave it empty and tick the individual Access rights (Zugriffs-Rechte) in the tree below.
- Optionally choose a Dashboard template (Dashboard-Vorlage).
- Click Save (Speichern).
If you left the password empty, X-Sitter shows the generated temporary password right after saving: "Saved! Here is the initial password: …". Pass it on to the user. If an e-mail address is entered, the new password is also sent to the user by e-mail – you can adapt this email under System email templates. On the first login, the user follows the steps in First login.
Assign permissions
You have two options:
- Permission group: choose a role in Permission group. The user gets exactly the permissions of this role. Individual access rights are ignored and the rights tree is hidden.
- Individual access rights: leave Permission group empty and tick the permissions in the Access rights tree. Use the search field, Expand all / Collapse all and Select all to work faster.
warning
You can only grant permissions that you have yourself. You cannot change or remove your own permissions – ask another administrator to do that.
Edit or deactivate an employee
- In the Employee Overview, click the edit button next to the user.
- Change the fields you need. To lock a user out, switch Status off.
- To give the user a fresh dashboard, choose a template and tick Reset dashboard and apply template (Dashboard zurücksetzen und Vorlage anwenden).
- Click Save. You see "The information has been saved".
Changed permissions take effect the next time the user logs in.
Fields and options
The list column Last login (Letzter Login) shows when the user last logged in, 2FA whether two-factor authentication is set up (see Login and two-factor authentication).