Clients
Create and edit the clients (sub-tenants) you work for as a logistician, including their default warehouse, storage areas and ShipCloud account.
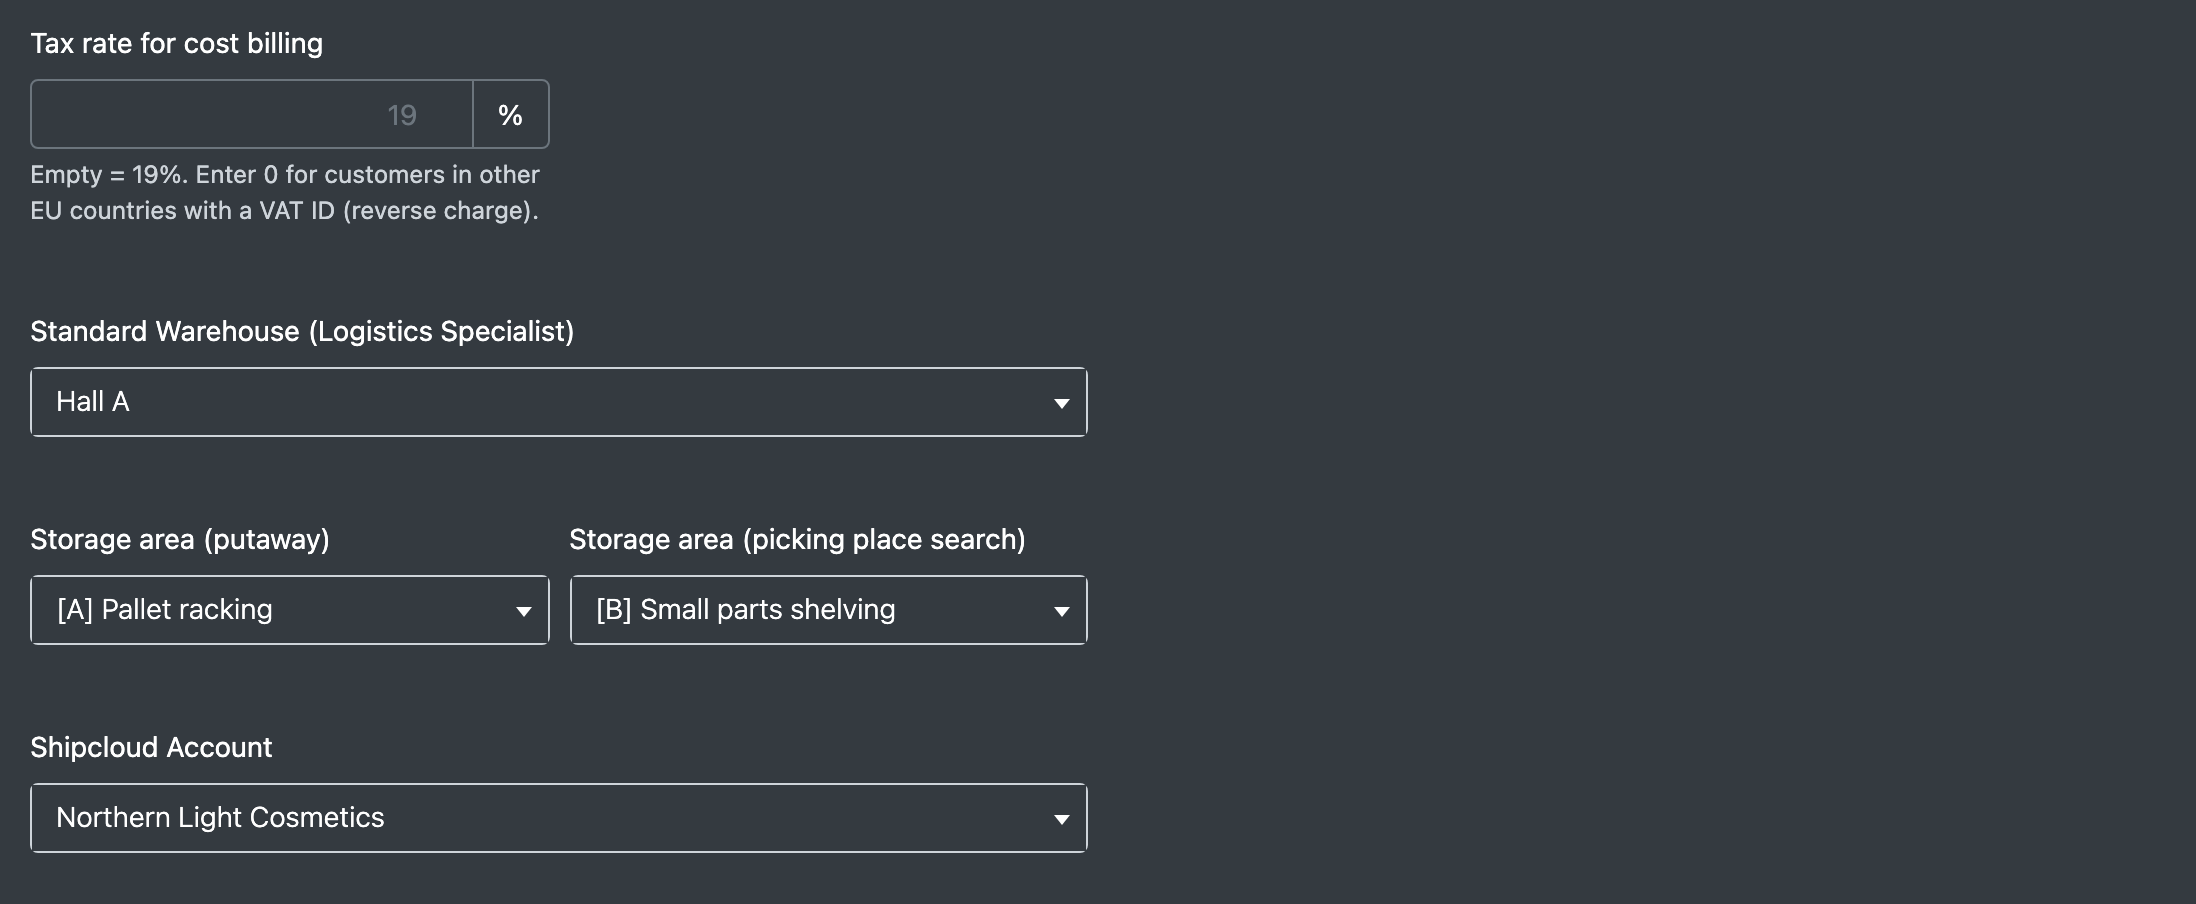
As a logistician you create your customers here as clients (Mandanten). A client is a company that belongs to your company. You see the orders, articles and stock of all your clients in one place. The default warehouse, the storage areas and the ShipCloud account you set for a client control where its goods are put away, where picking locations are searched and how its parcels are shipped.
Before you start
- Your user needs the permission Company Settings › Tenants to see the list, and the edit permission for this area to create or change clients. Ask your administrator.
- Your package must still have room for another client. If the limit is reached, you see a message and cannot create the client – contact X-Sitter support to book more clients.
- If you want to assign them right away, create the following first:
- the warehouse,
- the storage areas for putaway and picking,
- the ShipCloud account of the client.
Step by step
Create a client
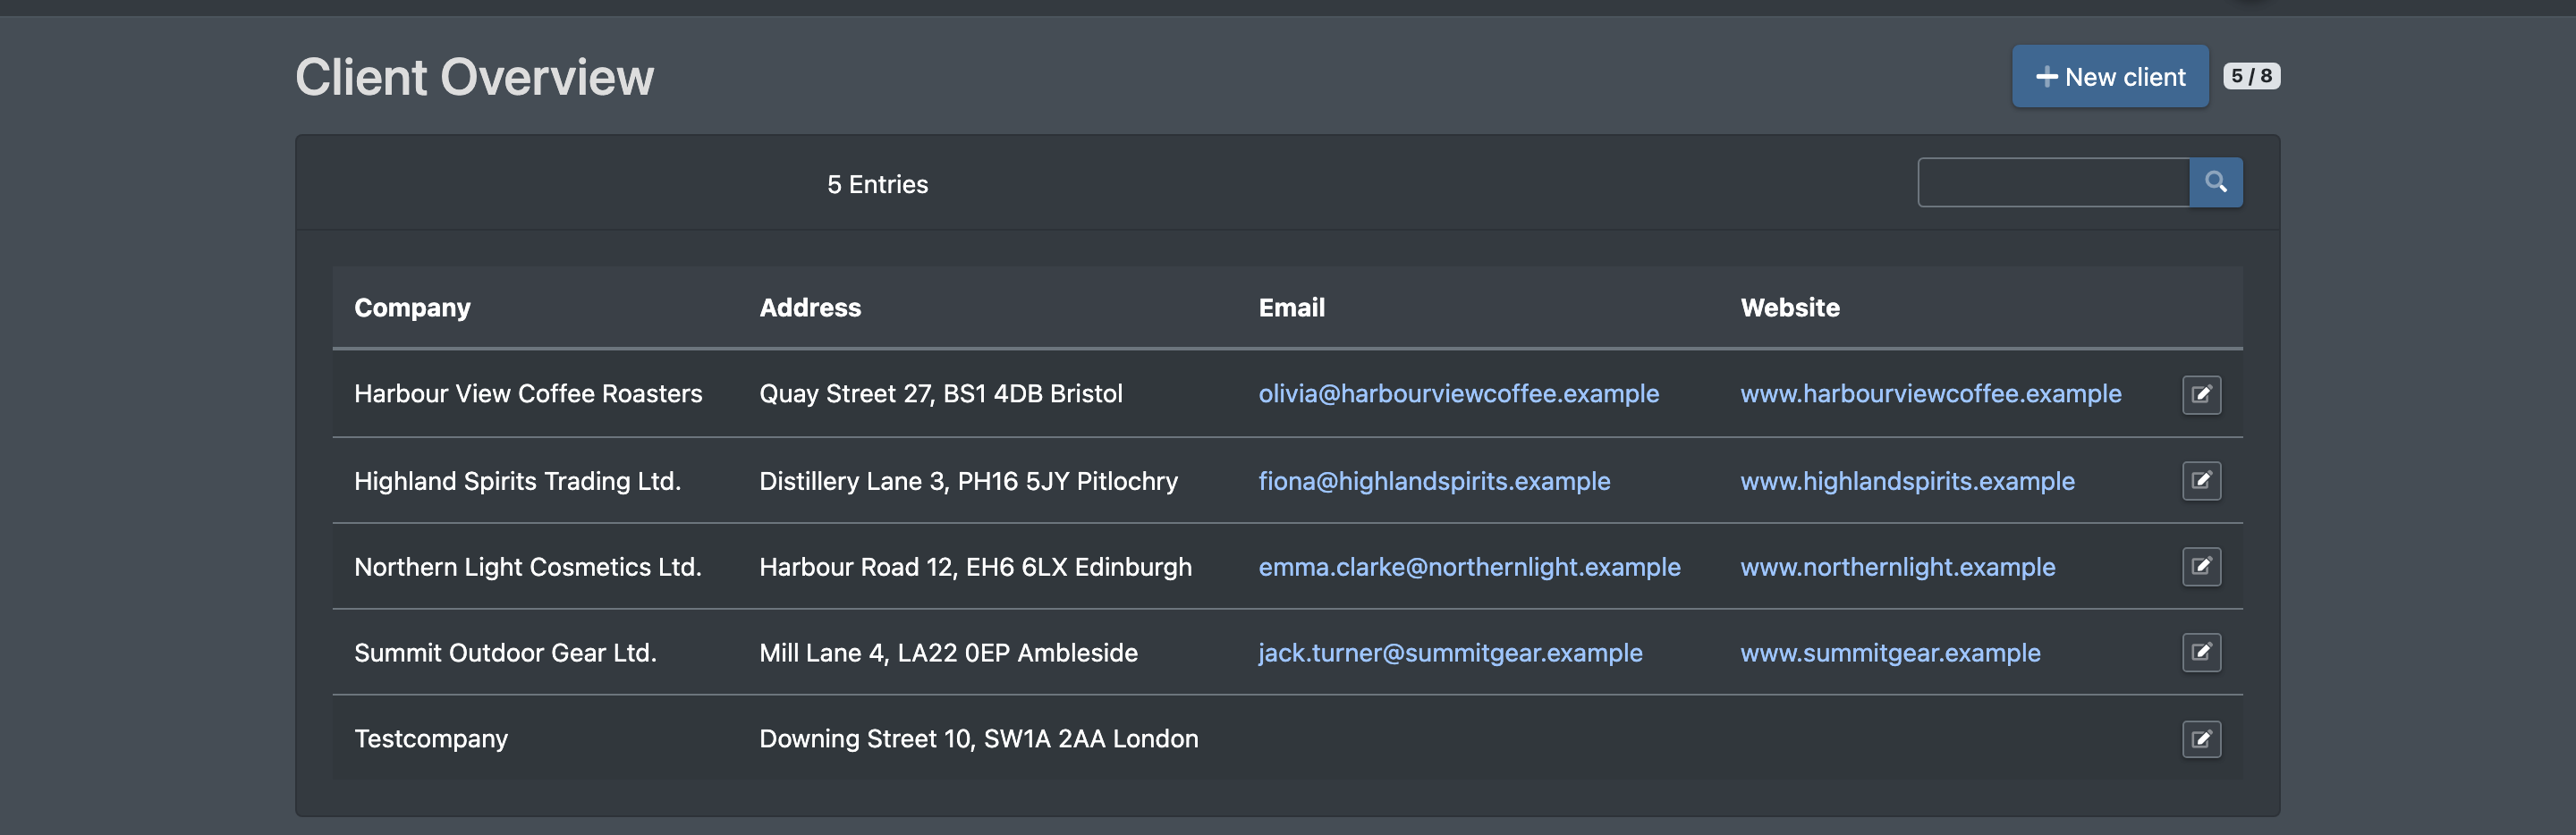
- Open Company Settings › Tenants (Firmen Einstellungen › Mandanten). The Client Overview (Mandanten Übersicht) lists all clients with company, address, e-mail and website. Use the search field to find a client quickly.
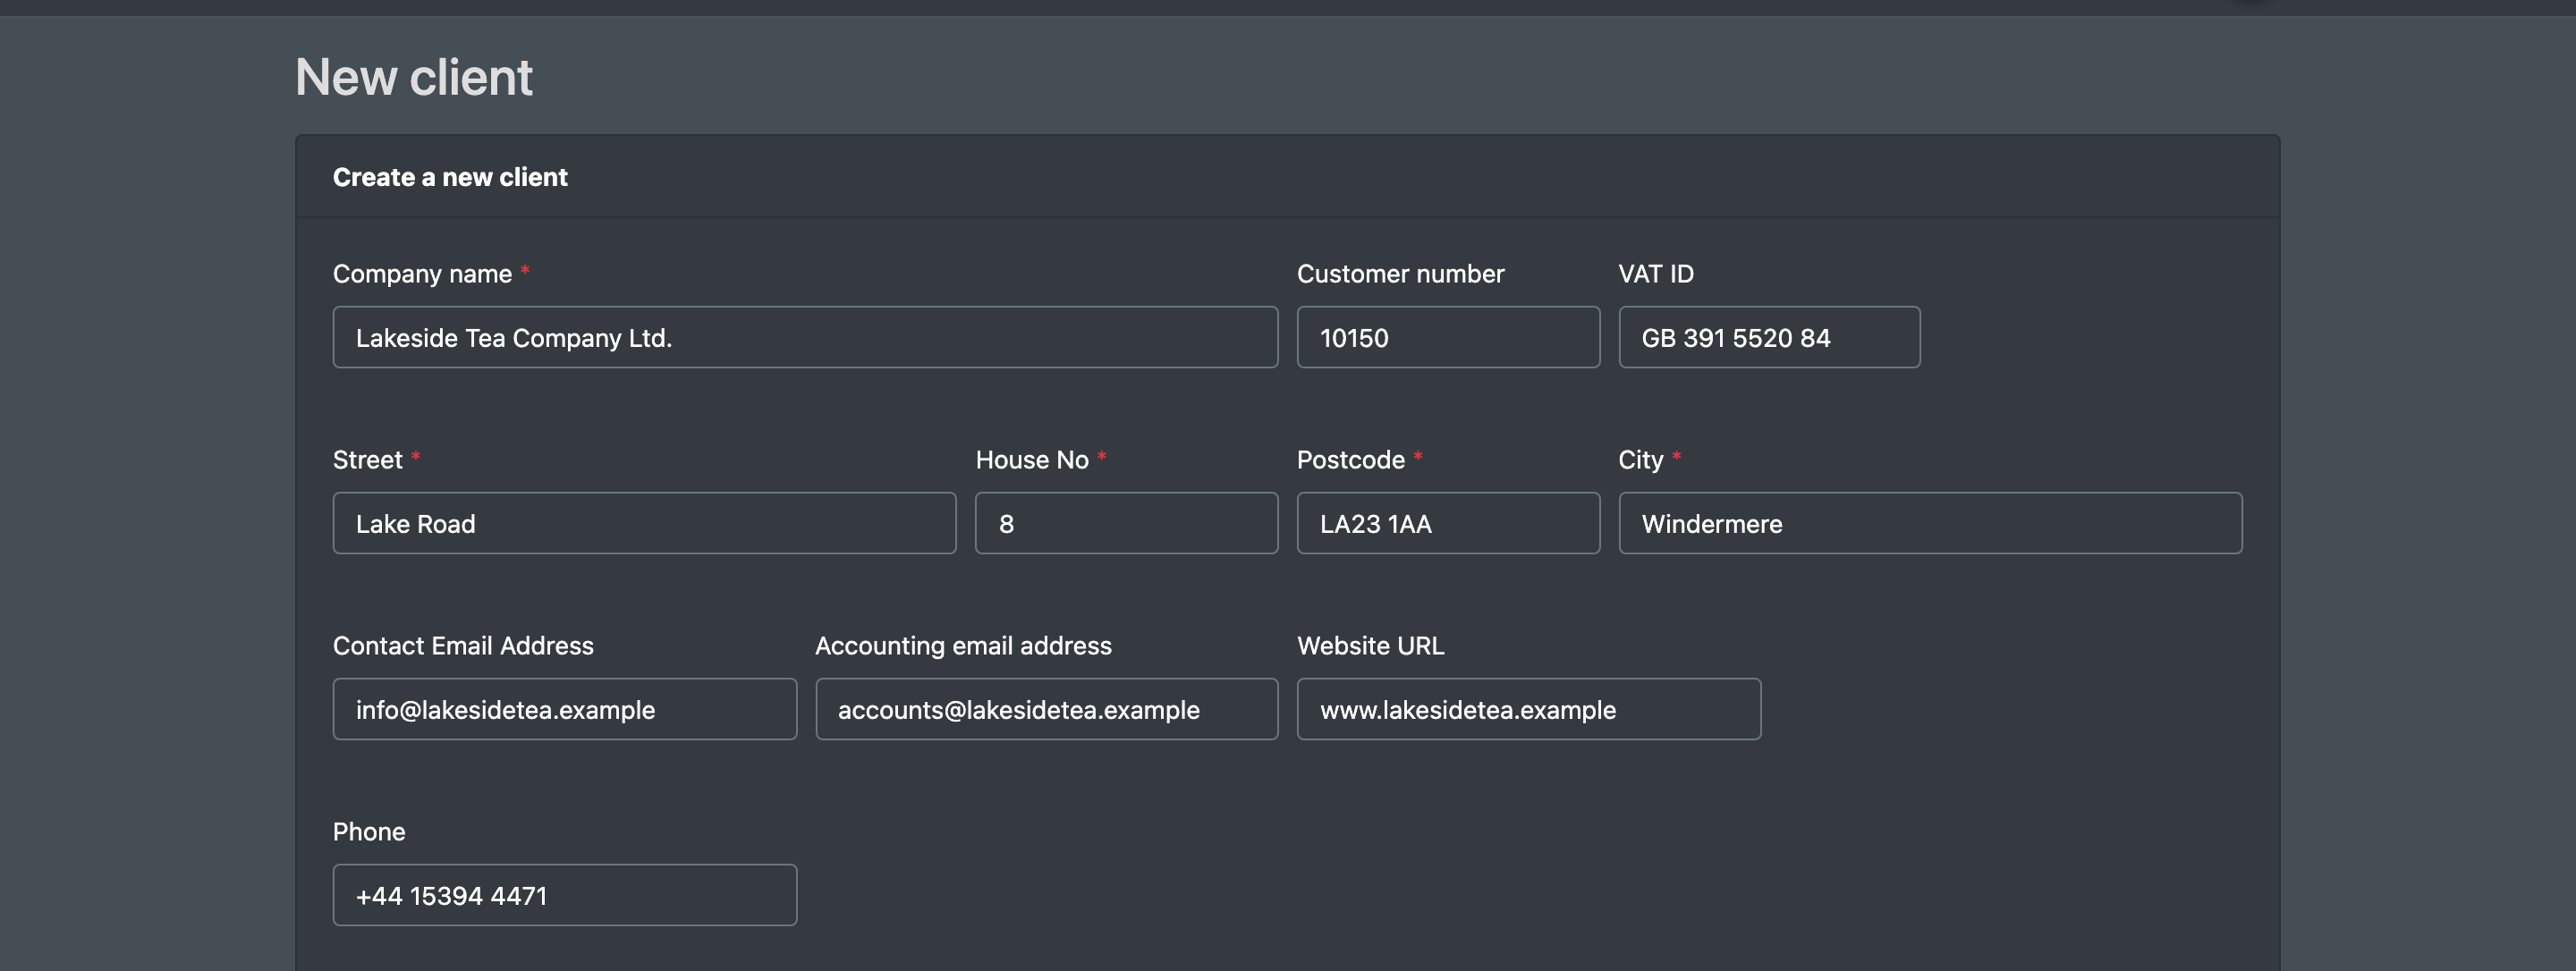
- Click New client (Neuer Mandant). The form Create a new client (Neuen Mandanten anlegen) opens.
- Fill in the company data, contact details and the warehouse defaults (see the table below).
- Click Save (Speichern). You see the message "The client has been saved".
Edit a client
- In the client list, click edit (bearbeiten) next to the client.
- Change the fields you need.
- Click Save. You see the message "The client has been updated".
Cancel (Abbruch) takes you back to the list without saving.
Fields and options
Whether a client is active or inactive is not set in this form. If a client should be deactivated, contact X-Sitter support.
What happens next
After creating a client you usually:
- create user accounts for the client's staff under Employees (choose the client in the Company field),
- set up the client's jobs and connections, for example the order import from its shop,
- check the shipping rules if the client ships with its own carrier account.
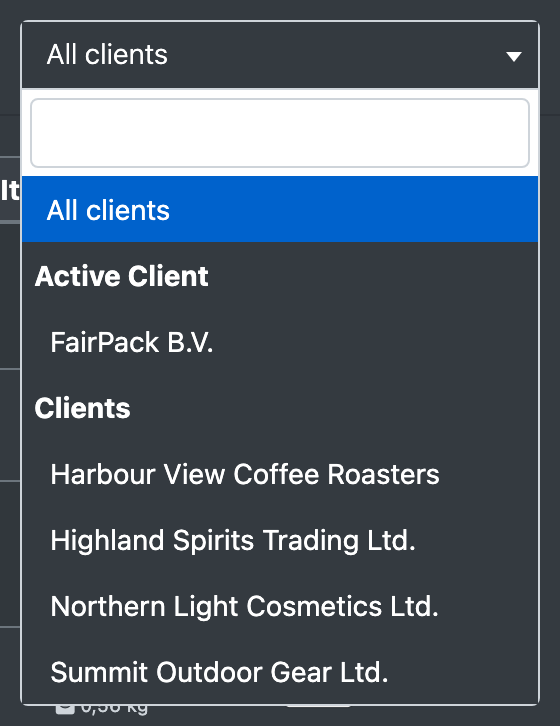
The new client then appears in the client filters of the order overview, the order form and the import templates.