
Order overview
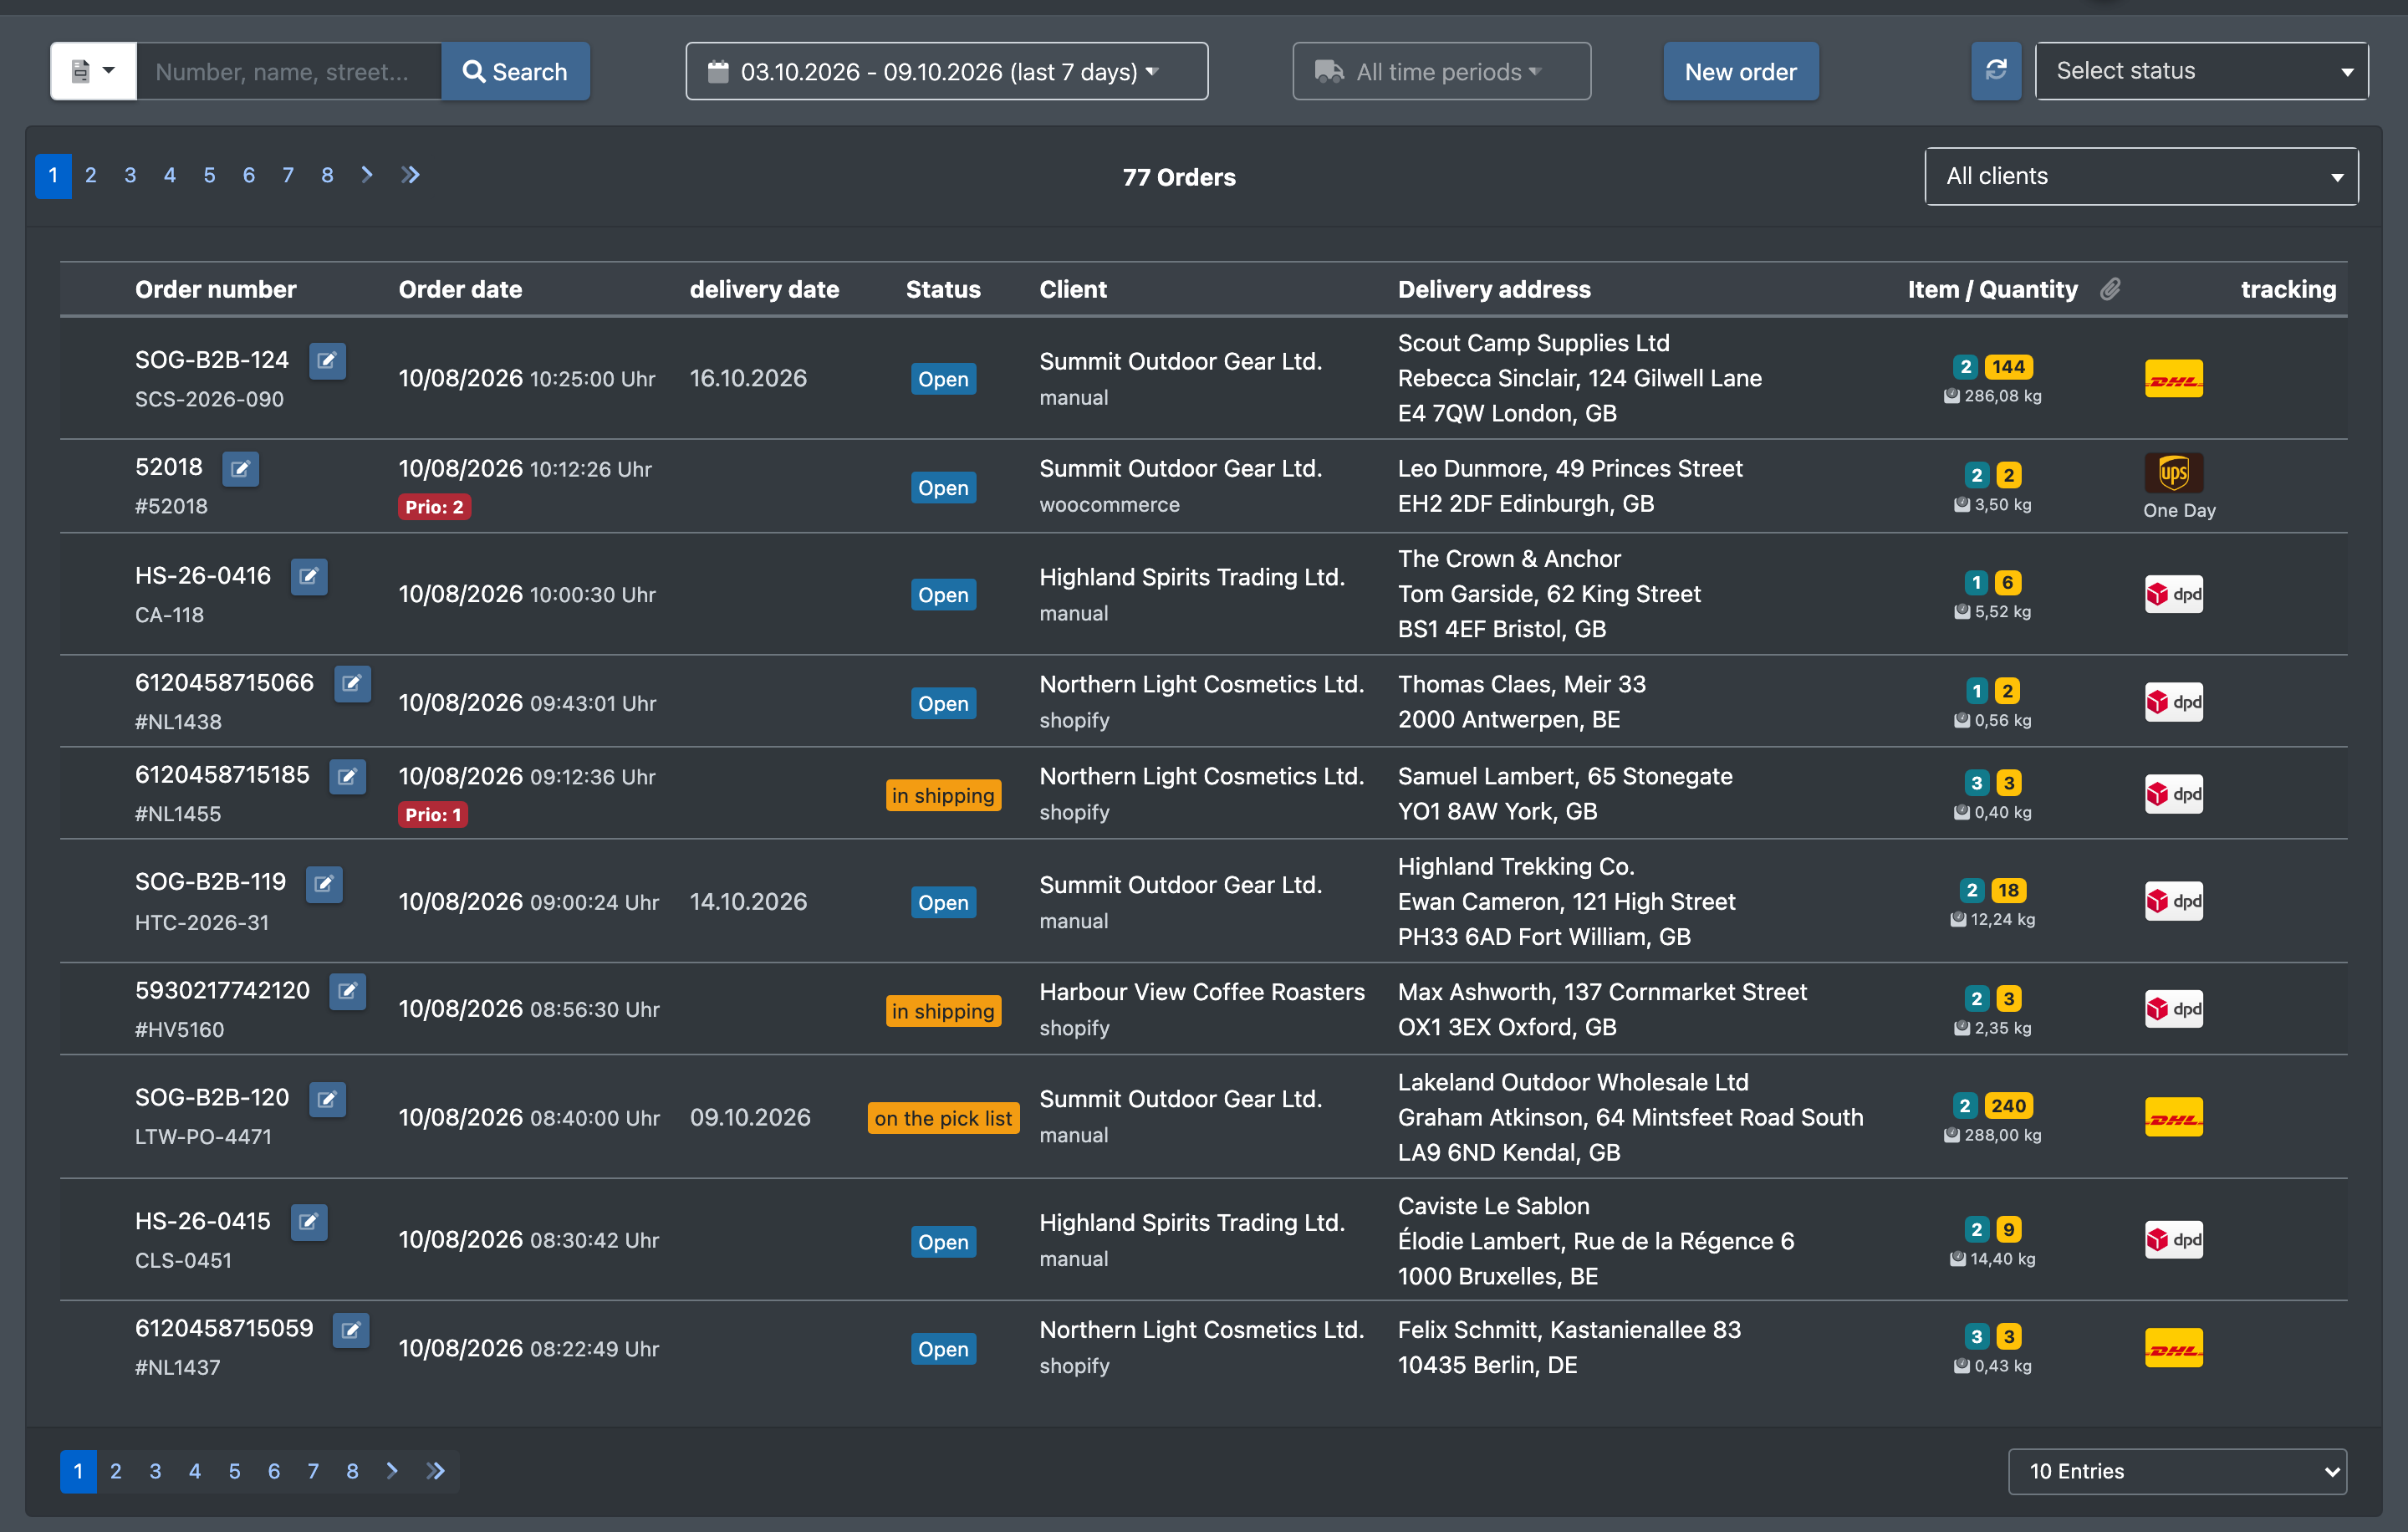
The order overview is the central list of all orders of your company and your clients – no matter whether they came in through a sales channel, a file import or were created manually. From here you search and filter orders, open the order details, change several orders at once and put orders into a picking cart.
Before you start
- Your user needs the permission Orders (Aufträge). Some buttons need additional permissions:
- New order (Neuer Auftrag) – permission to create orders.
- Checkboxes and Place in picking cart (In Pickwagen legen) – warehouse (WMS) permission.
- Delete (Löschen) – permission to delete orders.
- Status filter on the pick list (auf Pickliste) – only for logisticians with the pick list permission.
- The client must be active. See Clients.
- Only orders from sales channels and modules that are activated for the client are shown. Manually created and imported orders are always shown. If a channel is missing, contact X-Sitter support.
Ask your administrator if a button is missing for you.
Step by step
Open the overview
- Open Orders › Overview (Aufträge › Übersicht) in the top menu.
Search for orders
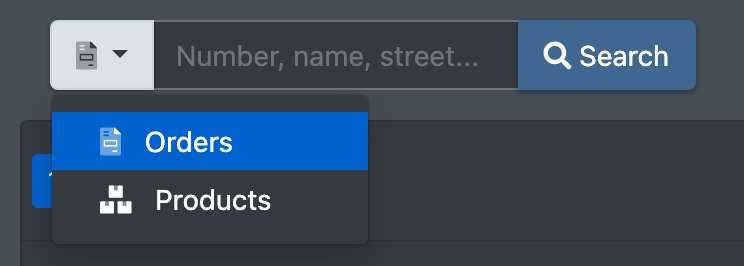
- Click the search mode button on the left of the search field (Search Mode, Suchmodus) and choose:
- Orders (Aufträge) – searches order number, external order number and delivery address.
- Products (Produkte) – searches the SKU, name and EAN of the order lines.
- Enter your search term in the field Number, name, street... (Nummer, Name, Straße...).
- Click Search (Suchen).
Filter the list
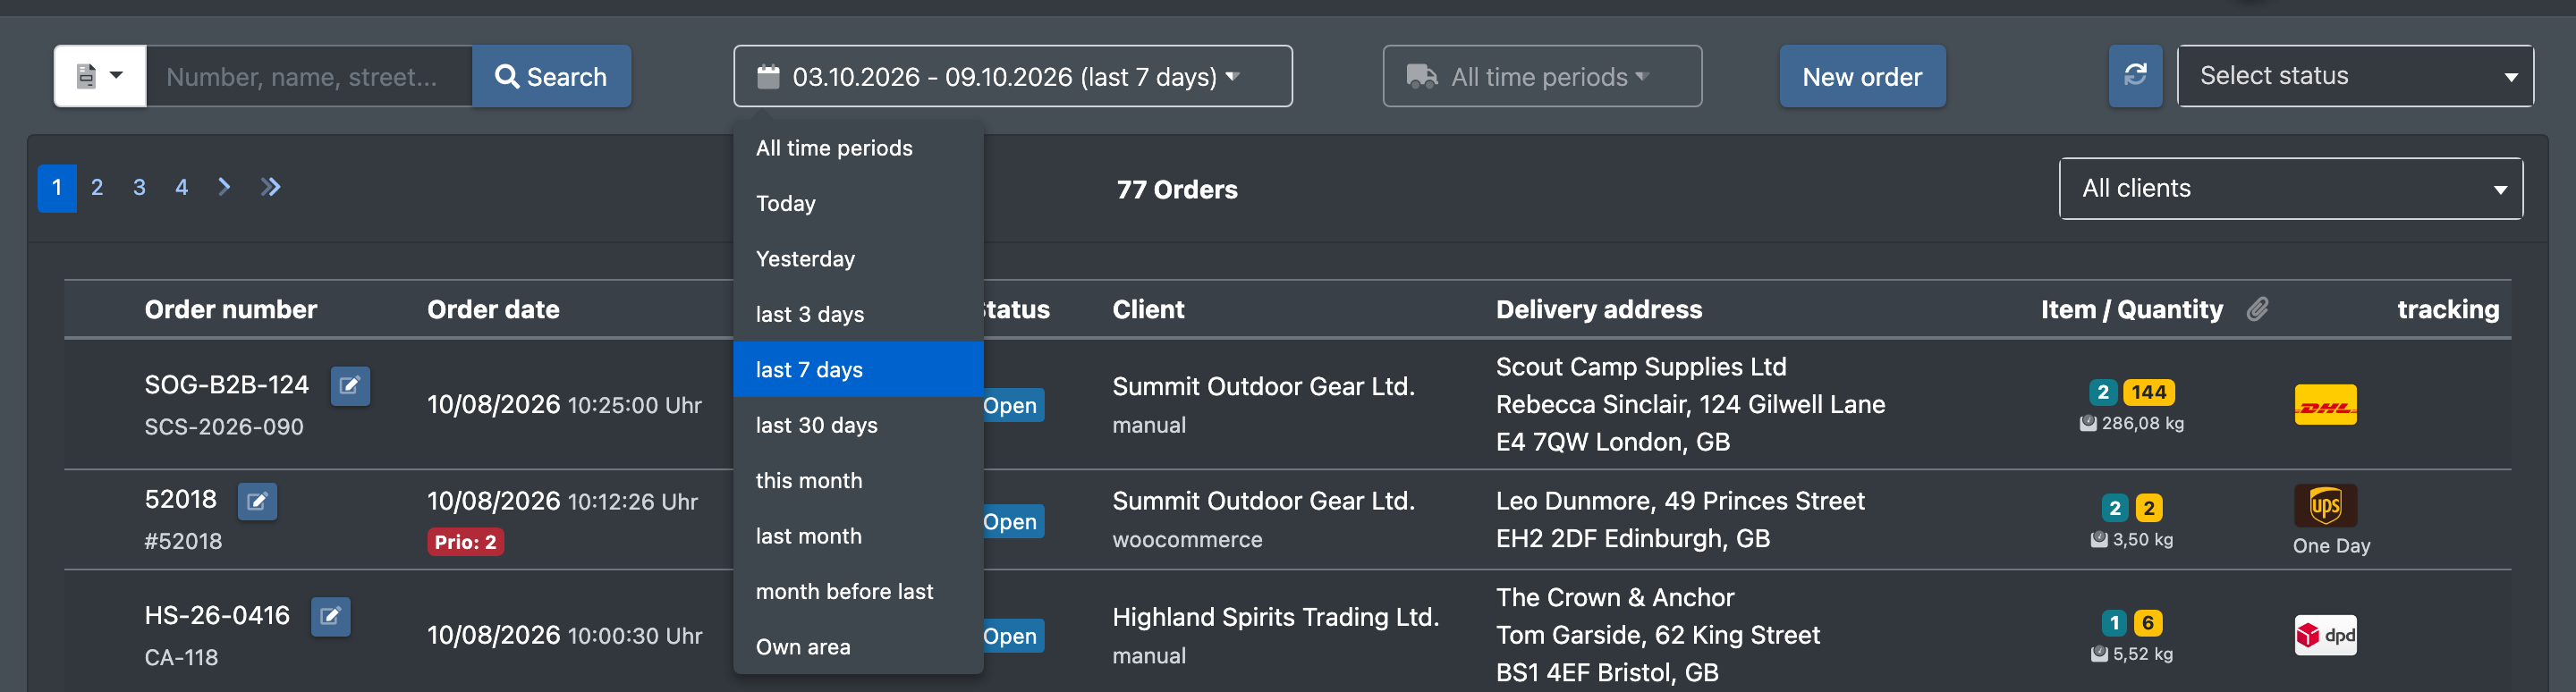
- Calendar field – filters by order date. Choose a preset such as Today (Heute), Yesterday (Gestern), last 7 days (letzten 7 Tage), a custom range (Eigener Bereich) or All time periods (Alle Zeiträume).
- Truck field – filters by delivery date. If an order date is set, the delivery date filter is ignored.
- Select status (Status auswählen) – shows only orders in the chosen status. In addition to all order statuses you can choose Tracking enabled (Tracking gesetzt): orders that already have a tracking number and a shipping method.
- All clients (Alle Mandanten) – choose a single client (only shown if you have more than one client), then optionally a module (sales channel).
- Use the sort dropdown to sort by date, delivery date or status, e.g. Date (most recent first) (Datum (neueste zuerst)). By default the newest imported orders are on top.
Reload when new orders arrive
When new orders come in while the page is open, the refresh button (two arrows) shows a badge with the hint There are new orders - Reload page (Es gibt neue Bestellungen - Ansicht neu laden). Click it to reload the list.
Open an order
- Click on an order row. The order details open as a sheet at the bottom of the page.
- The pencil button opens the order form:
- Edit order (Auftrag bearbeiten) for orders in status Open, Error or in shipping.
- Edit address / documents (Adresse / Dokumente bearbeiten) for all other orders. Order lines and client are then locked. See Create or edit an order.
Process several orders at once
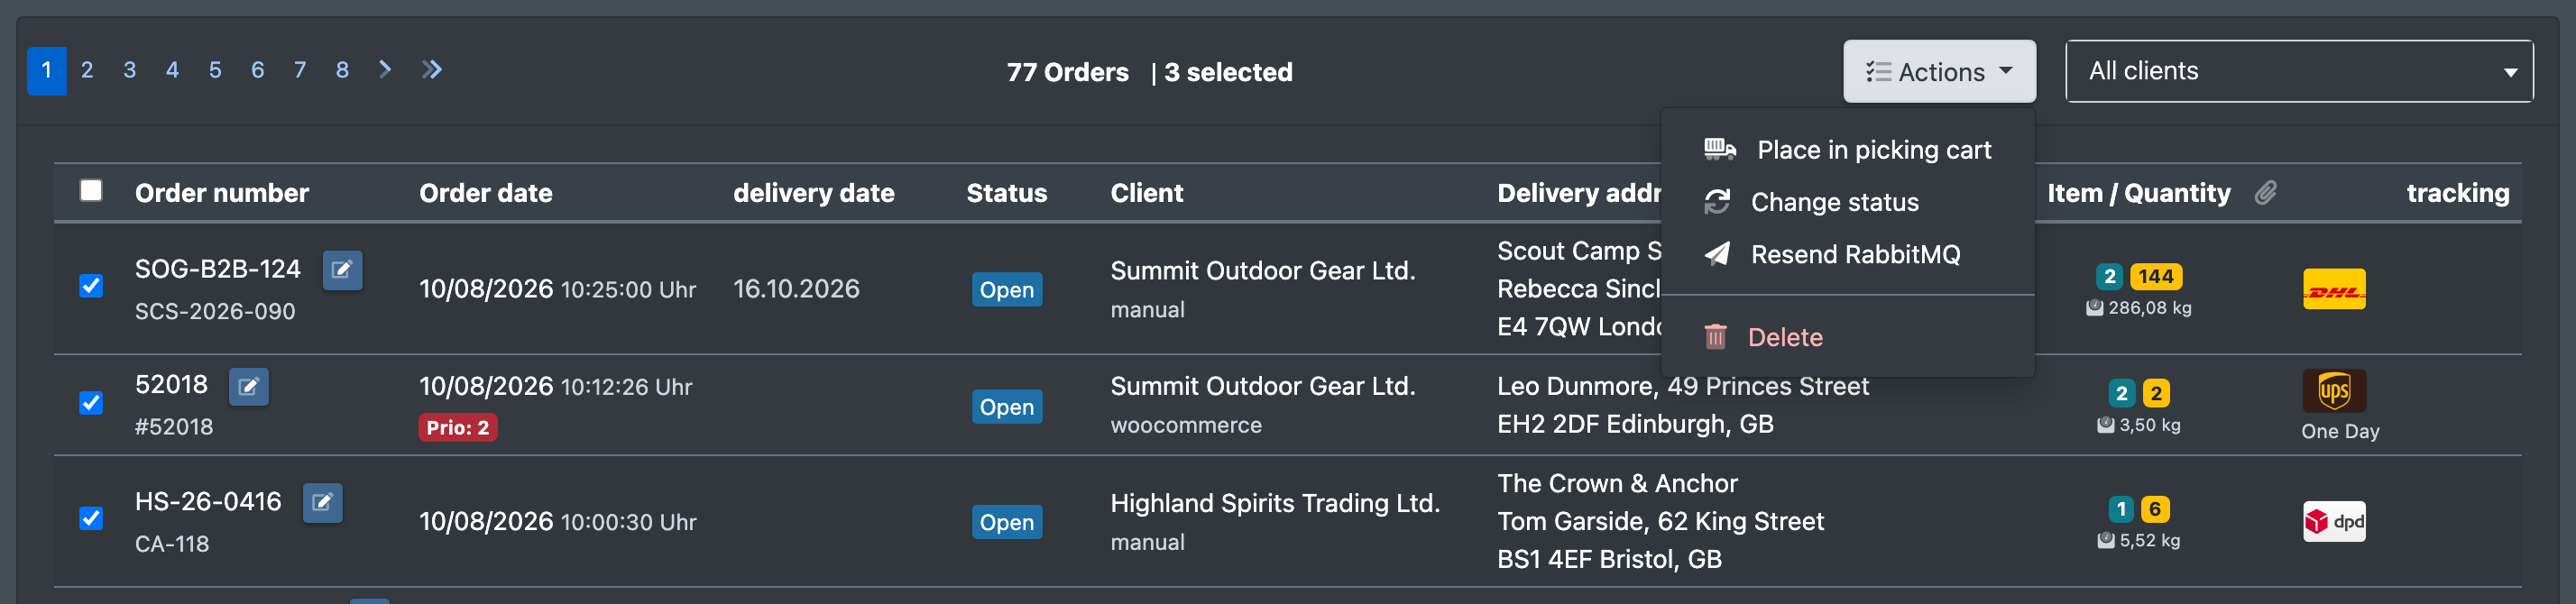
- Tick the checkboxes of the orders you want to process.
- Click Actions (Aktionen) and choose:
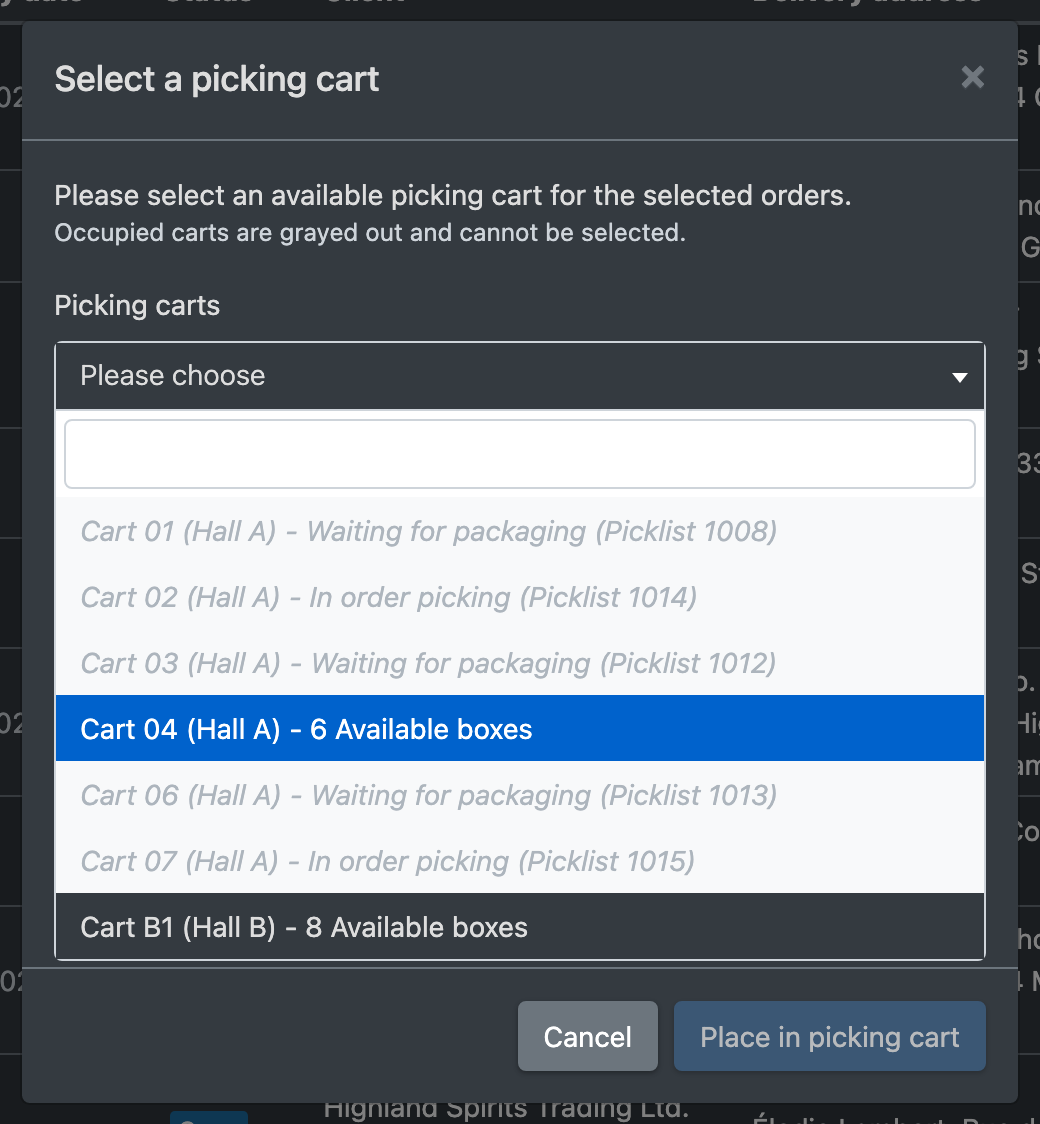
- Place in picking cart (In Pickwagen legen) – opens the dialog Select a picking cart (Kommissionierwagen auswählen). Choose a free picking cart; occupied carts are greyed out. In the same dialog you can choose the Order of Forklift Tasks (Reihenfolge der Stapler-Aufgaben) and the Picking Route Strategy (Pickwege-Strategie). See Create a picklist and Picking carts.
- Change status (Status ändern) – see Order statuses.
- Delete (Löschen) – see Cancel or delete an order.
Page size
At the bottom of the list you choose how many entries are shown per page: 10, 25, 50, 100 or 500.
Fields and options

Good to know / Troubleshooting
The list of clients and modules is remembered for your session. If a new client or channel does not appear in the filters, log out and log in again.
New orders reach the overview automatically from your connected sales channels, from file imports or when you create an order manually.