
ShipCloud accounts

Store the ShipCloud access data, sender and return address and default carriers for your company and your clients.

A ShipCloud entry stores the ShipCloud access data (API key) of a customer together with the sender address, the return address and the default carriers. ShipCloud is the standard way X-Sitter creates shipping labels: whenever no other shipping rule applies, the label is created through the ShipCloud account of the order's client.
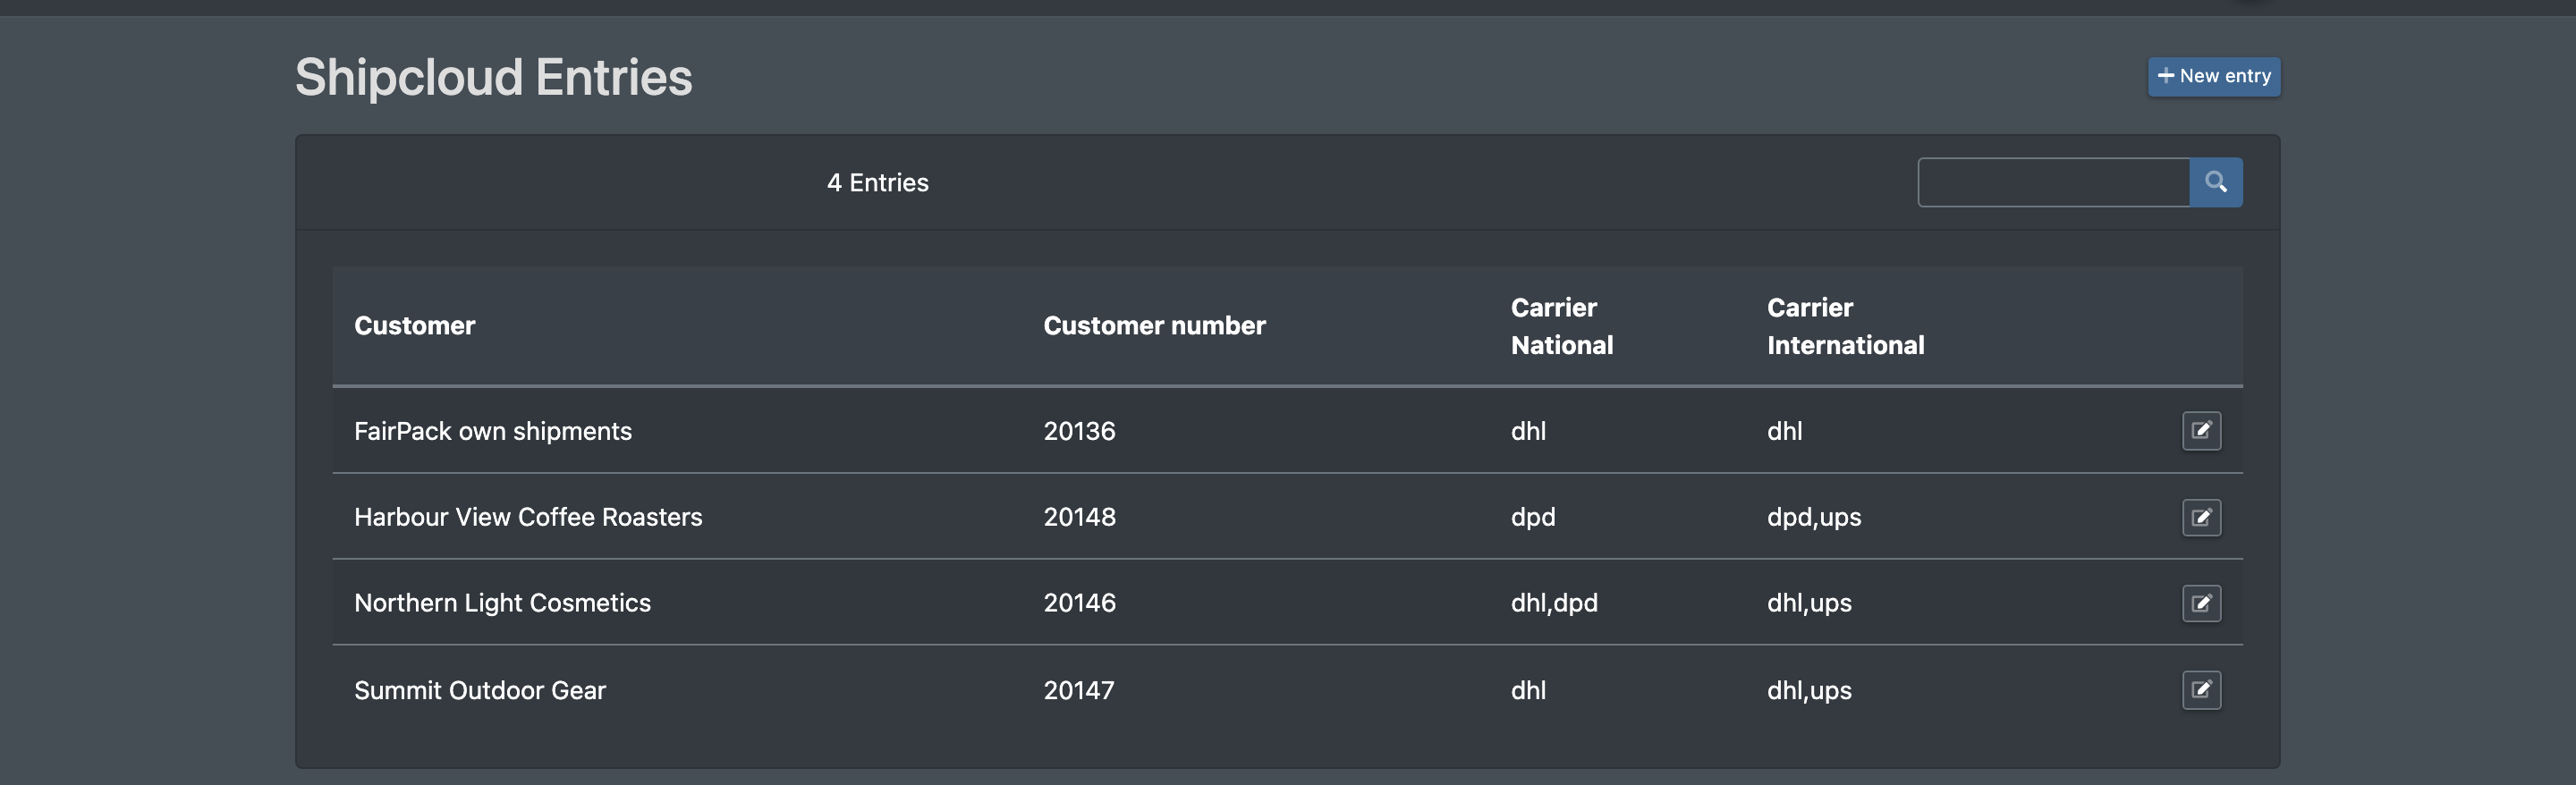
Screenshot: Shipcloud entries list with columns customer, customer number, carrier national and carrier international

Before you start

  • Your user needs the permission Company Settings › ShipCloud. Ask your administrator.
  • You have a ShipCloud account with an API key (and optionally a sandbox API key for tests).

Step by step

Create a ShipCloud entry

  1. Open Company Settings › ShipCloud (Firmen Einstellungen › ShipCloud). You see the list of Shipcloud Entries (Shipcloud Einträge).
  2. Click New entry (Neuer Eintrag).
  3. Enter Name and, if needed, Name Addition (Namens Zusatz).
  4. Enter the Customer ID (Kundenkennung), the ShipCloud Login and Password (Passwort), the API Key (API - Key) and optionally the Sandbox API - Key.
  5. Choose the options for DPD advance notice, error output on the label and return labels (see table).
  6. Fill in the Sender Address (Absender Adresse) and the Returns Address (Retouren Adresse).
  7. Enter the default carriers in Carrier National and Carrier International.
  8. Click Save (Speichern). You see "The entry has been saved" (or "… updated" when editing).
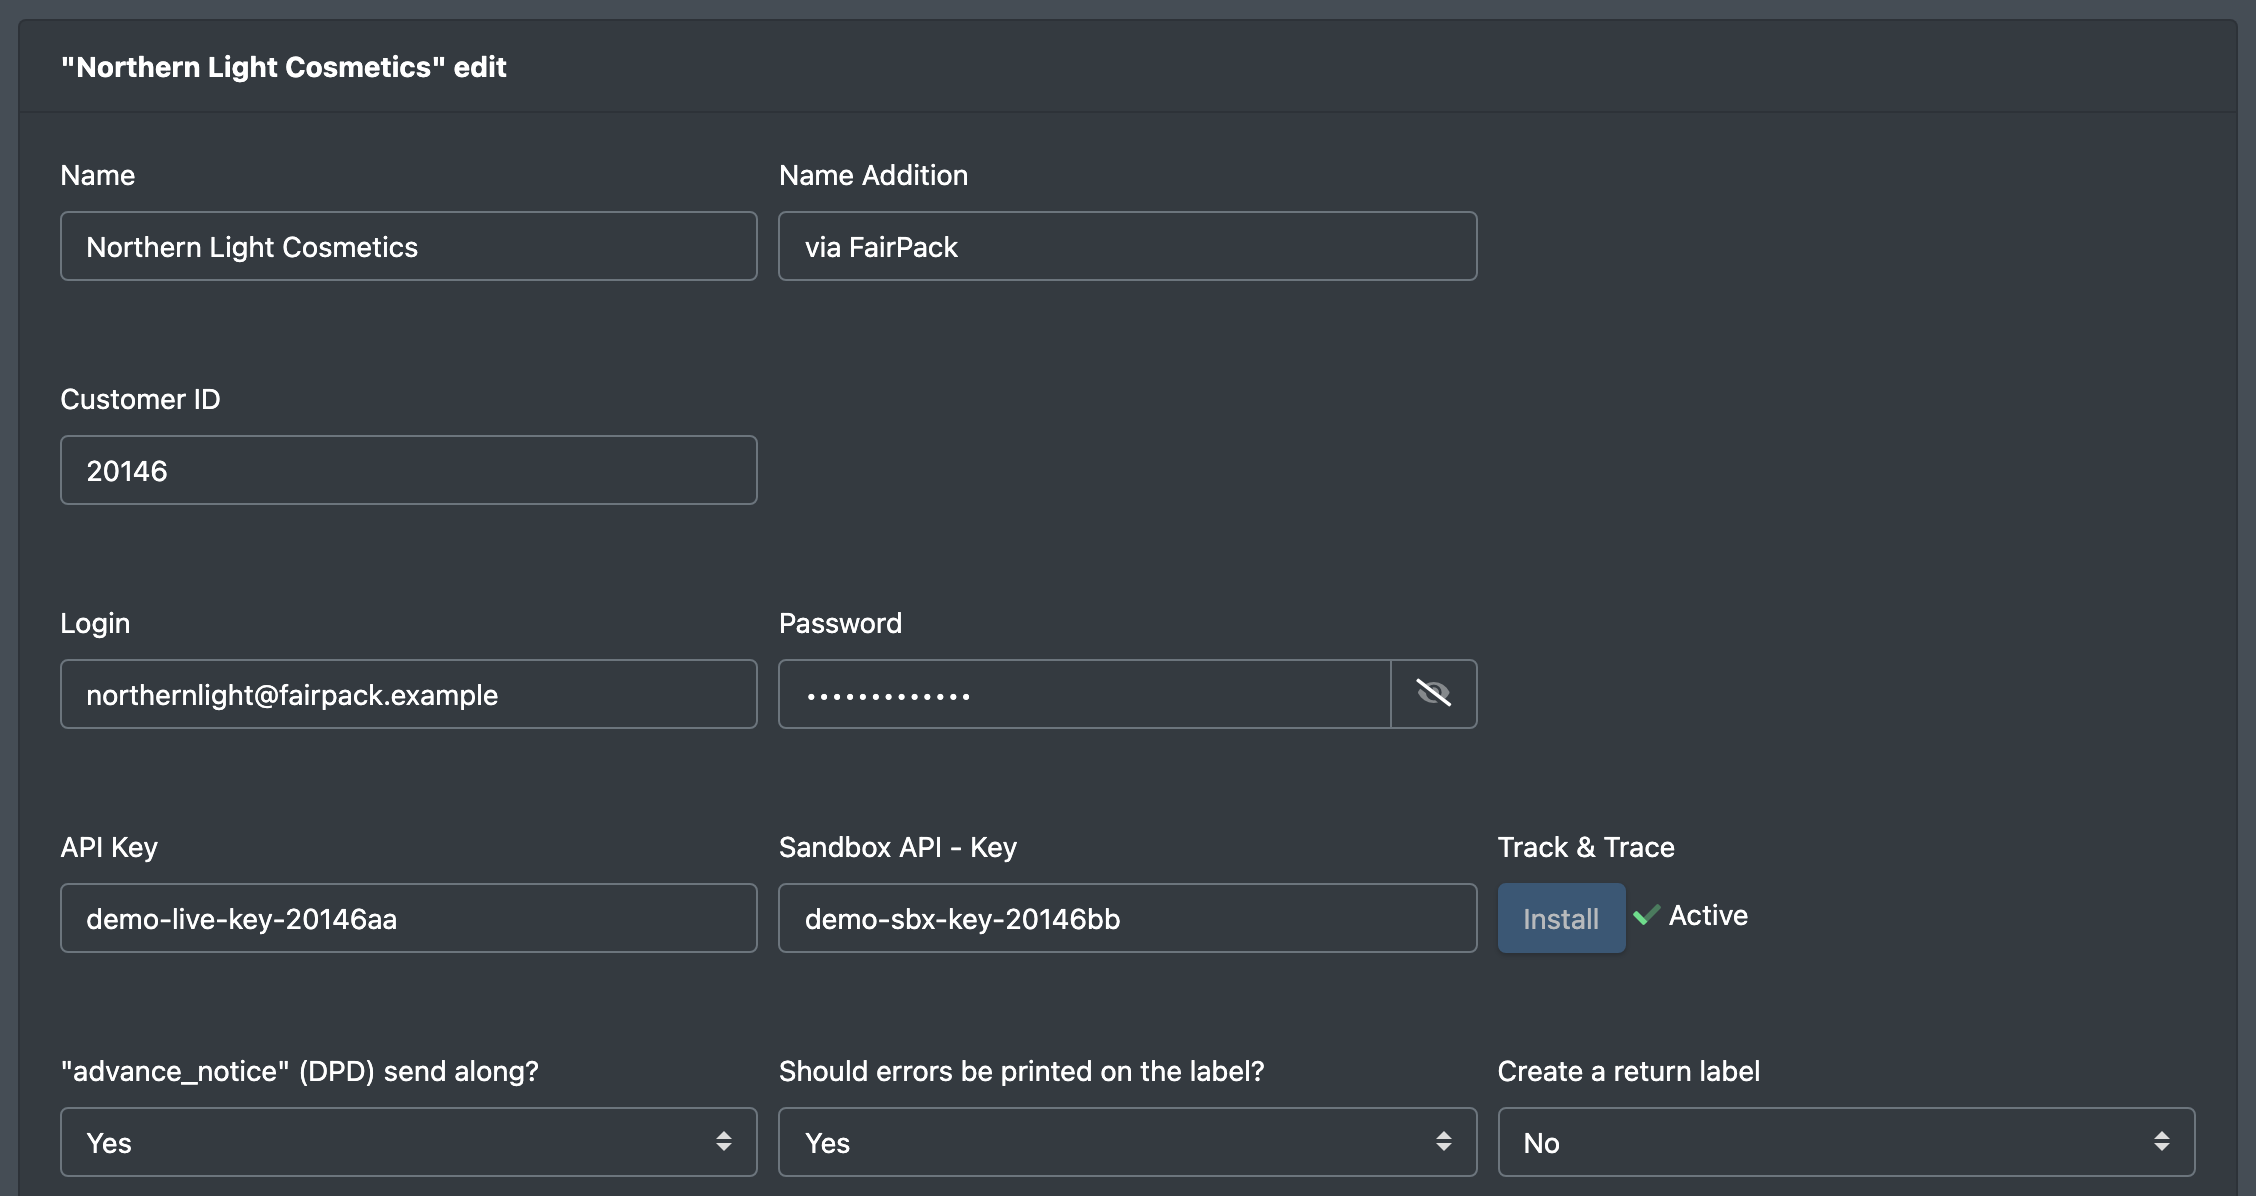
Screenshot: Upper part of the Shipcloud entry form with name, customer ID, login, API key, sandbox API key and the three Yes/No options

Activate tracking (Track & Trace)

As soon as an API key is saved, the edit form shows Track & Trace with the button Install (Installieren).

  1. Open the entry and click Install.
  2. X-Sitter registers itself at ShipCloud to receive status updates for all shipments: "A webhook has been created for all endpoints".
  3. Afterwards the button is disabled and Active (Aktiv) is shown with a check mark.

From now on, ShipCloud sends shipment status changes to X-Sitter automatically, see Shipment tracking.

Screenshot: Track & Trace section of the Shipcloud form with the disabled Install button and the green "Active" check mark

Assign the account to a client

Open the client under Clients and choose the entry in Shipcloud Account. Labels for this client's orders are then created through this account.
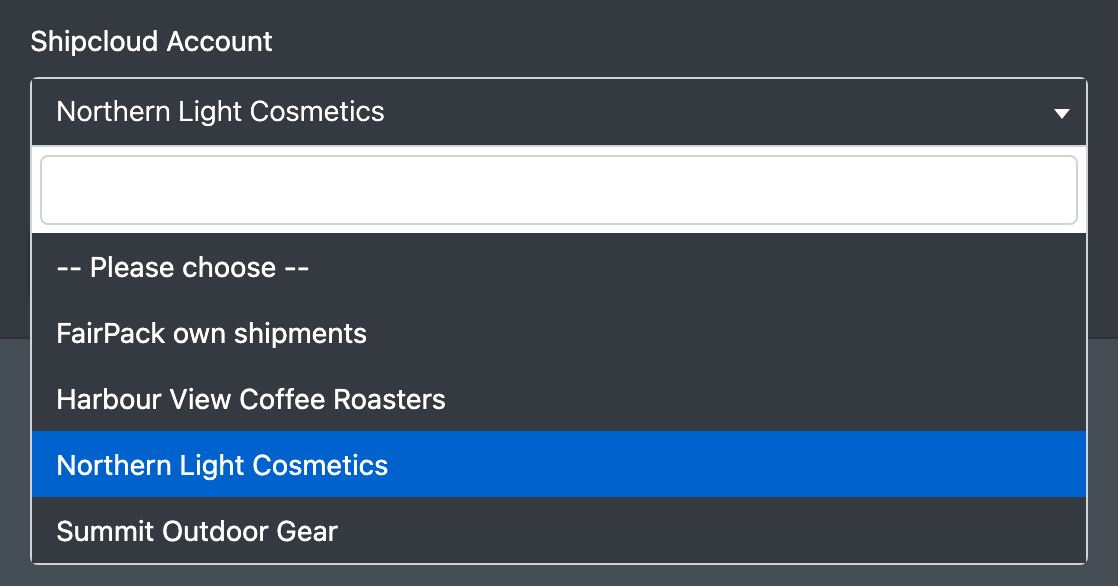
Screenshot: Client form with the Shipcloud Account dropdown opened

Fields and options

Field Meaning
Name / Name Addition Display name of the entry.
Customer ID (Kundenkennung) Your ShipCloud customer ID. ShipCloud sends it with every status update, so X-Sitter can assign the update to the right account.
Login / Password ShipCloud login. Optional.
API Key Live API key. Required for creating labels.
Sandbox API - Key Test API key for ShipCloud's sandbox.
Send "advance_notice" (DPD)? ("advance_notice" (DPD) mitschicken?) Yes = for DPD shipments, the recipient gets an advance notice by e-mail, if the order has an e-mail address.
Should errors be printed on the label? (Fehler auf Label ausgeben?) Yes = if ShipCloud rejects the label, a label-sized PDF with the error message is printed instead, so the packer sees the problem immediately.
Create a return label (Retourenlabel mit erzeugen) Yes = a return label is created together with the shipping label. See Returns.
Sender Address / Returns Address Company, contact (von Firma), street, number, postcode, city, 2-digit ISO country code (e.g. DE), e-mail, phone.
Carrier National / Carrier International Default carrier for domestic and international shipments, e.g. dhl or dpd.

Good to know / Troubleshooting

Message Cause Solution
"No ShipCloud settings are stored for client … (Company > Settings > ShipCloud)." (Für den Mandanten … sind keine ShipCloud-Einstellungen hinterlegt) The client has no ShipCloud account assigned and no other shipping rule applies. Create a ShipCloud entry and assign it to the client, or set up a shipping rule with a different provider.
"ShipCloud did not return a tracking number." Temporary problem at ShipCloud. Try again. Check the Shipcloud API status.
No status updates arrive Track & Trace is not installed for this account. Open the entry and click Install.

See also Shipping labels and Packing.