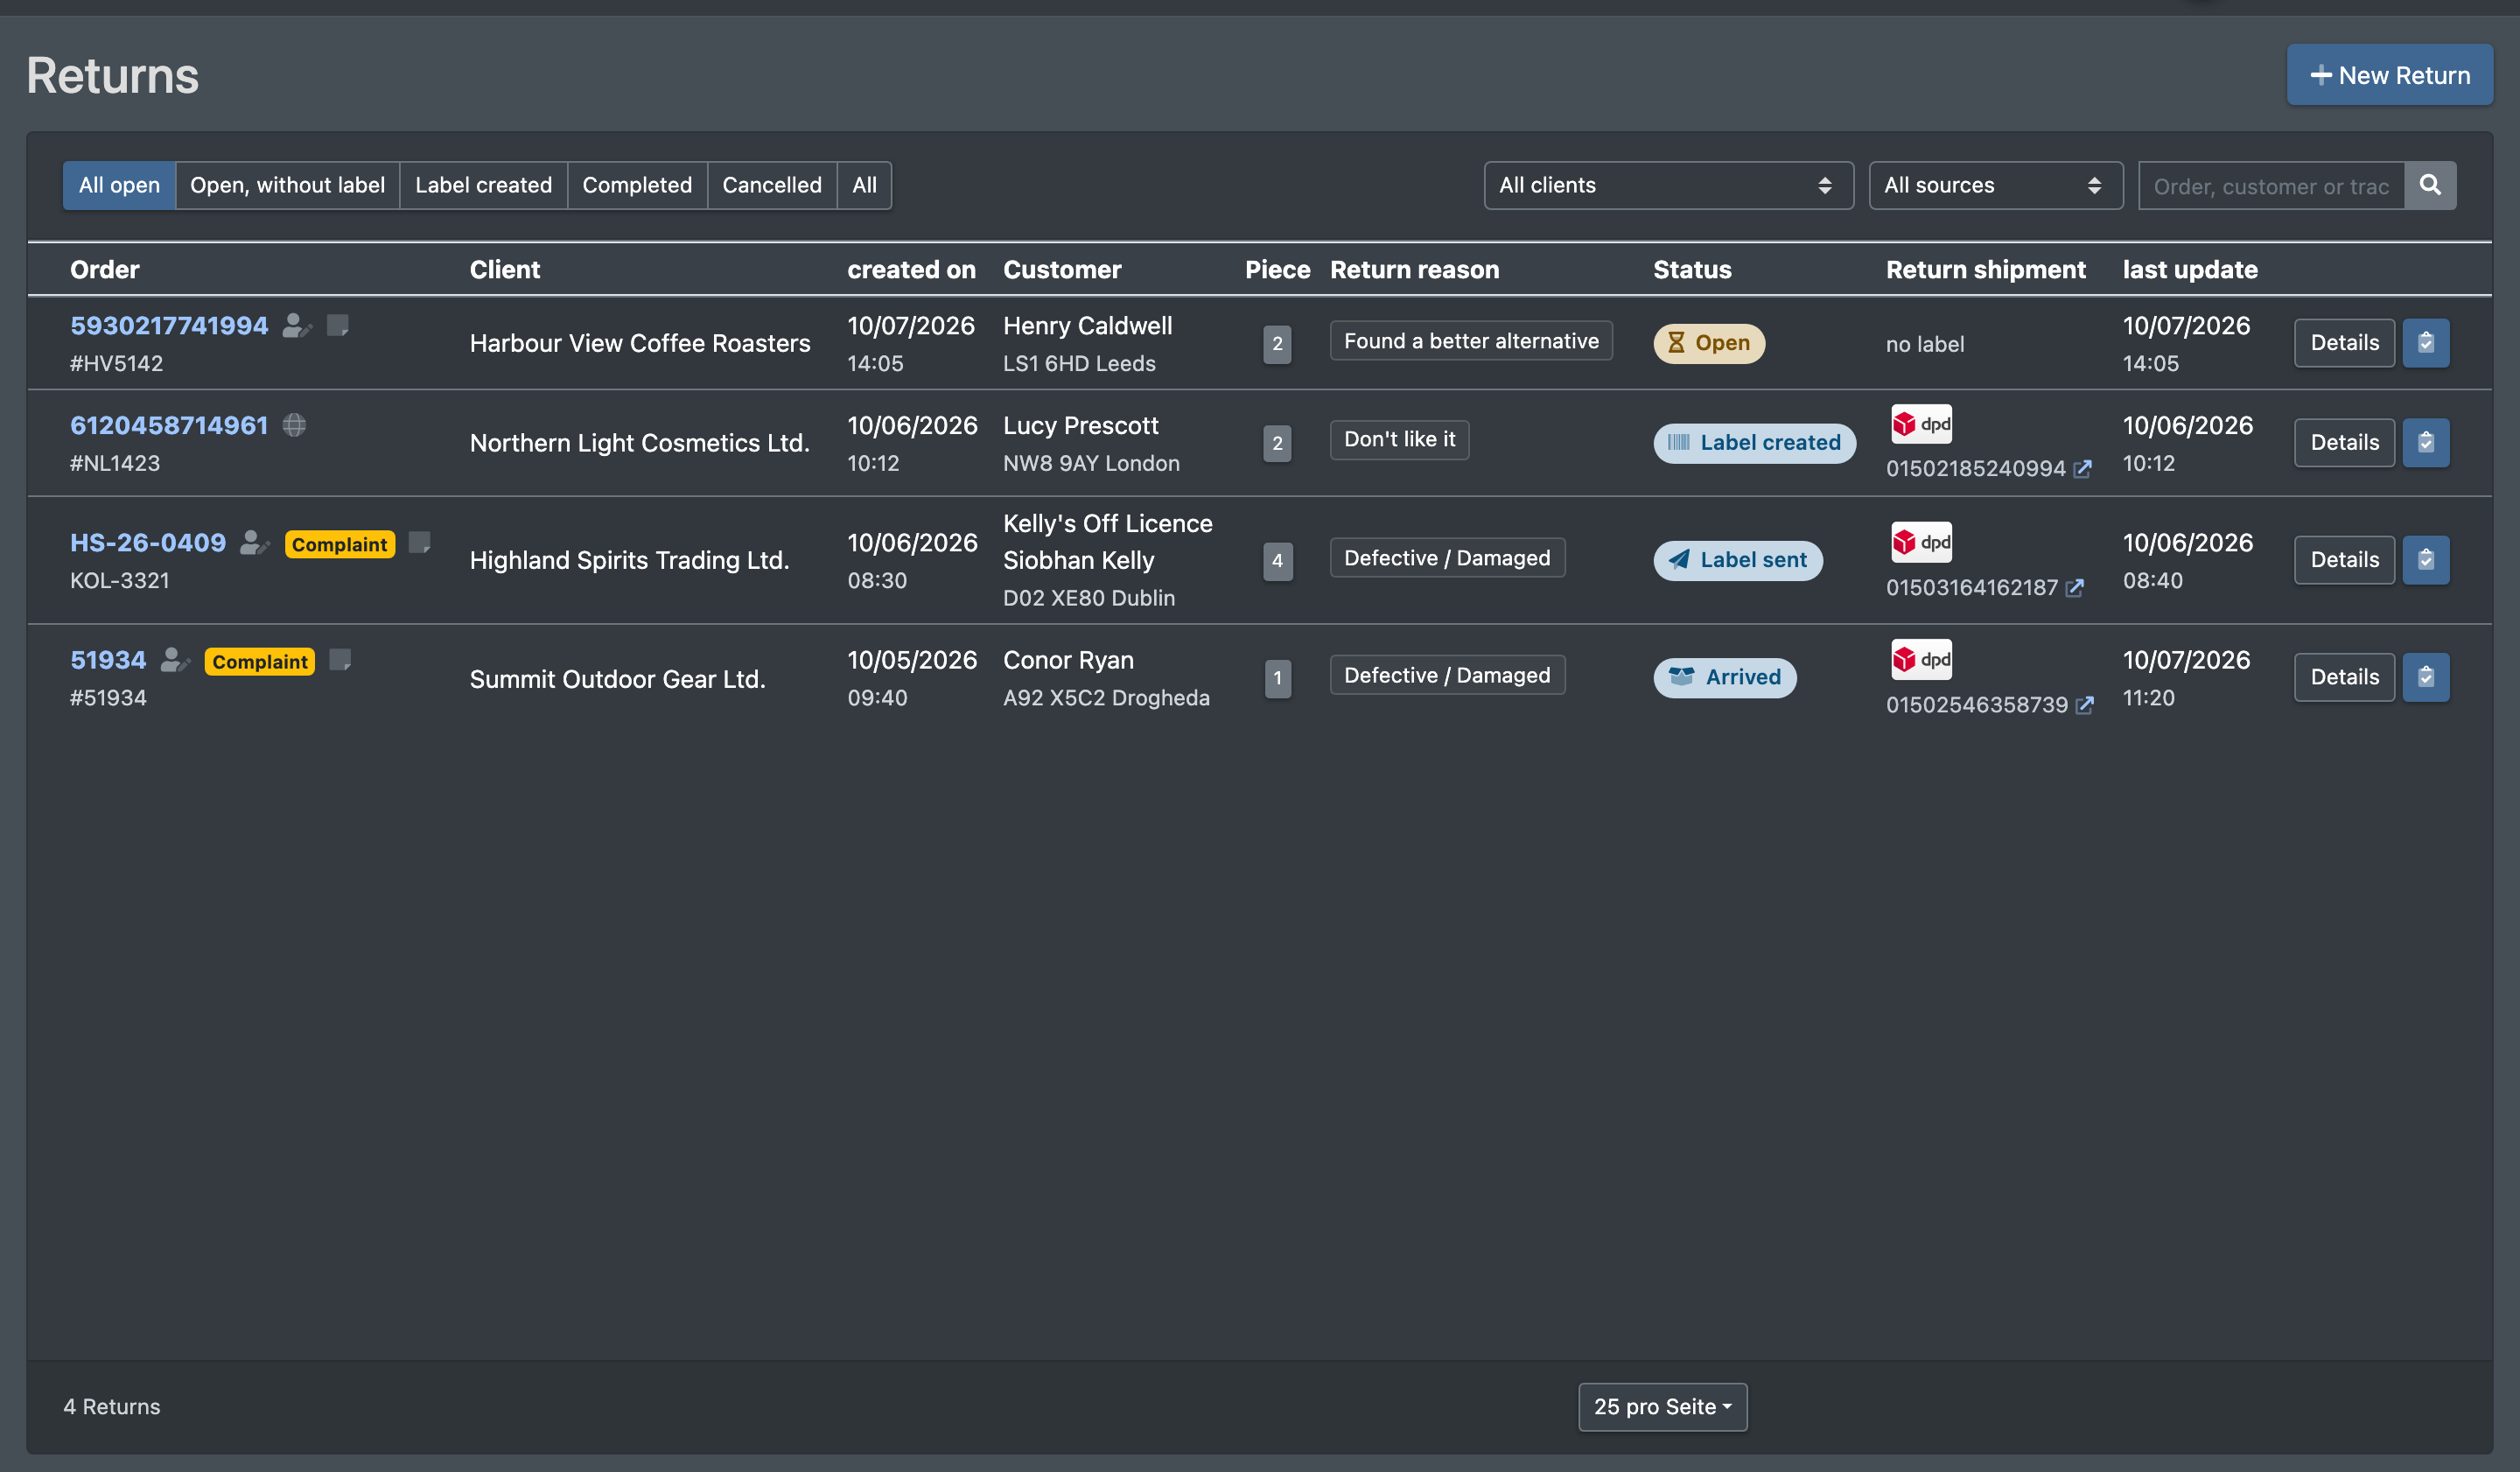
Returns
In Returns (Retouren) you manage everything that comes back from your customers. You register a return for a shipped order – as a withdrawal (Widerruf, the customer wants the money back) or a complaint (Reklamation, the customer wants a replacement). X-Sitter creates the return label, sends it to the customer by e-mail and announces the return at goods receipt. When the parcel arrives, you review each line and accept or reject it.
Before you start
- Your user needs the permission Returns (Retouren). To review and accept returns, you also need the permission to accept returns. Ask your administrator.
- The order must have the status Sent (Versendet) and come from a sales channel that is activated for the client.
- For the return label: either the order was shipped with a label from X-Sitter (the return label is then created with the same carrier), or ShipCloud access is set up for the client (see ShipCloud accounts).
- To e-mail the label to the customer, the order needs an e-mail address in the delivery address.
Step by step
1. Register a return
- Open Returns (Retouren) in the left sidebar.
- Click New Return (Neue Retoure).
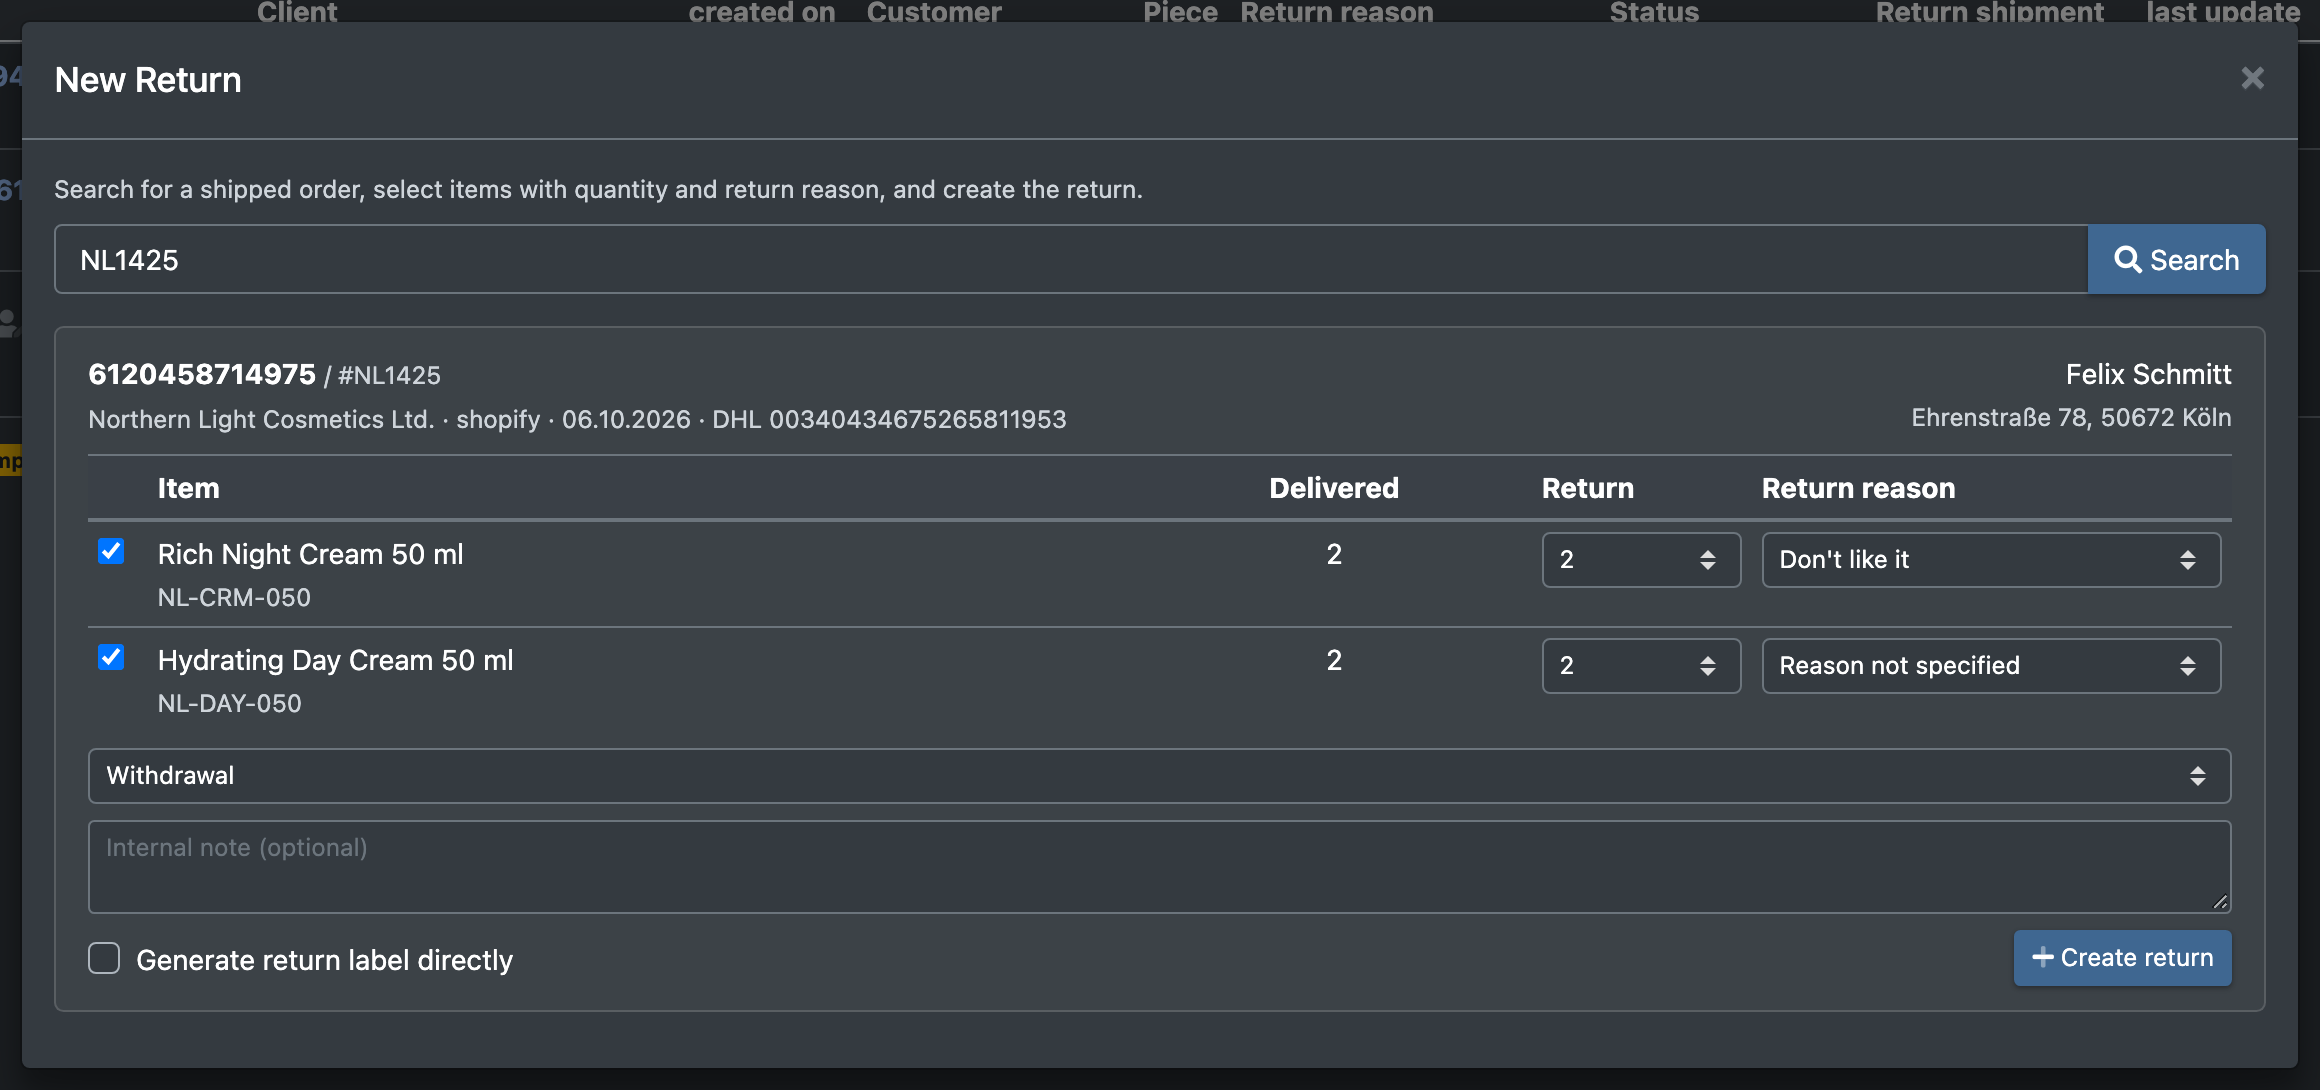
- Enter an order number, customer name or tracking number (Bestellnummer, Kundenname oder Tracking-Nr.) and click Search (Suchen). Only shipped orders are found.
- In the order card tick the lines that come back. For each line choose:
- the quantity in the column Return (Retoure) – you can only return what has not been returned yet (already returned / fully returned is shown),
- the Return reason (Rückgabegrund).
- Choose the type of return: Withdrawal (Widerruf) or Complaint (Reklamation).
- Optional: enter an Internal note (Interne Bemerkung) and tick Generate return label directly (Retourenlabel direkt erzeugen).
- Click Create return (Retoure anlegen). You see The return has been created (Die Retoure wurde angelegt), or The return was created and the label generated if you ticked the label option.
2. Create and send the return label
- In the overview click on the return to open its details.
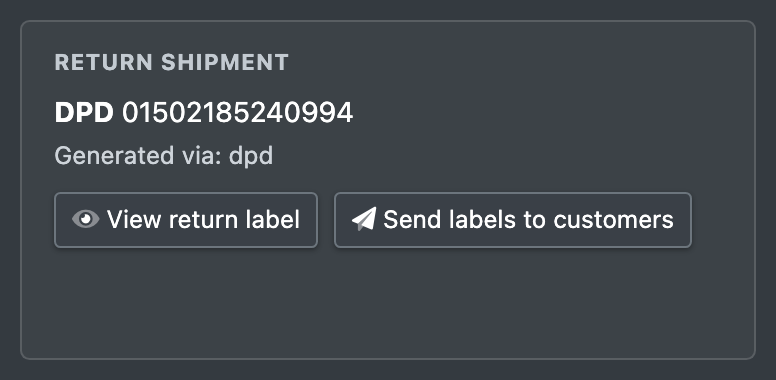
- In the box Return shipment (Rücksendung) click Generate return label (Retourenlabel erzeugen). The label is created with the carrier that shipped the order. You see The label was created and saved (Das Label wurde erzeugt und abgelegt).
- Click View return label (Retourenetikett anzeigen) to see or print the label.
- Click Send labels to customers (Label an Kunden versenden). The label is e-mailed to the customer's address from the order, and the details show Sent on: (Versendet am:) with date and time. Use Resend label (Label erneut versenden) to send it again.
3. Goods receipt
The advance notice for goods receipt is created together with the return label. In the box Goods in (Wareneingang) click Open inbound notification (Avisierung öffnen) to see it. The returned goods are then booked in at goods receipt. See Advance notices and Putaway.
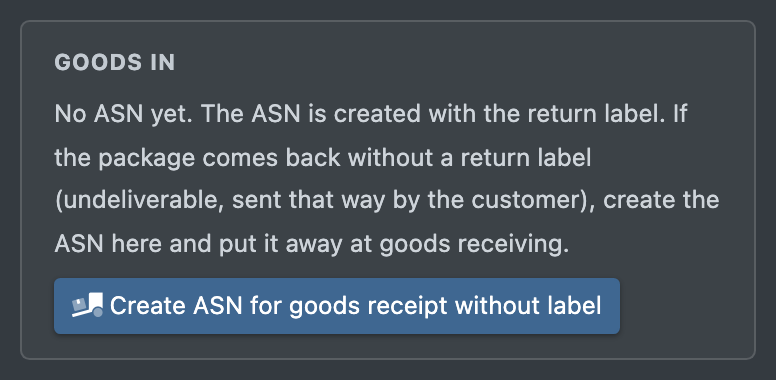
If a parcel comes back without a return label (for example undeliverable, or the customer sent it on their own), click Create ASN for goods receipt without label (Wareneingang ohne Label avisieren). The return is then announced and can be put away at goods receipt.
4. Review the return
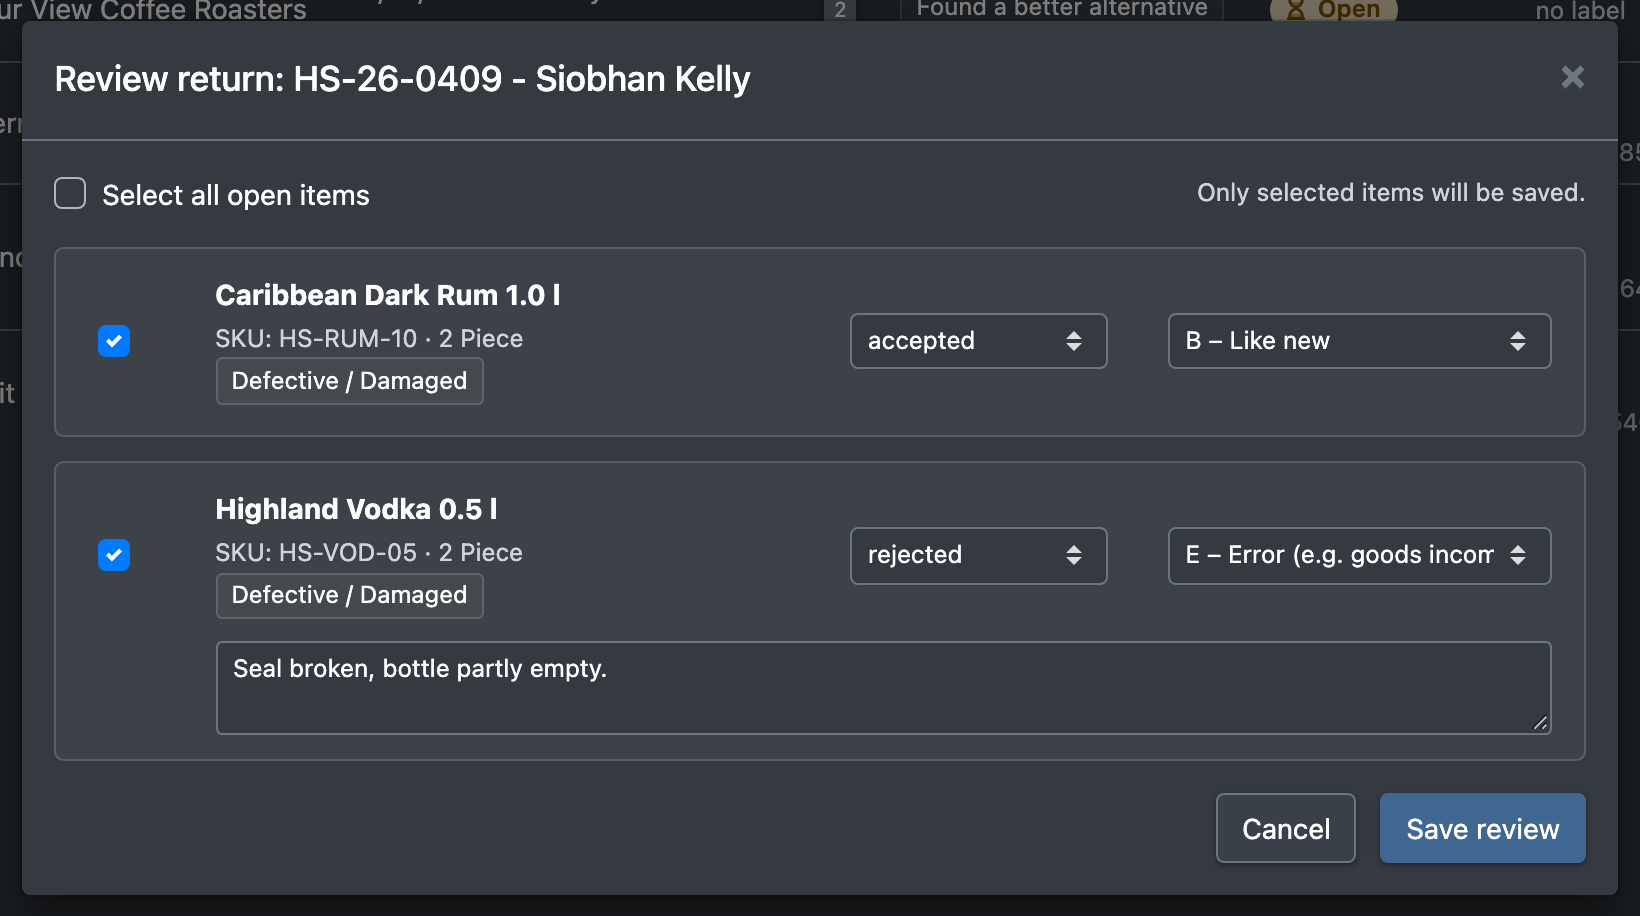
- Open the return and click Review return (Retoure prüfen), or use the review button in the overview row (Review and accept return, Retoure prüfen und annehmen).
- Tick the lines you have checked, or Select all open items (Alle offenen Positionen auswählen).
- For each line choose accepted (akzeptiert) or rejected (abgelehnt) and the condition (see table below; default B – Like new).
- For rejected lines enter a Reason for rejection (Grund der Ablehnung). It is required.
- Click Save review (Prüfung speichern). Only ticked lines are saved.
When all lines are reviewed, you see The return was reviewed and completed. (Die Retoure wurde geprüft und abgeschlossen.). If lines are still open, you see how many – you can review them later.
Cancel a return
Open an open return and click Cancel return (Retoure stornieren), then confirm. The lines can be returned again afterwards. Only open returns can be cancelled.
Save an internal note
Type the text in Internal note (Interne Bemerkung) in the return details and click Save comment (Bemerkung speichern).
Fields and options
Overview filters and columns
Return reasons
Conditions (review)
Statuses

Return portal
If you use the X-Sitter return portal, your end customers register returns themselves: they enter their order number and last name, choose withdrawal or complaint, and select the articles with reason and quantity. X-Sitter then creates the return label with the carrier of the original shipment and announces the return at goods receipt. If the label cannot be created, the return is still saved and you can create the label later in the overview. Portal returns are marked Registered by the customer in the return portal (Vom Kunden im Retourenportal angemeldet). Contact X-Sitter support to set up the return portal.
After the review
- Returns of marketplace orders are reported to the marketplace automatically after the review: the accepted quantity per line with return reason and condition. Rejected lines are not reported. The details then show Reported to shop (An Shop gemeldet). See Marketplace orders.
- Returns can also be reported to a connected ERP; the details then show Reported to ERP (An ERP gemeldet).
- The tracking number of the return label also appears in the order under Return (Retoure). See Shipment tracking.
- You can get a Telegram message when a return is closed. See Telegram notifications.
The order option Return label in the order details is something different: it creates a return label together with the shipping label when the order is packed, and uses your shipping rules.