Warehouses
The warehouse is the top level of your warehouse structure. Storage areas, storage places, stock, picklists, picking carts, deposit locations, freight carriers and cost settings all belong to one warehouse. Without at least one warehouse, none of the other WMS functions can be used in a meaningful way.
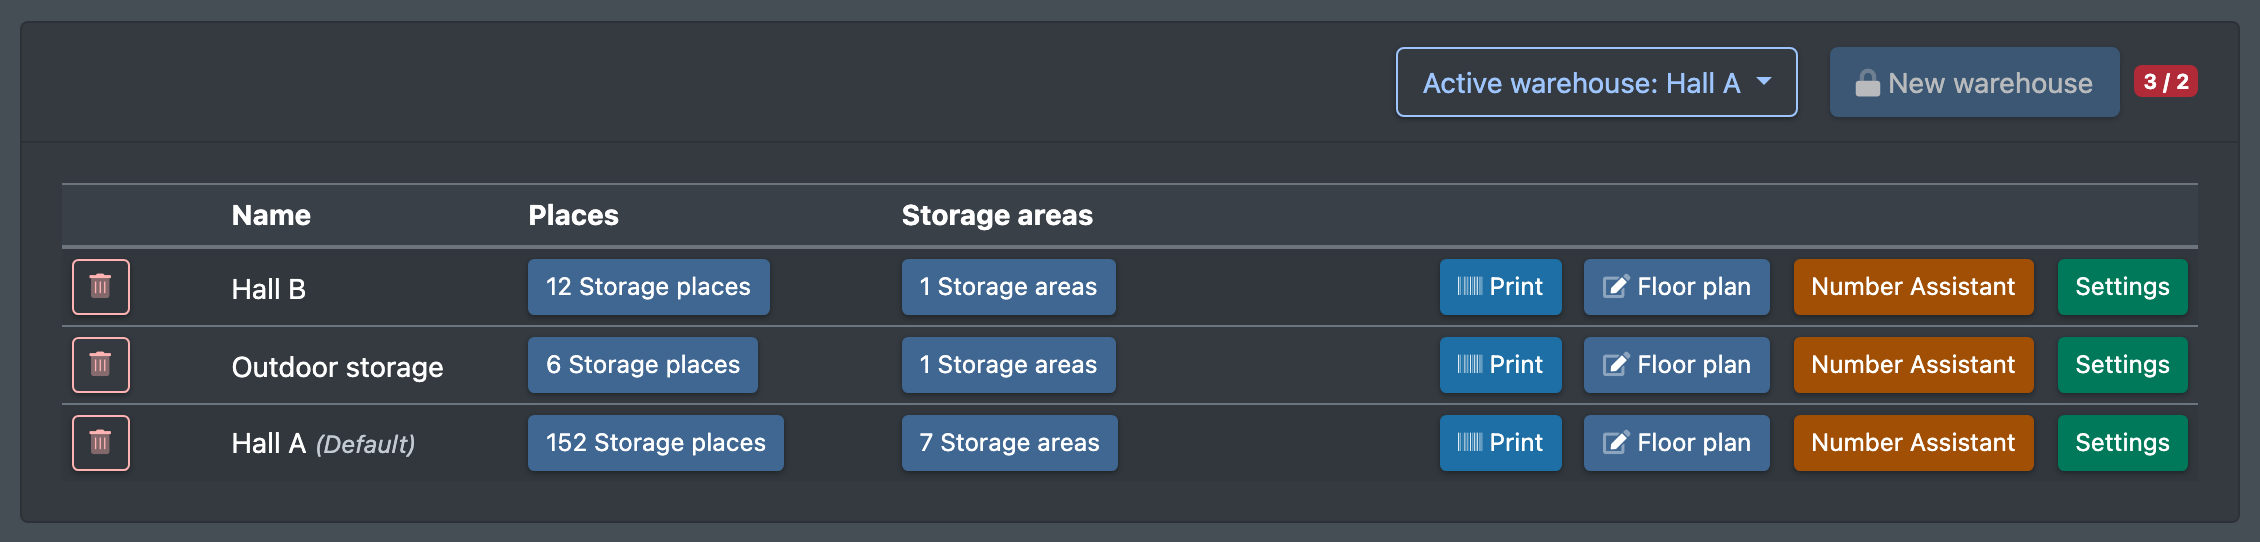
On the page Warehouse Overview (Lager Übersicht) you see all your warehouses, create new ones, open their settings, maintain floor plans and delete warehouses you no longer need.
Before you start
- Your user needs the permissions for WMS, Warehouse and Overview in the rights tree – ask your administrator. Deleting a warehouse and the floor plan editor need their own permissions.
- Your booked package must include another warehouse location. Every warehouse of the logistician counts as a location, and so does every additional (not the first) warehouse of a client. If the limit is reached, contact X-Sitter support to book more locations.
Create a warehouse
- Open WMS › Warehouse › Overview (WMS › Lager › Übersicht).
- Click New warehouse (Neues Lager). The page Create warehouse (Lager anlegen) opens with the settings tabs.
- On the tab General settings (Grundeinstellungen) enter at least a Name (Name). The field is prefilled with "Standard Lager".
- Choose the Status (Status) – Active (Aktiv) or Deactivated (Deaktiviert) – and decide whether this is your Default warehouse (Standartlager).
- On the tab Storage place numbering (Lagerplatz Nummerierungen) define how your place numbers are built (segments, length, digits or letters, separator). The Number assistant uses this structure later.
- Click Save (Speichern). You see the message "All values have been saved" (Alle Werte wurden gespeichert).
Your first warehouse automatically becomes the default warehouse. X-Sitter also creates useful starting values for it: number ranges (billing number from 10001, customer number from 50001), storage place types (e.g. storage place, shelf place, pallet place, goods receipt, returns place, speed place, shipping station, transit), storage place kinds (restocking, picking place), priorities (High, Normal) and the standard reasons for stock movements. You can adjust all of them in the Warehouse settings.
Switch the current warehouse
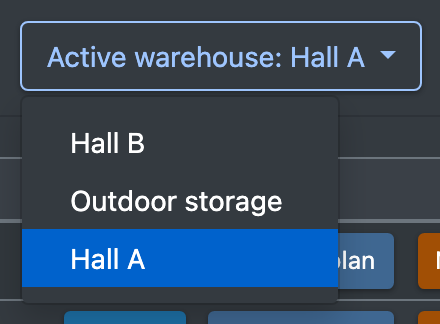
All warehouse pages always work with the current warehouse. Use the warehouse drop-down at the top right to switch. When you open the WMS, your default warehouse is selected automatically.
Actions in the overview
Each warehouse row offers these actions:

Floor plans (Warehouse planner)
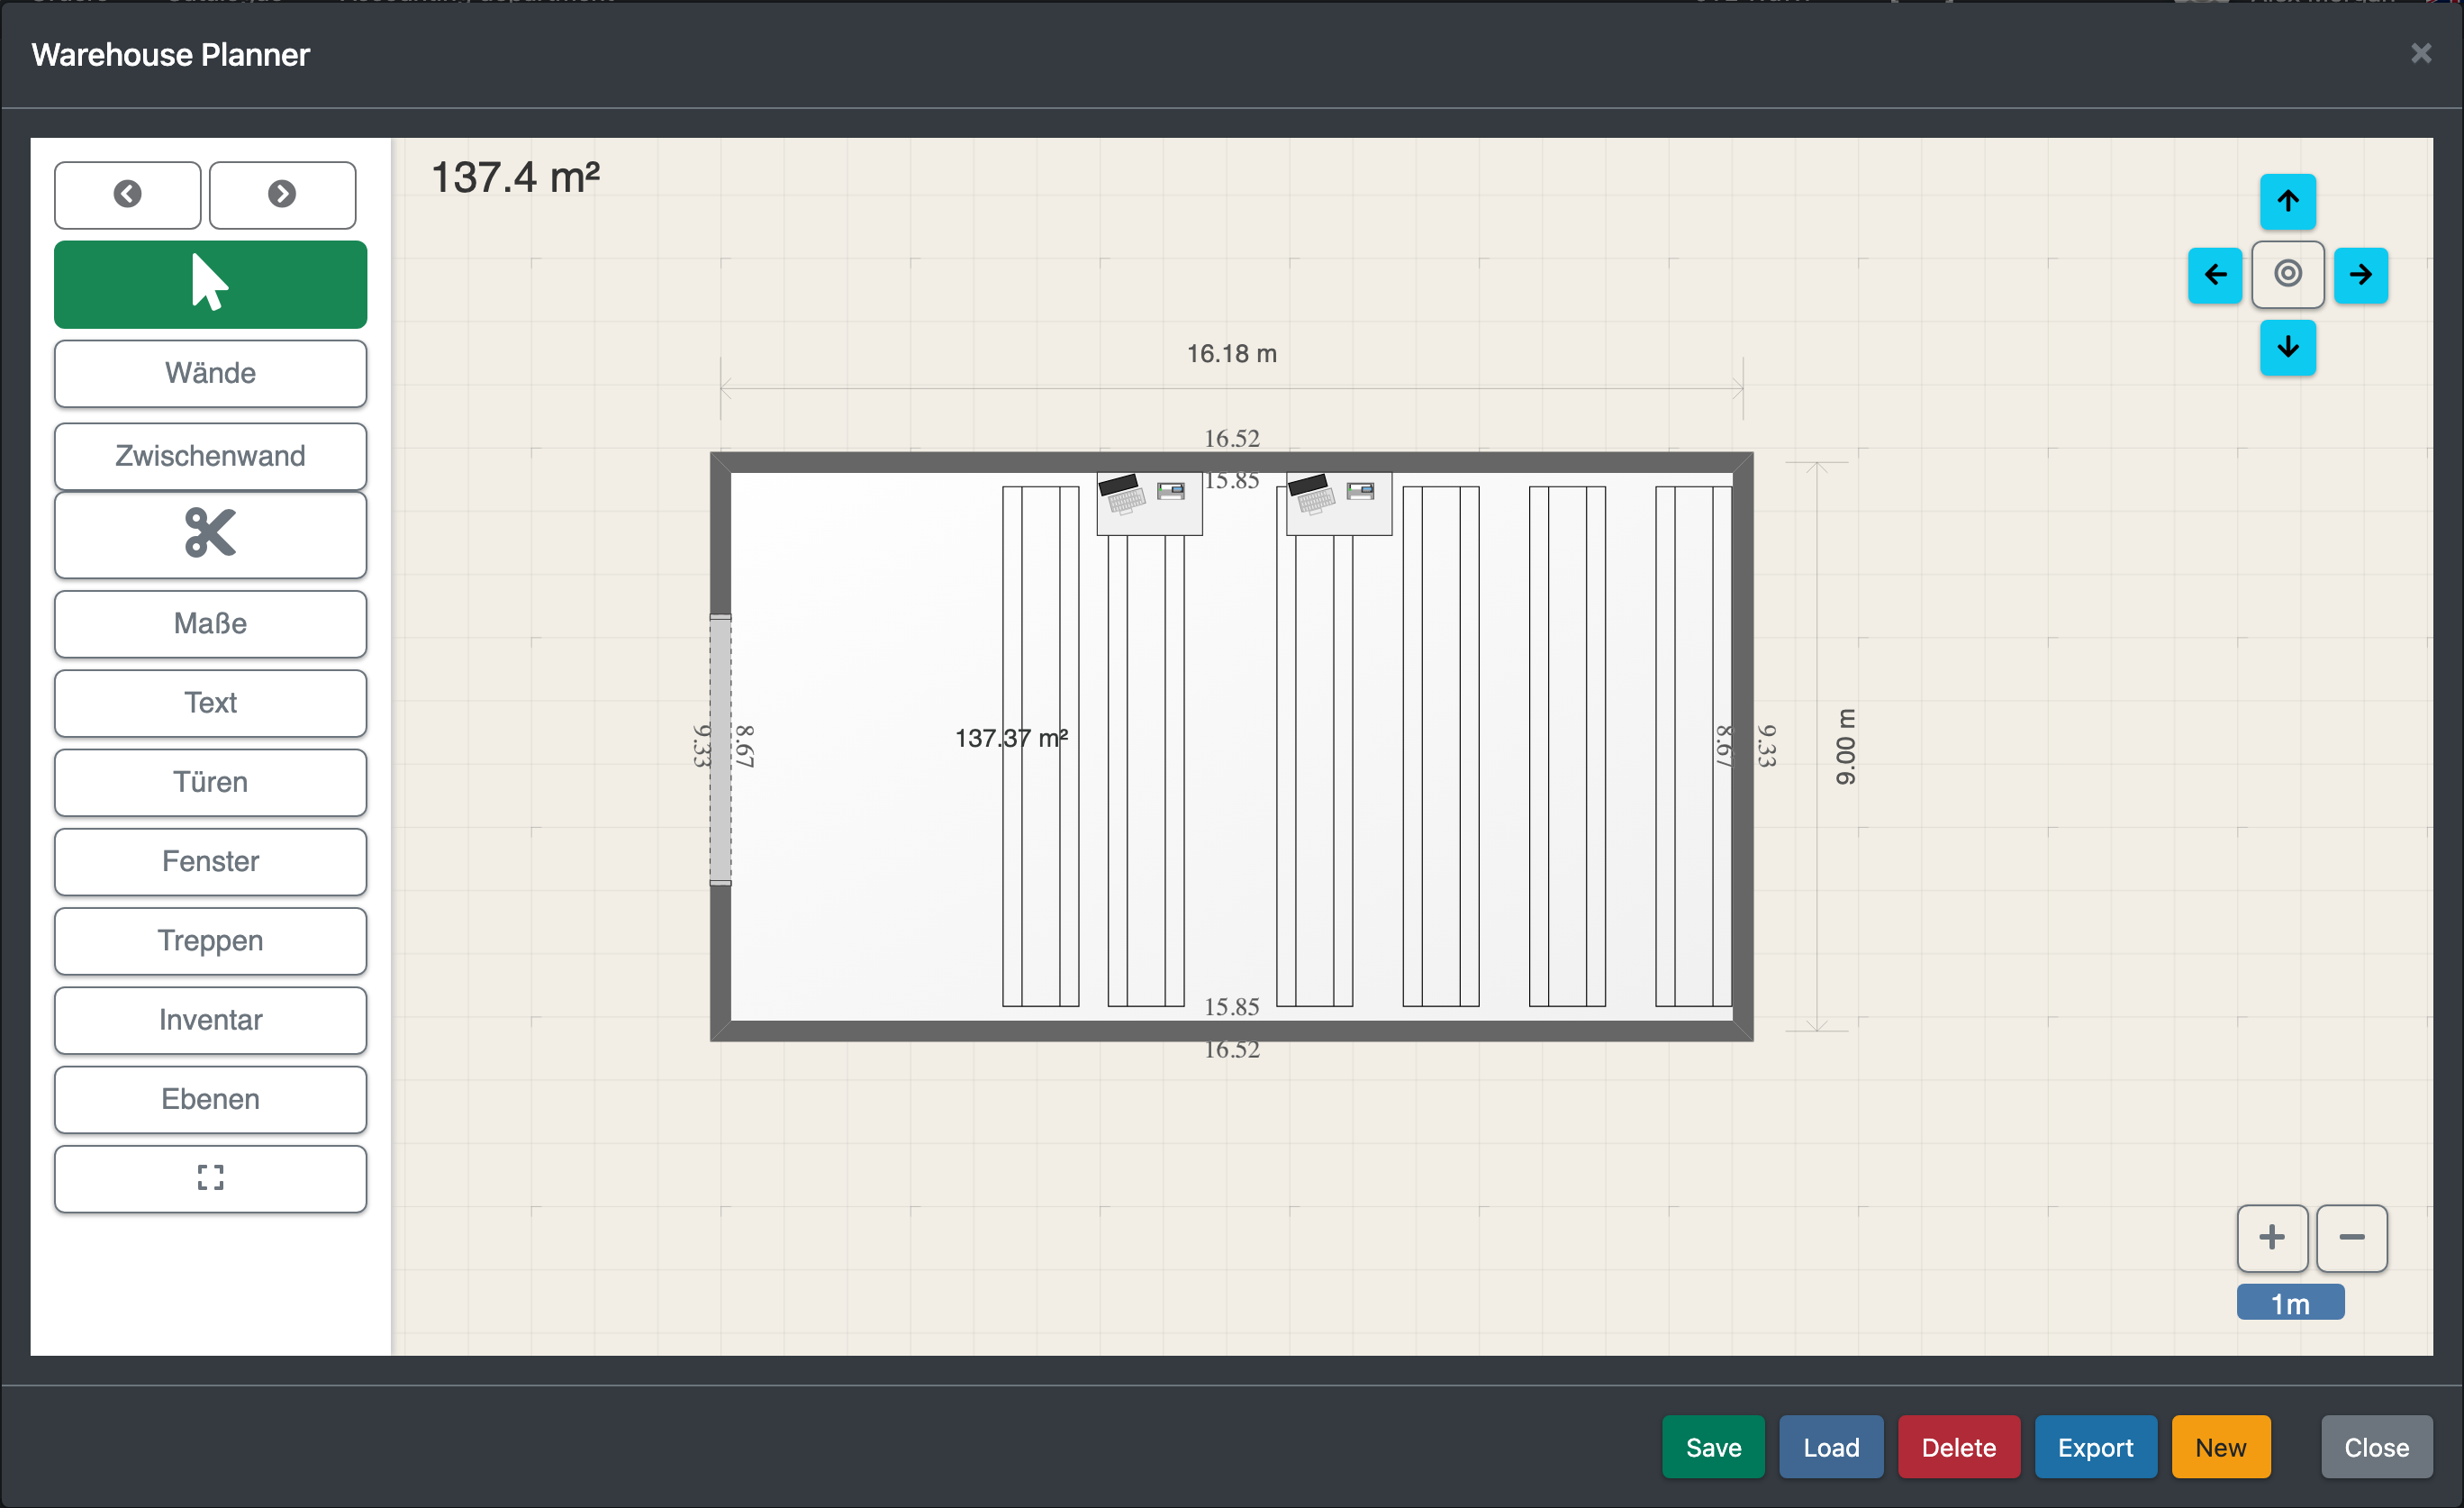
In the Warehouse planner (Lager Planer) you draw the layout of your hall and keep several versions of it.
- Click Floor plan (Grundriss) in the warehouse row.
- Arrange your layout.
- Click Save floor plan (Grundriss speichern) and enter a Name of the floor plan (Name des Grundrisses).
- Use Choose layout (Layout wählen) to load a saved floor plan, Save as new floor plan (Als neuen Grundriss speichern) to keep a copy, or delete and export layouts.
For a top view of rows and occupied places of a single storage area, use the hall plan in Storage areas.
Delete a warehouse
- Click the delete button in the warehouse row.
- Confirm the question "Should the warehouse really be removed with all its places, settings and article assignments?" (Soll das Lager mit all seinen Plätzen, Einstellungen und Artikel-Zuordnungen wirklich entfernt werden?).
warning Deleting cannot be undone
Deleting a warehouse permanently removes everything that belongs to it: storage areas, groups, places, stock, stock history, picklists, picking carts, pallet labels, floor plans, settings and cost settings. The default warehouse cannot be deleted – first make another warehouse the default.
Fields and options
Good to know / Troubleshooting
Next steps: Warehouse settings › Storage areas › Storage places › Employee assignment