
Jobs & connections
Jobs are automatic tasks X-Sitter runs for a company on a regular schedule – for example importing orders from a marketplace, synchronising stock or sending tracking numbers back to JTL-Wawi. Connections store the access data to the external systems these jobs work with, such as a JTL-Wawi database, a marketplace account or a carrier account.
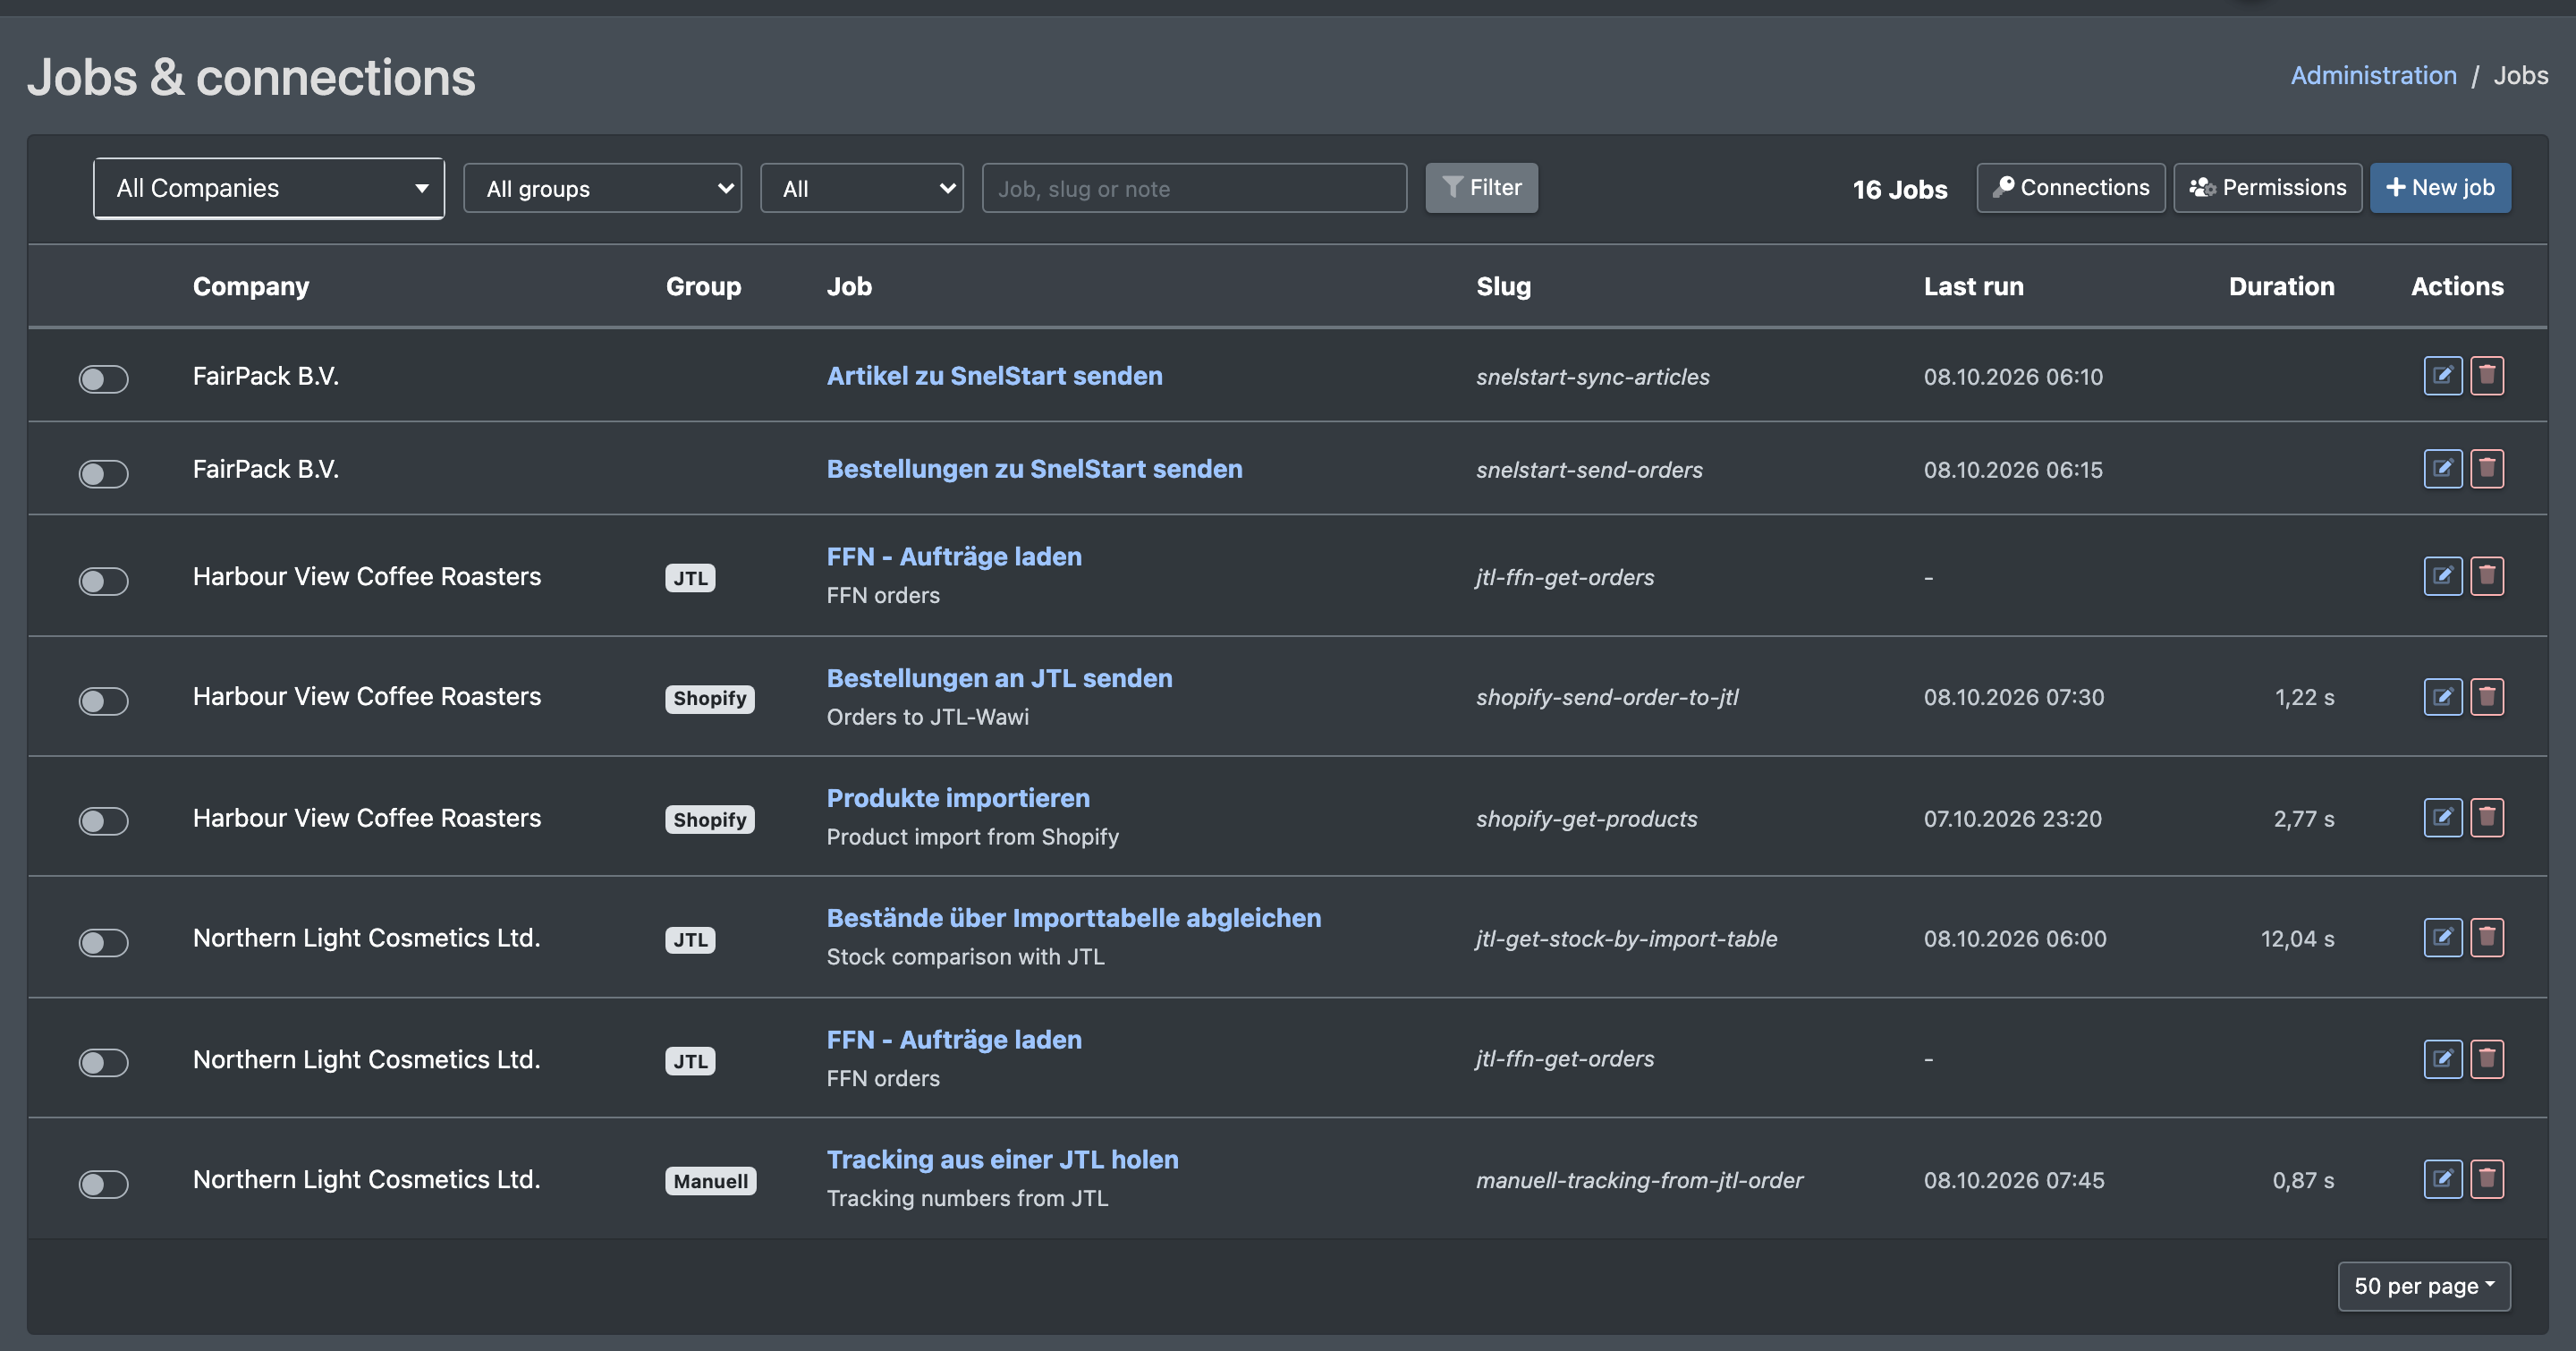
Under Administration › Jobs & connections you manage both yourself:
- As a main tenant (logistician) you manage the jobs and connections of your own company and of all your active clients.
- A client sees and manages only its own jobs and connections – and only after the logistician has released this for the client.
Before you start
- Your user needs the permission Jobs & connections in the Administration area of the permissions tree. Ask your administrator.
- Your package must have room for another job or connection. All jobs of your company and your clients count against your package – active and inactive ones. A job only frees its place when you delete it.
- For most jobs you first need a connection with the access data of the external system.
Step by step
1. Create a connection
- Open Administration › Jobs & connections (Administration › Jobs & Verbindungen) and click Connections (Verbindungen).
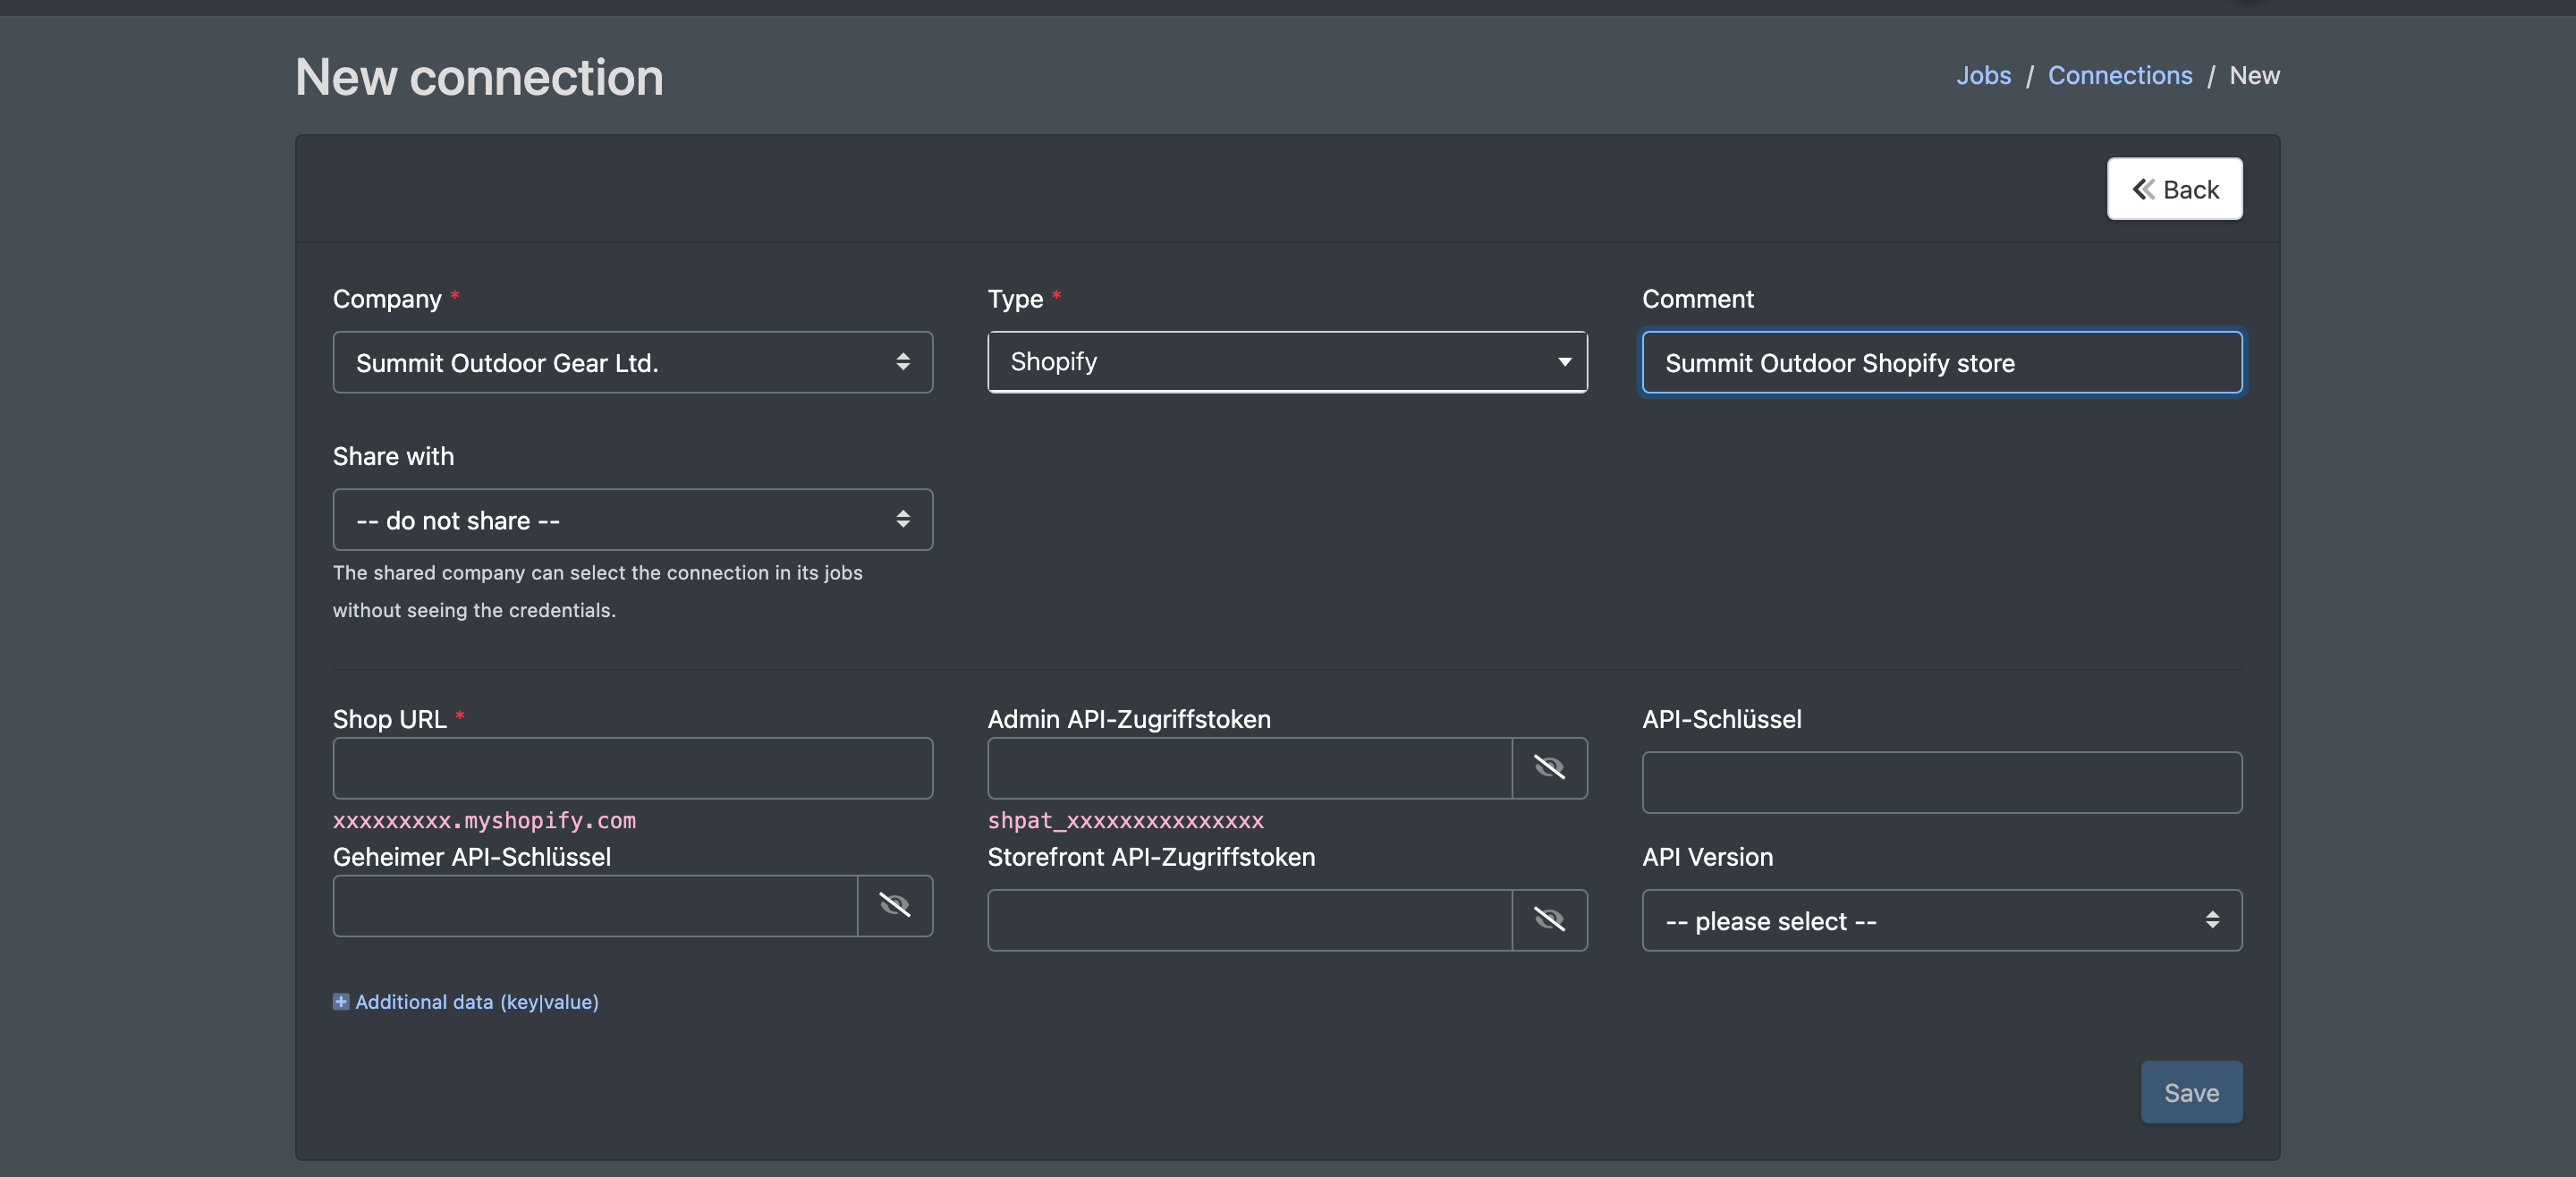
- Click New connection (Neue Verbindung).
- Choose the Company (Firma) the connection belongs to – your own company or a client.
- Choose the Type (Typ), e.g. JTL, Otto, Kaufland, eBay, DHL or GLS. The matching form for the access data appears.
- Enter a Comment (Bemerkung). It is shown wherever you choose the connection, so make it meaningful (e.g. "Main account", "Client XY test").
- Optional, as main tenant: Share with (Teilen mit) another company of your group. That company can then select the connection in its jobs without seeing the access data.
- Fill in the access data.
- Click Save (Speichern). You see "The connection was created".
You can create several connections of the same type for one company – they are numbered.
2. Create a job
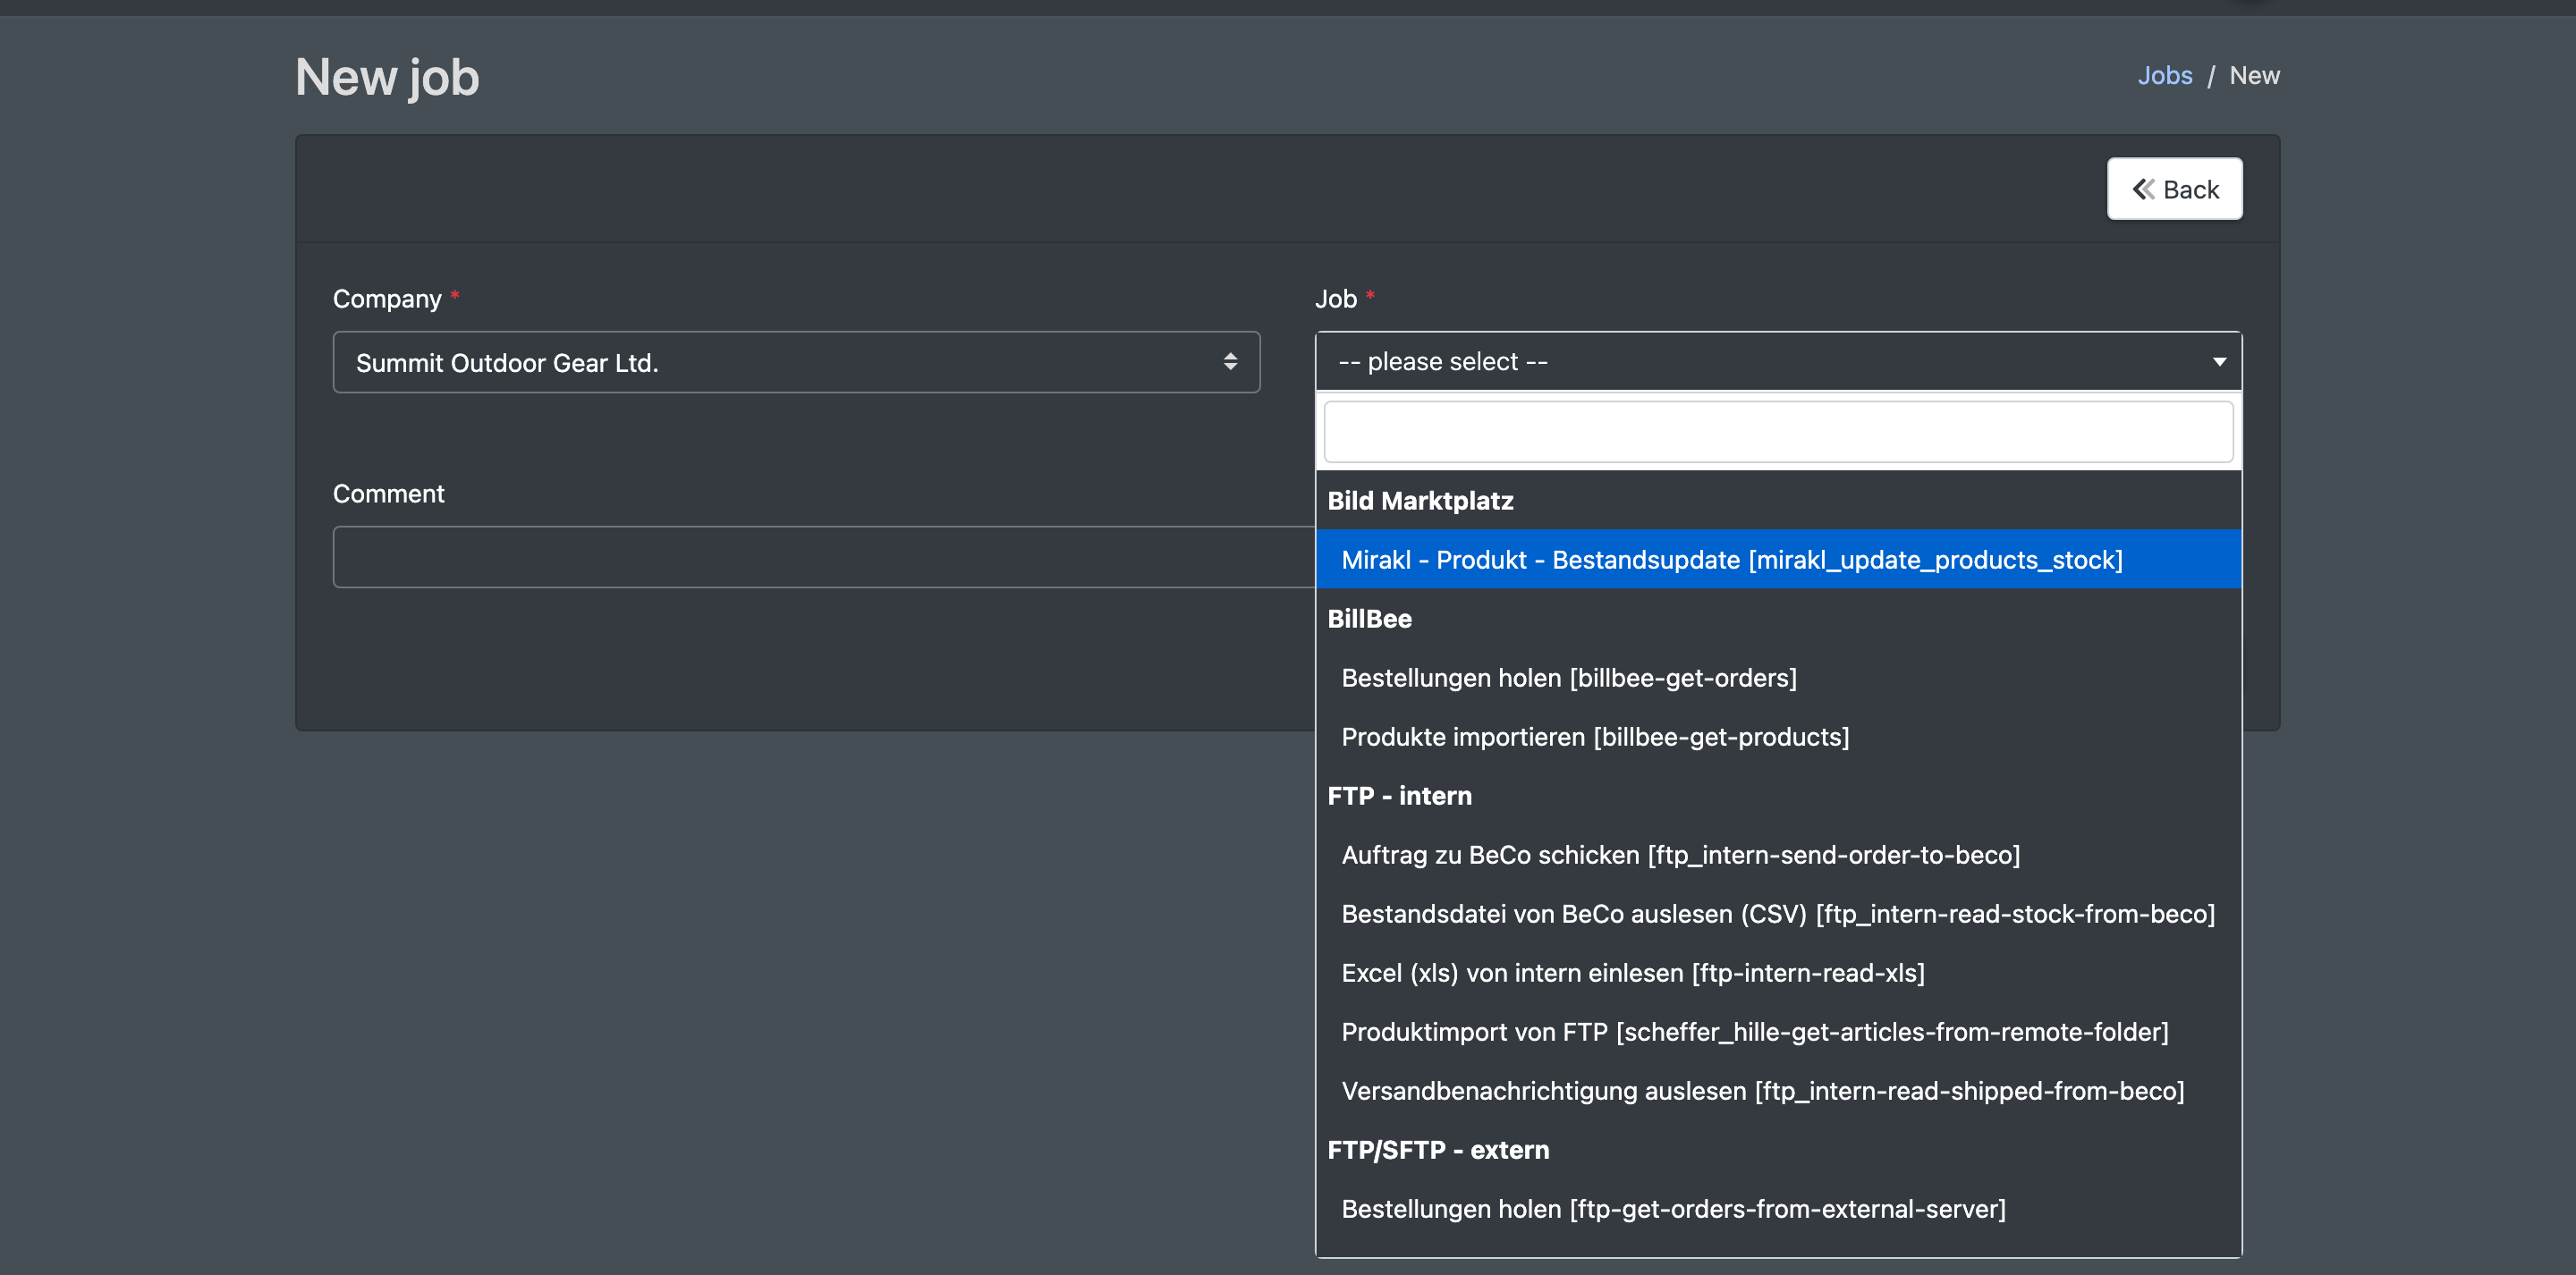
- In the jobs overview, click New job (Neuer Job).
- Choose the Company (Firma).
- Choose the Job from the list. Jobs are grouped by topic.
- Optionally enter a Comment (Bemerkung).
- Click Create job (Job anlegen). The job is created inactive: "The job was created - please complete the settings now and activate the job".
3. Configure and activate the job
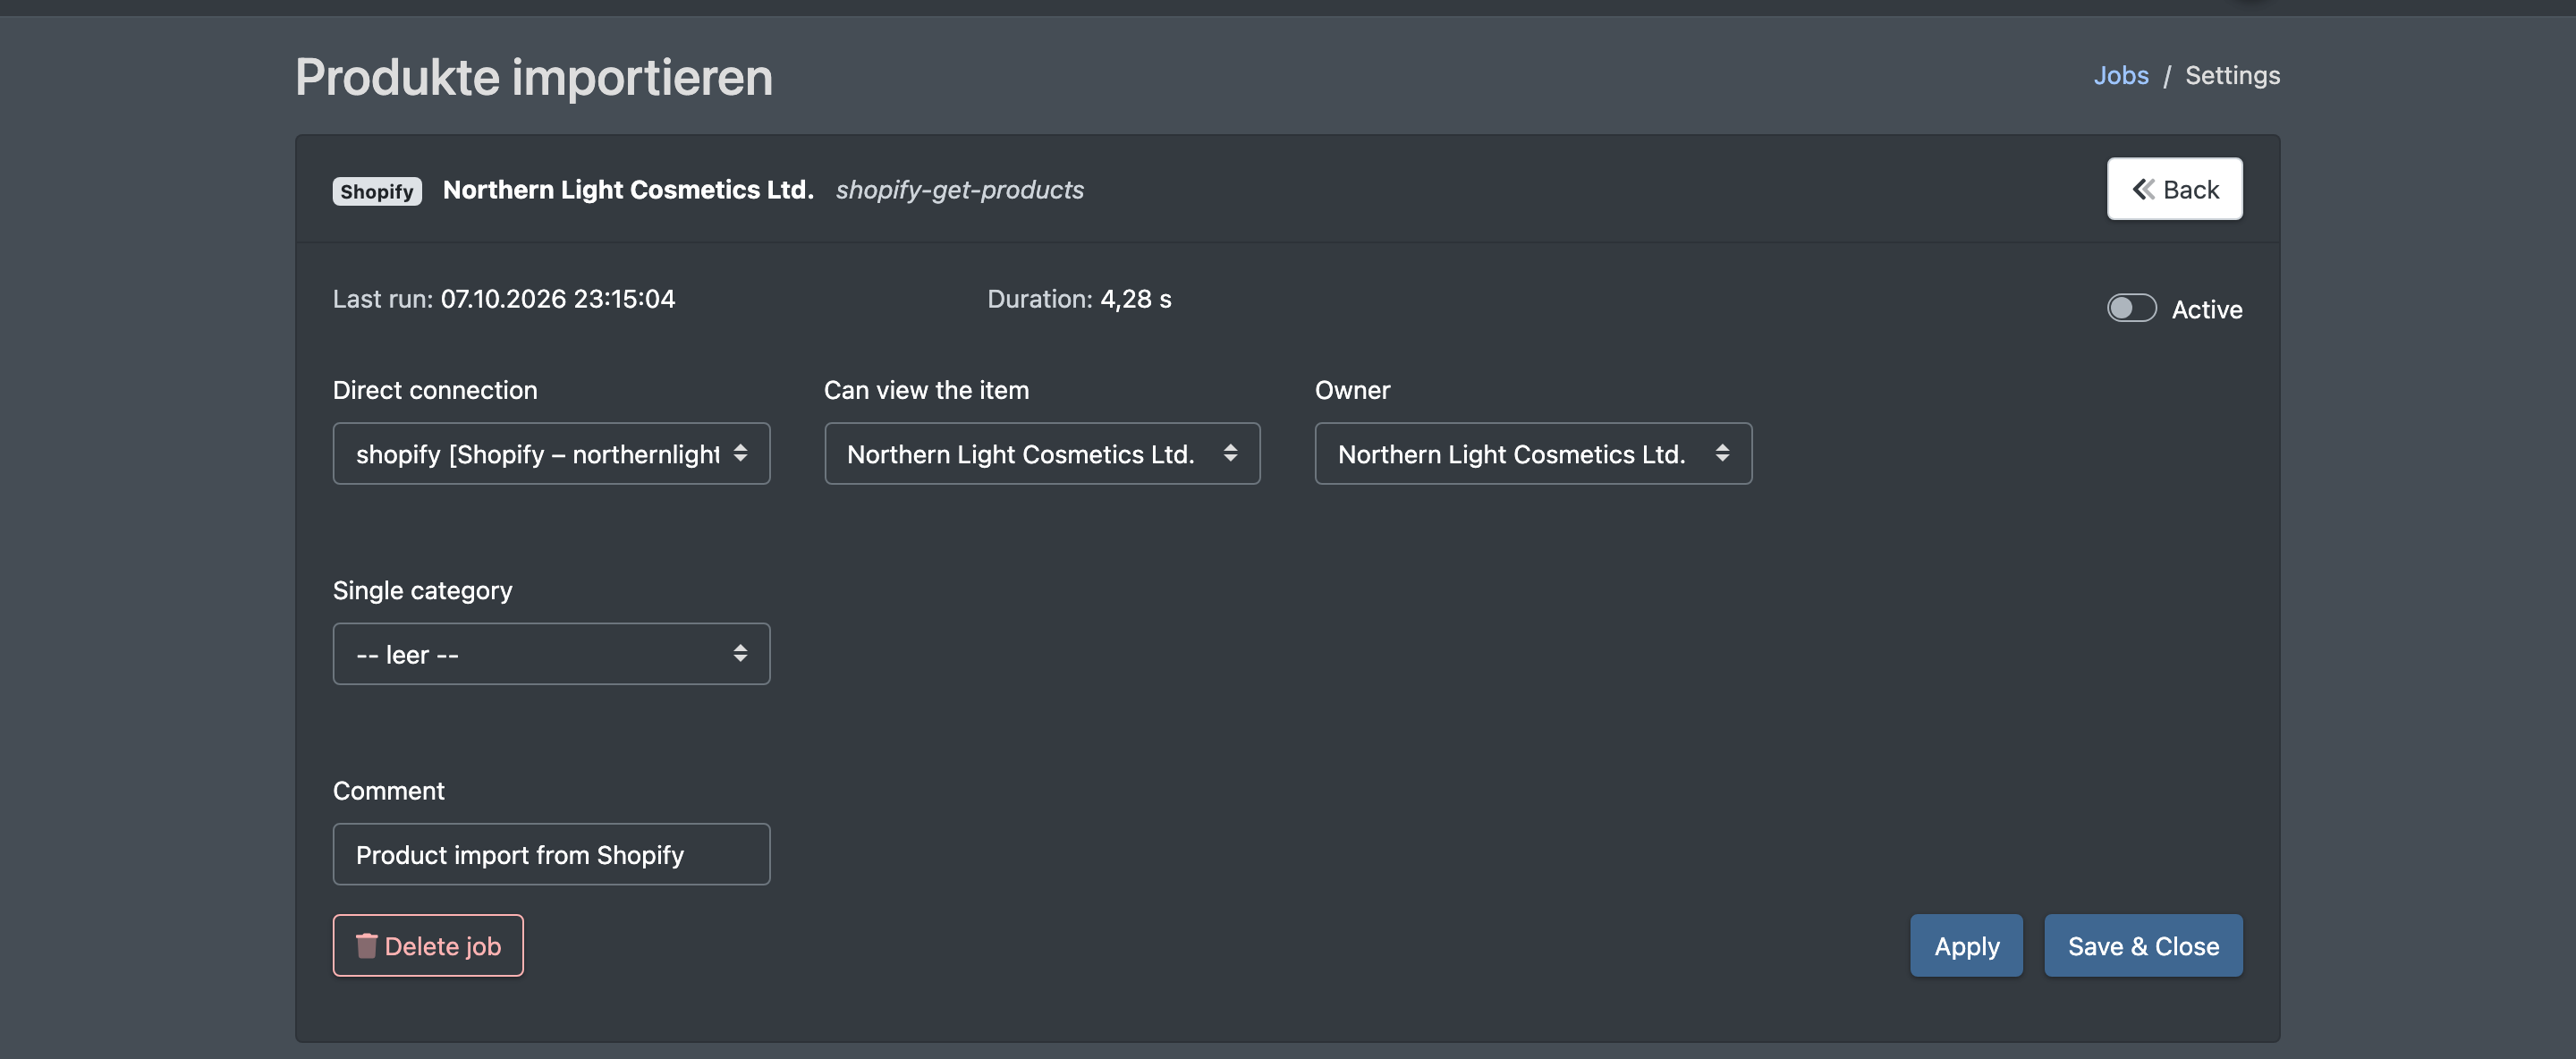
- The job settings open automatically (later: click the job name in the list).
- Fill in the job-specific settings – usually the connection to use, plus options such as status, folder or intervals, depending on the job. Some jobs have no further settings.
- Switch Active (Aktiv) on.
- Click Apply (Übernehmen) to save and stay, or Save & Close (Speichern & Schließen). You see "The job settings were saved".
From now on X-Sitter runs the job automatically. The list shows when it ran last (Last run, Letzter Lauf) and how long it took (Duration, Dauer).
Switch a job on or off
Use the switch at the start of each row in the jobs list. You see "The job was activated" or "The job was deactivated". An inactive job keeps its settings and still counts against your package.
Delete a job or connection
- Job: click the delete button in the list or Delete job (Job löschen) in the settings. Confirm "Delete job?". The job and its settings are removed; data that was already imported is kept.
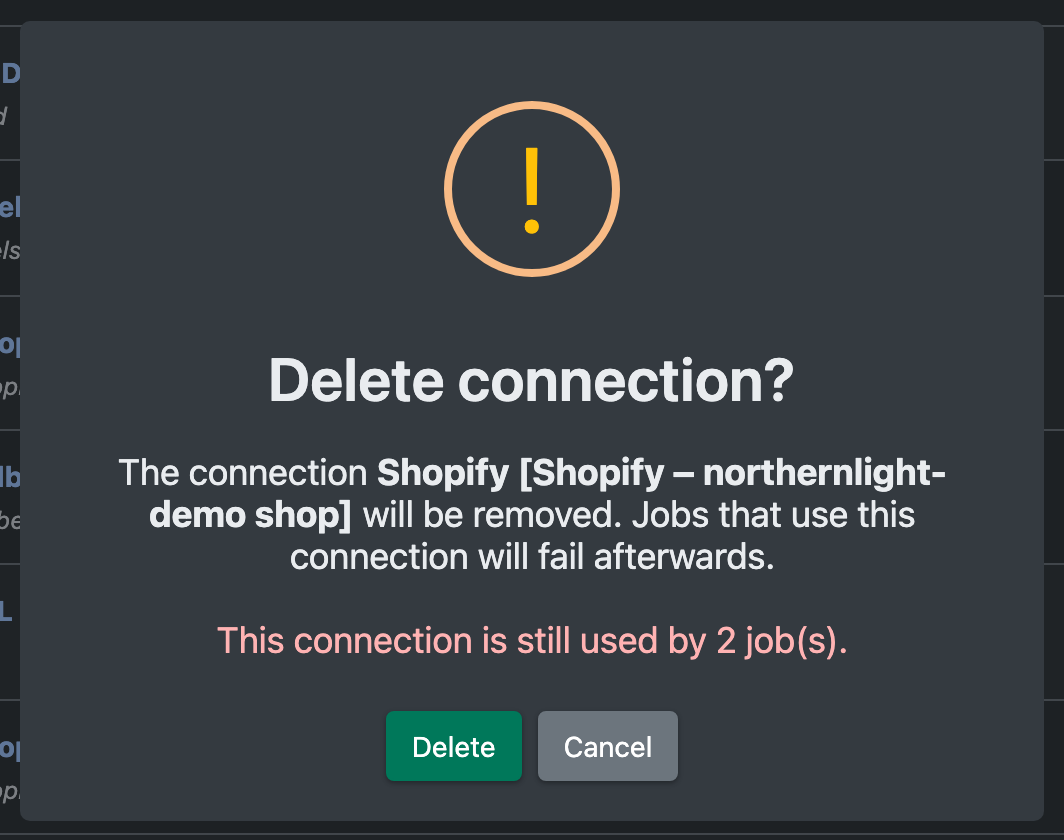
- Connection: click the delete button in the connections list or Delete connection (Verbindung löschen) in the form. The confirmation tells you how many jobs still use the connection. Those jobs fail afterwards, so change or delete them first.
Release the mask to clients
As main tenant you decide which clients may manage their own jobs and connections.
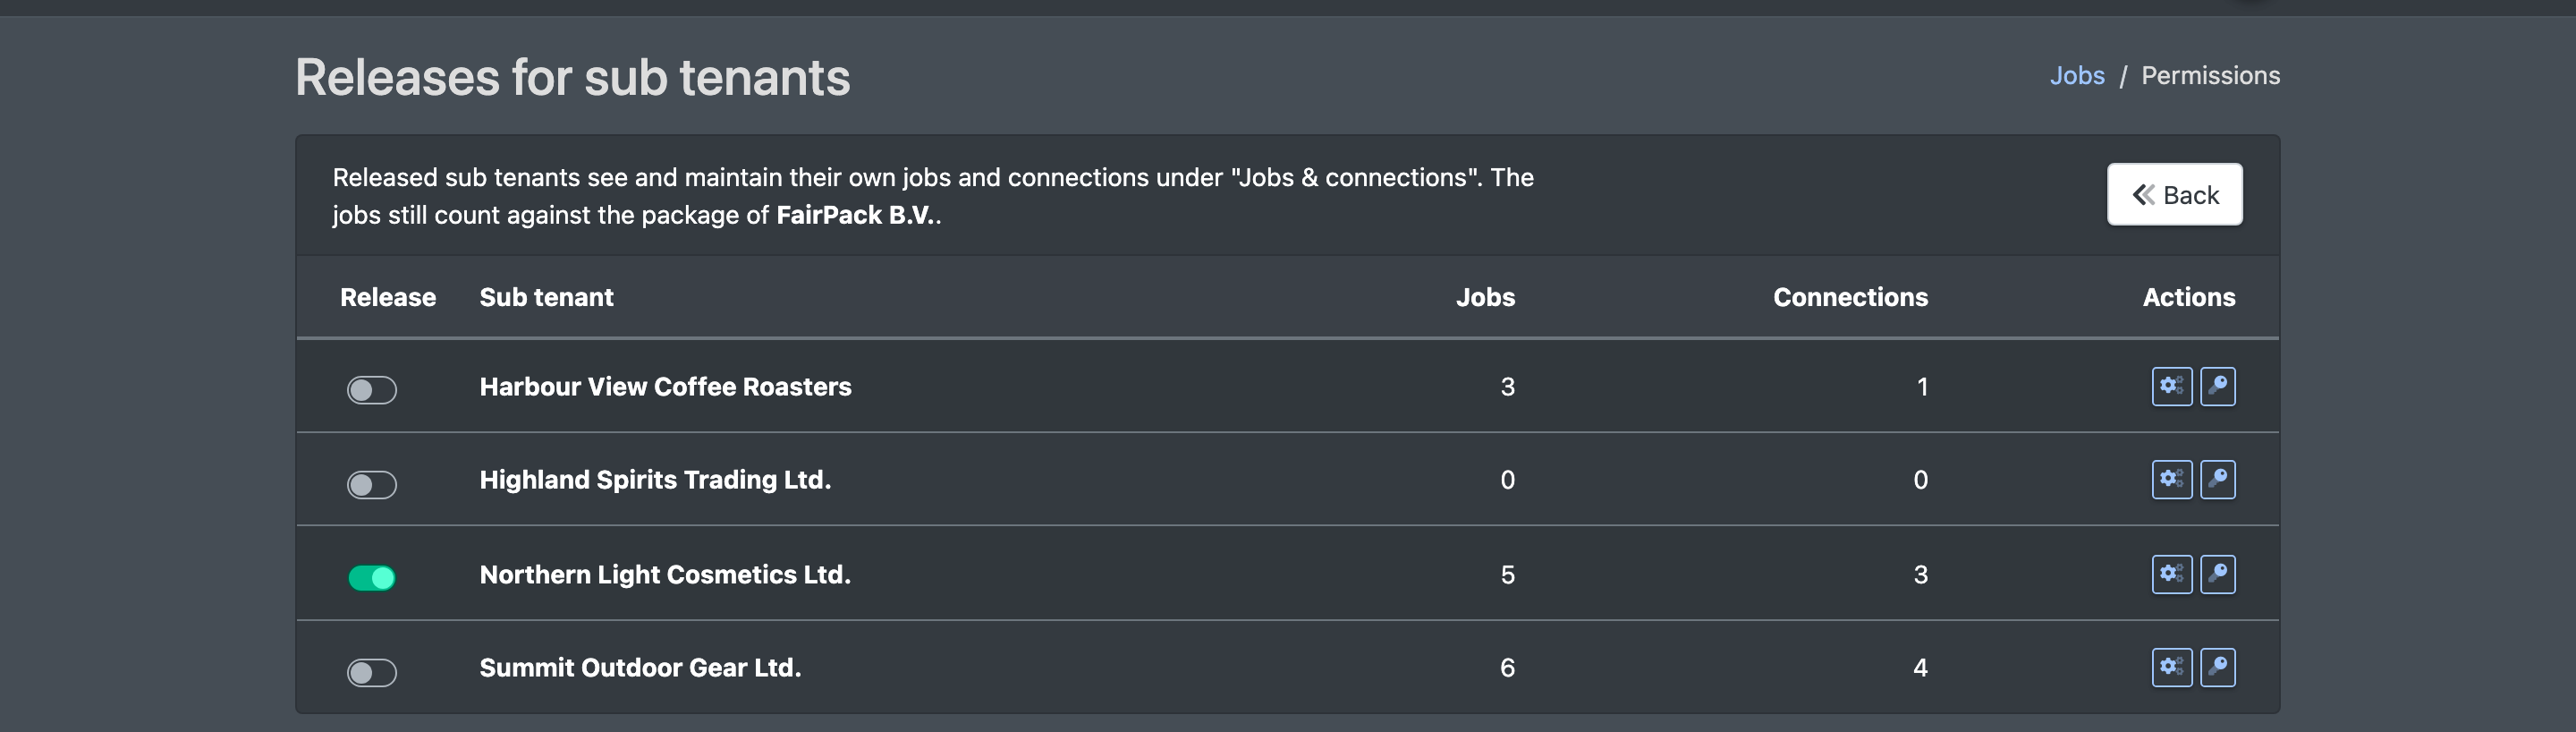
- In the jobs overview, click Releases (Freigaben). The button only appears if you have active clients.
- The page Releases for sub tenants (Freigaben für Untermandanten) lists every active client with its number of jobs and connections.
- Switch Release (Freigabe) on for a client: "The release was granted". Switch it off to withdraw it.
- Use the buttons in each row to jump directly to the client's jobs or connections.
Released clients see their own jobs and connections under Jobs & connections. Their jobs still count against your package.
Fields and options
Jobs list
Connection form
The connections list shows type, comment, Shared with (Geteilt mit) and the number of jobs that use each connection. Click the number to see those jobs.
Good to know / Troubleshooting
Carrier accounts for DHL, DPD, GLS, UPS and Hermes can also be created directly under Shipping providers. Orders imported by jobs appear in the order overview.