
FFN merchants
Assign each JTL Fulfillment Network merchant and its FFN warehouse to one of your clients
In the FFN Dealer Directory (FFN Händler Übersicht) you assign each merchant of the JTL Fulfillment Network (FFN) and its FFN warehouse to one of your clients in X-Sitter. Only for assigned merchants does X-Sitter import outbound orders, products and inbound deliveries, and report shipments and goods receipts back to FFN.
Before you start
- The FFN connection must exist, because merchants and warehouses are read live from FFN. See Connect JTL Fulfillment Network (FFN).
- The merchant's company must be set up as your client in X-Sitter. See Clients.
- Your user needs the permission JTL › FFN Dealer Directory – ask your administrator.
Step by step
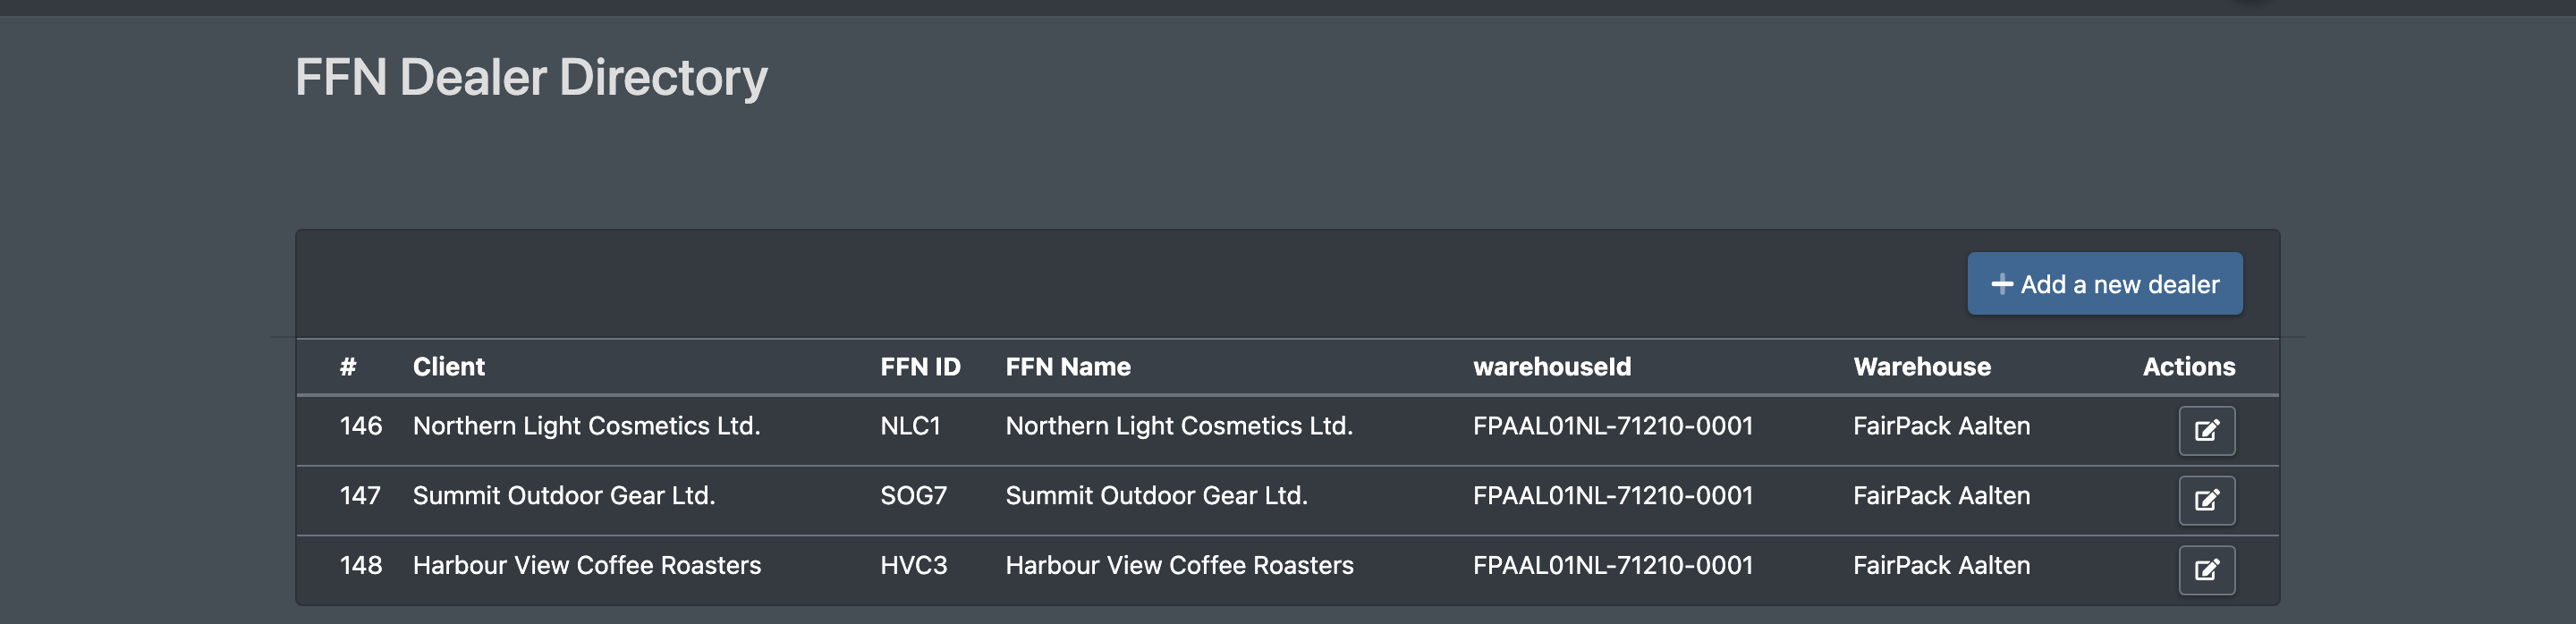
- In the sidebar open ERP Systems › JTL › FFN Dealer Directory (ERP-Systeme › JTL › FFN Händler Übersicht).
- Click Add a new dealer (Neuen Händler mappen). The page FFN Dealer Mapping (FFN Händler Mapping) opens.
- Choose the Company (Firma) – the client the merchant belongs to.
- Choose the FFN Dealer (FFN Händler) from the list of merchants connected to you in FFN.
- Choose the FFN Warehouse – your fulfiller warehouse in FFN for this merchant.
- Click Save (Speichern). You see The mapping has been saved (Das Mapping wurde gespeichert).
- To overview (Zur Übersicht) takes you back to the list.
To change an assignment, click the edit button in the Actions (Aktionen) column of the row.
Fields and options
Overview
Mapping form
Good to know / Troubleshooting
- Each client can be assigned to only one merchant. If you save a mapping for a client that already has one, the existing assignment is replaced.
- The assignment alone does not import any orders. You also need the active FFN order job with a cut-off date, see FFN order processing.
- The advance notice import uses the assignment too, together with the date Import ASNs from on the FFN connection page.