Connect JTL-Wawi
X-Sitter can work directly with the database of a JTL-Wawi (Microsoft SQL Server). The connection is used in two directions:
- JTL as the target: orders from your sales channels and marketplaces are handed over to the JTL order import. Tracking numbers are read back from the JTL delivery notes and shipments and reported to the sales channel.
- JTL as the source: orders, articles, categories, images, prices and stock are taken over from a JTL-Wawi into X-Sitter. Stock from the X-Sitter warehouse can be written back to JTL.
This page shows what you set up yourself. The detailed JTL settings (platforms, order import, price groups) are described in JTL settings.
Before you start
- The JTL module must be active for your company. Contact X-Sitter support to activate it.
- Your JTL-Wawi SQL server must be reachable from the internet. You need: host, port, instance, database user, password, database name and the JTL version. Your JTL administrator or IT service provider can give you these details.
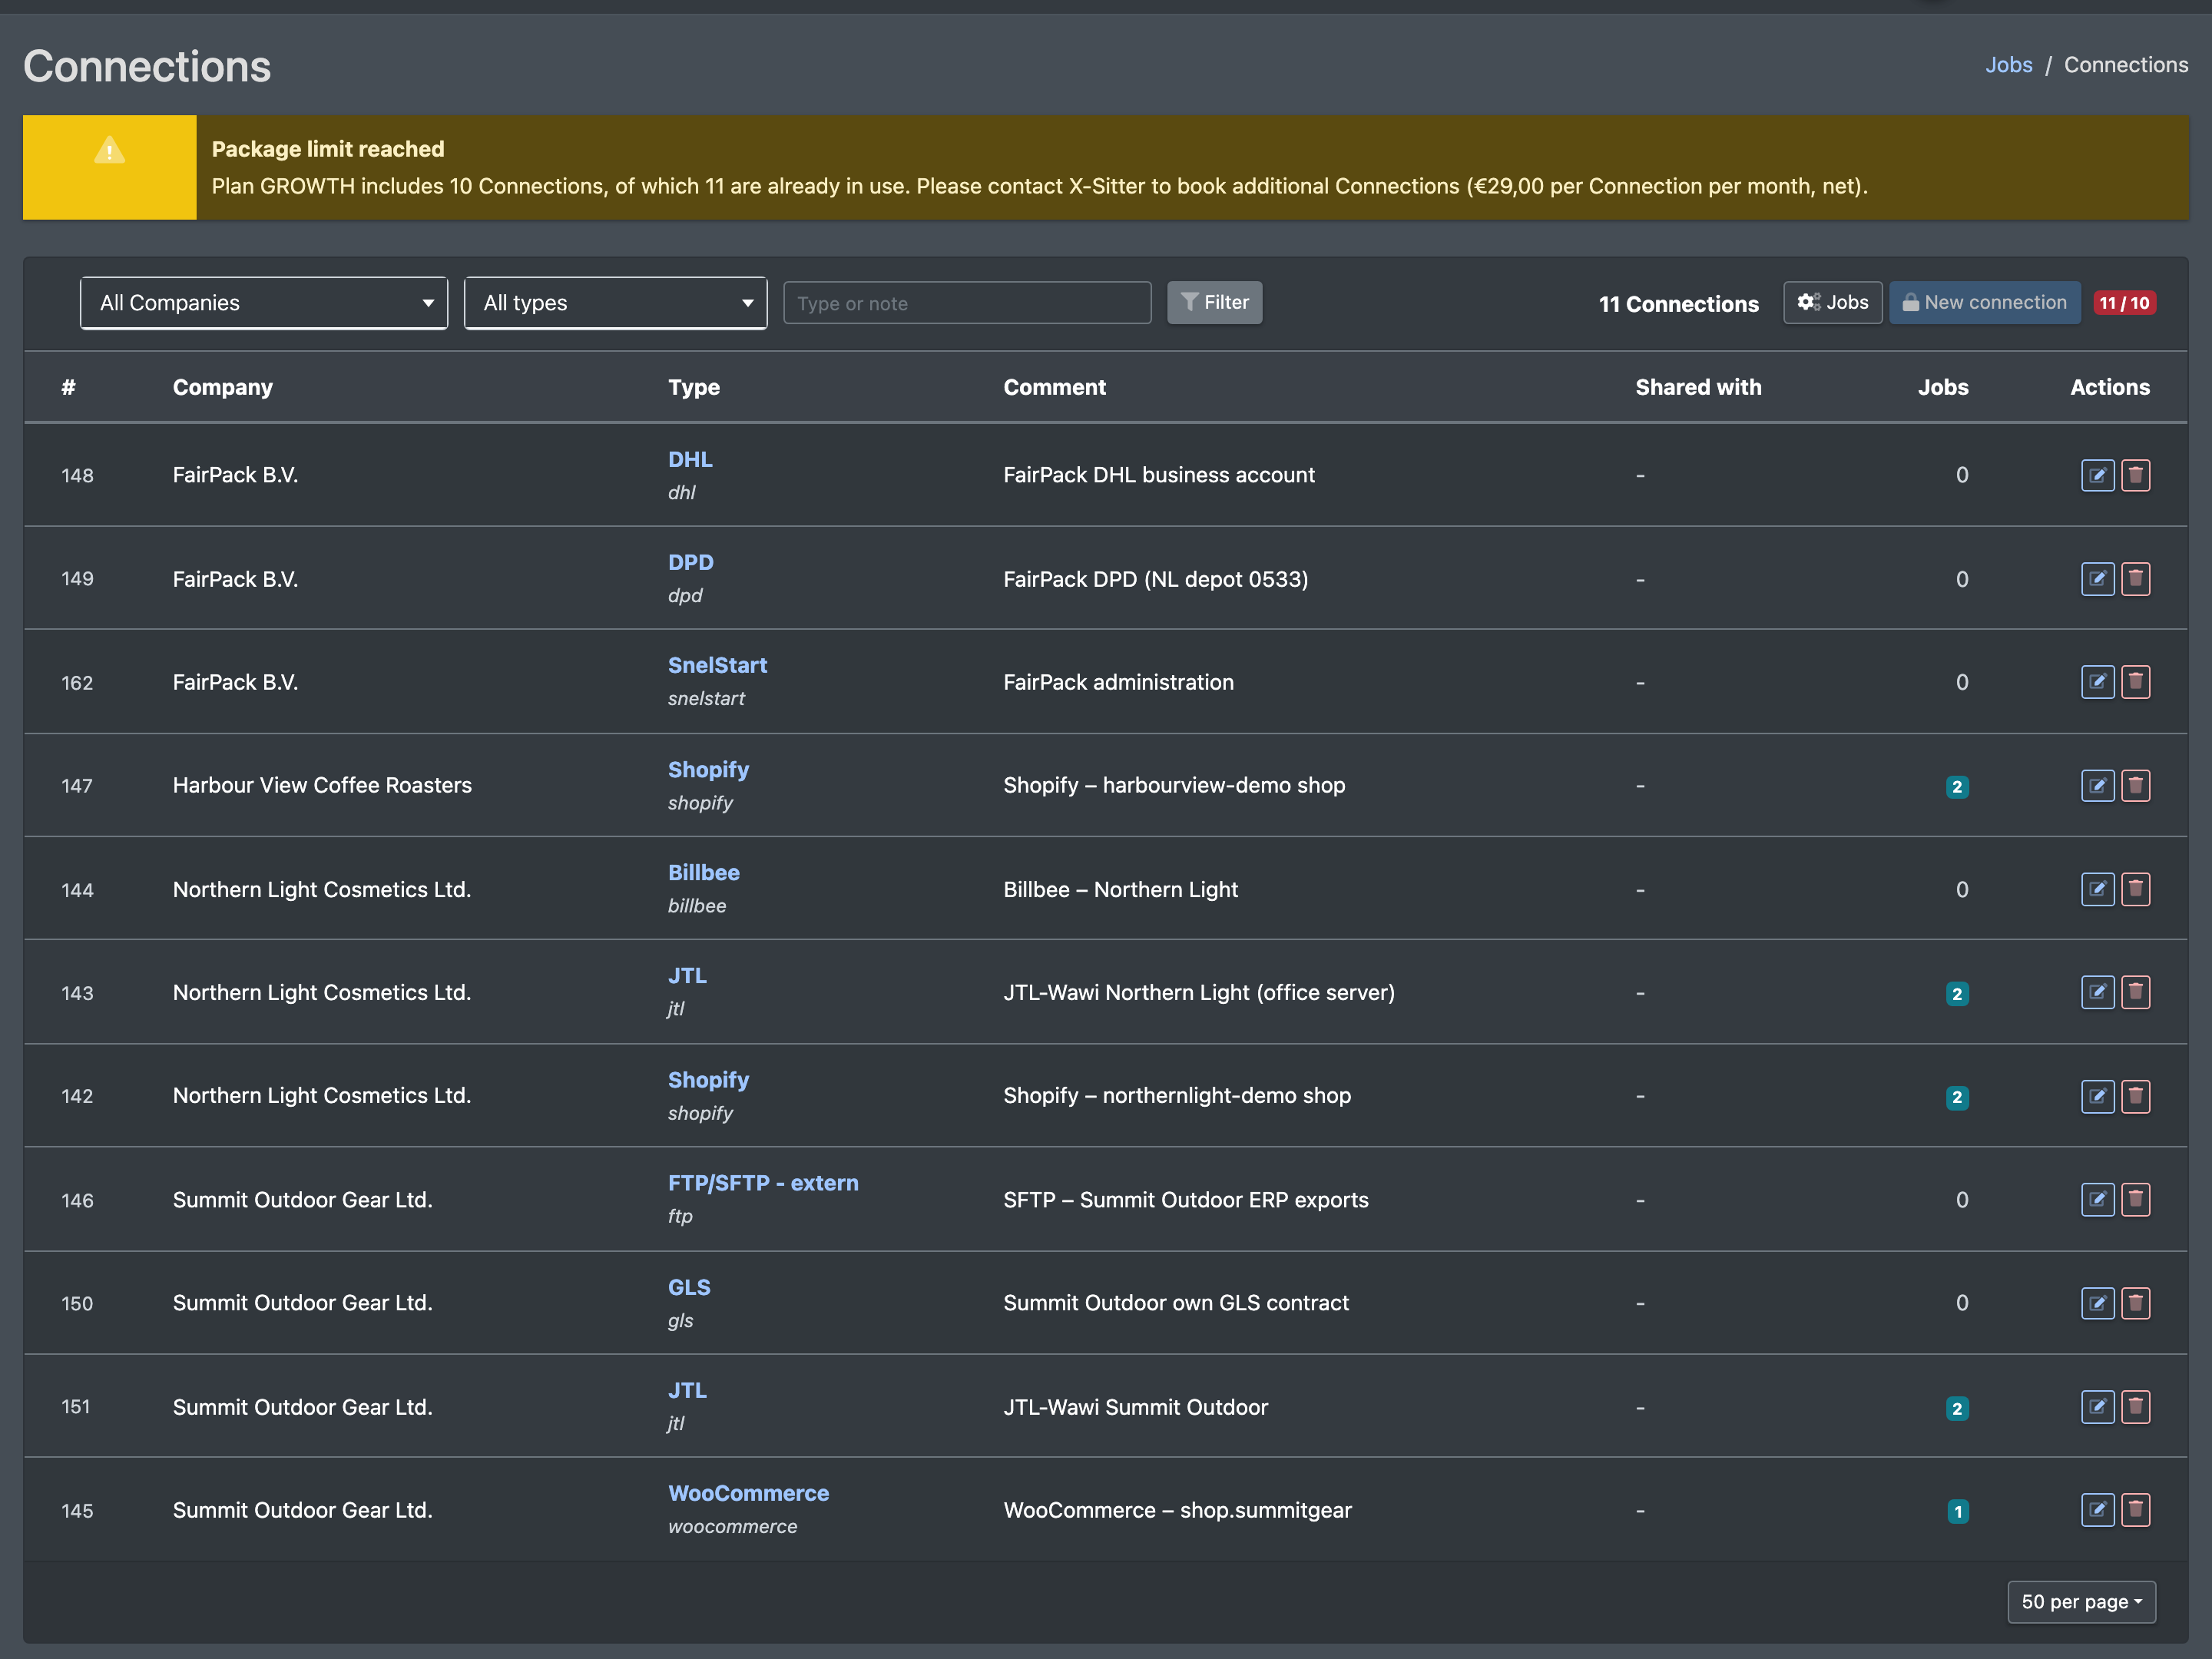
- To manage jobs and connections you need access to Administration › Jobs & connections (Administration › Jobs & Verbindungen). See Jobs & connections. Clients can only use this mask after their logistician has released it.
- Write down the exact names of the shipping methods and payment methods in your JTL-Wawi. They must match character by character.
Step by step
1. Create the SQL connection
- Open Administration › Jobs & connections (Administration › Jobs & Verbindungen) and switch to Connections (Verbindungen).
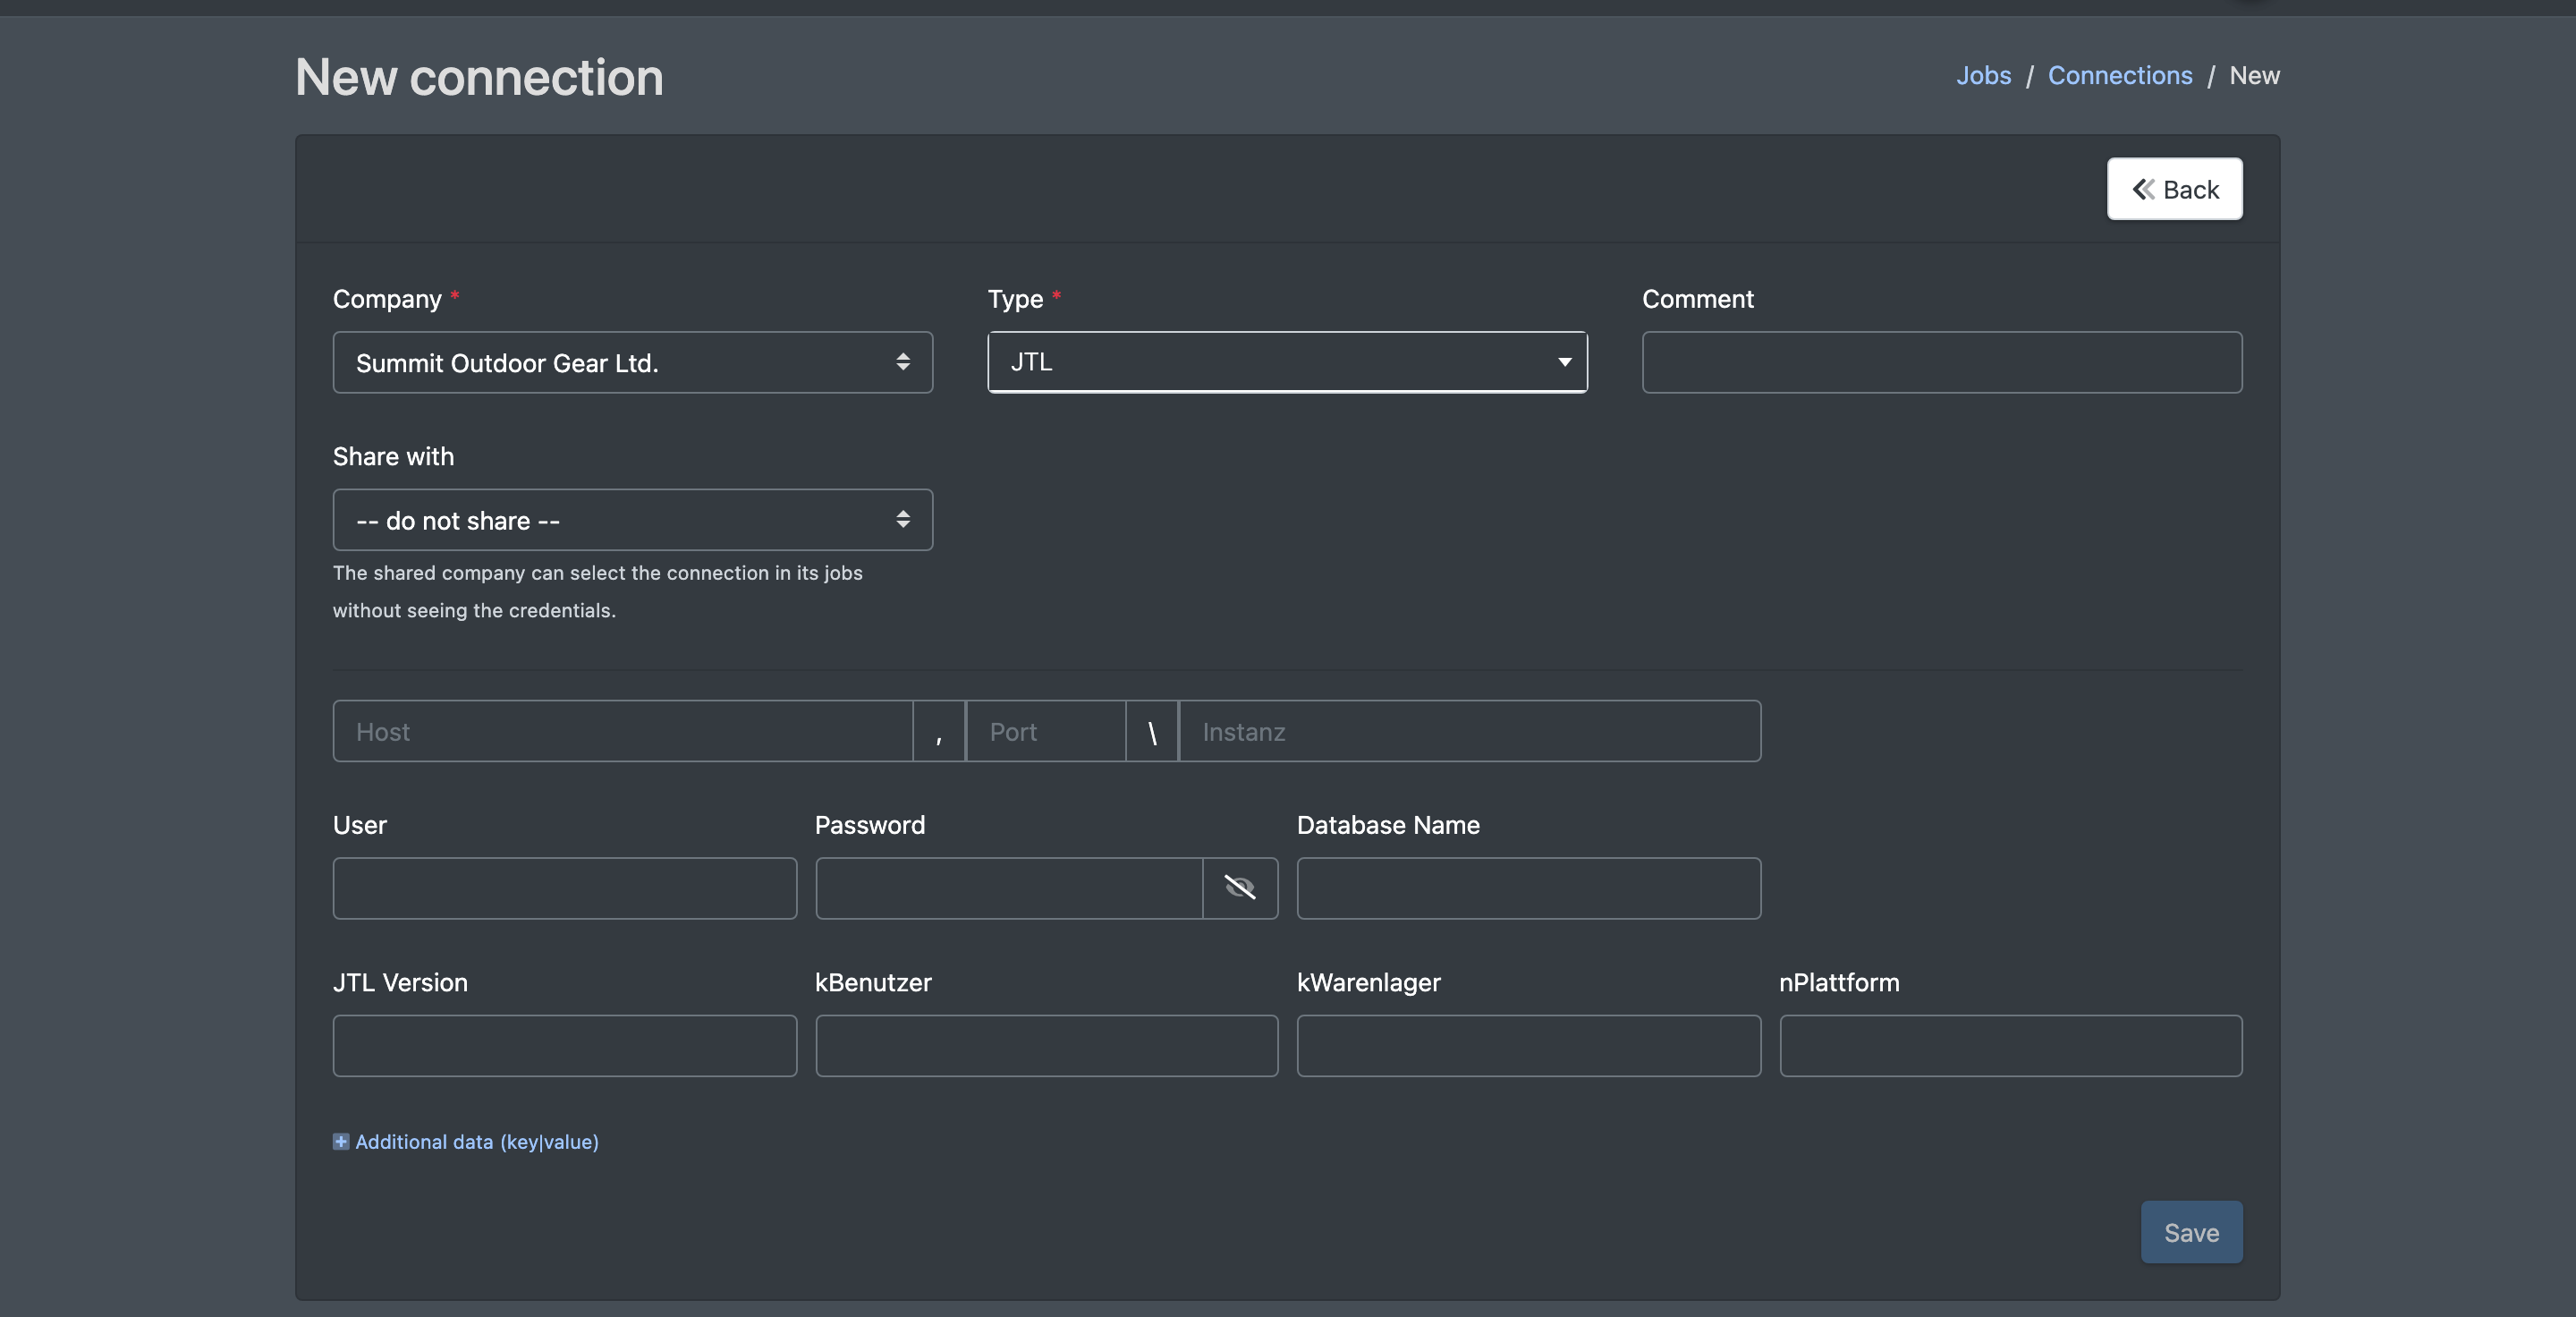
- Click New connection (Neue Verbindung).
- Choose the Company (Firma) the connection belongs to – your own company or one of your clients.
- Choose the Type (Typ) JTL. The form for the SQL access data appears.
- Fill in the access data (see the table below) and optionally a Comment (Bemerkung).
- Optional: under Share with (Teilen mit) choose another company. That company can then select the connection in its own jobs without seeing the access data.
- Click Save (Speichern).
Once a JTL connection exists for a company, its users can also maintain the access data themselves under Company Settings › JTL › SQL - Connection (Firmen Einstellungen › JTL › SQL - Verbindung), see JTL settings.
2. Set up platforms and order import
Map your sales channels to JTL platforms and choose which JTL platforms are imported. See JTL settings.
3. Create and activate the jobs
- In Administration › Jobs & connections open the Jobs list and choose the company.
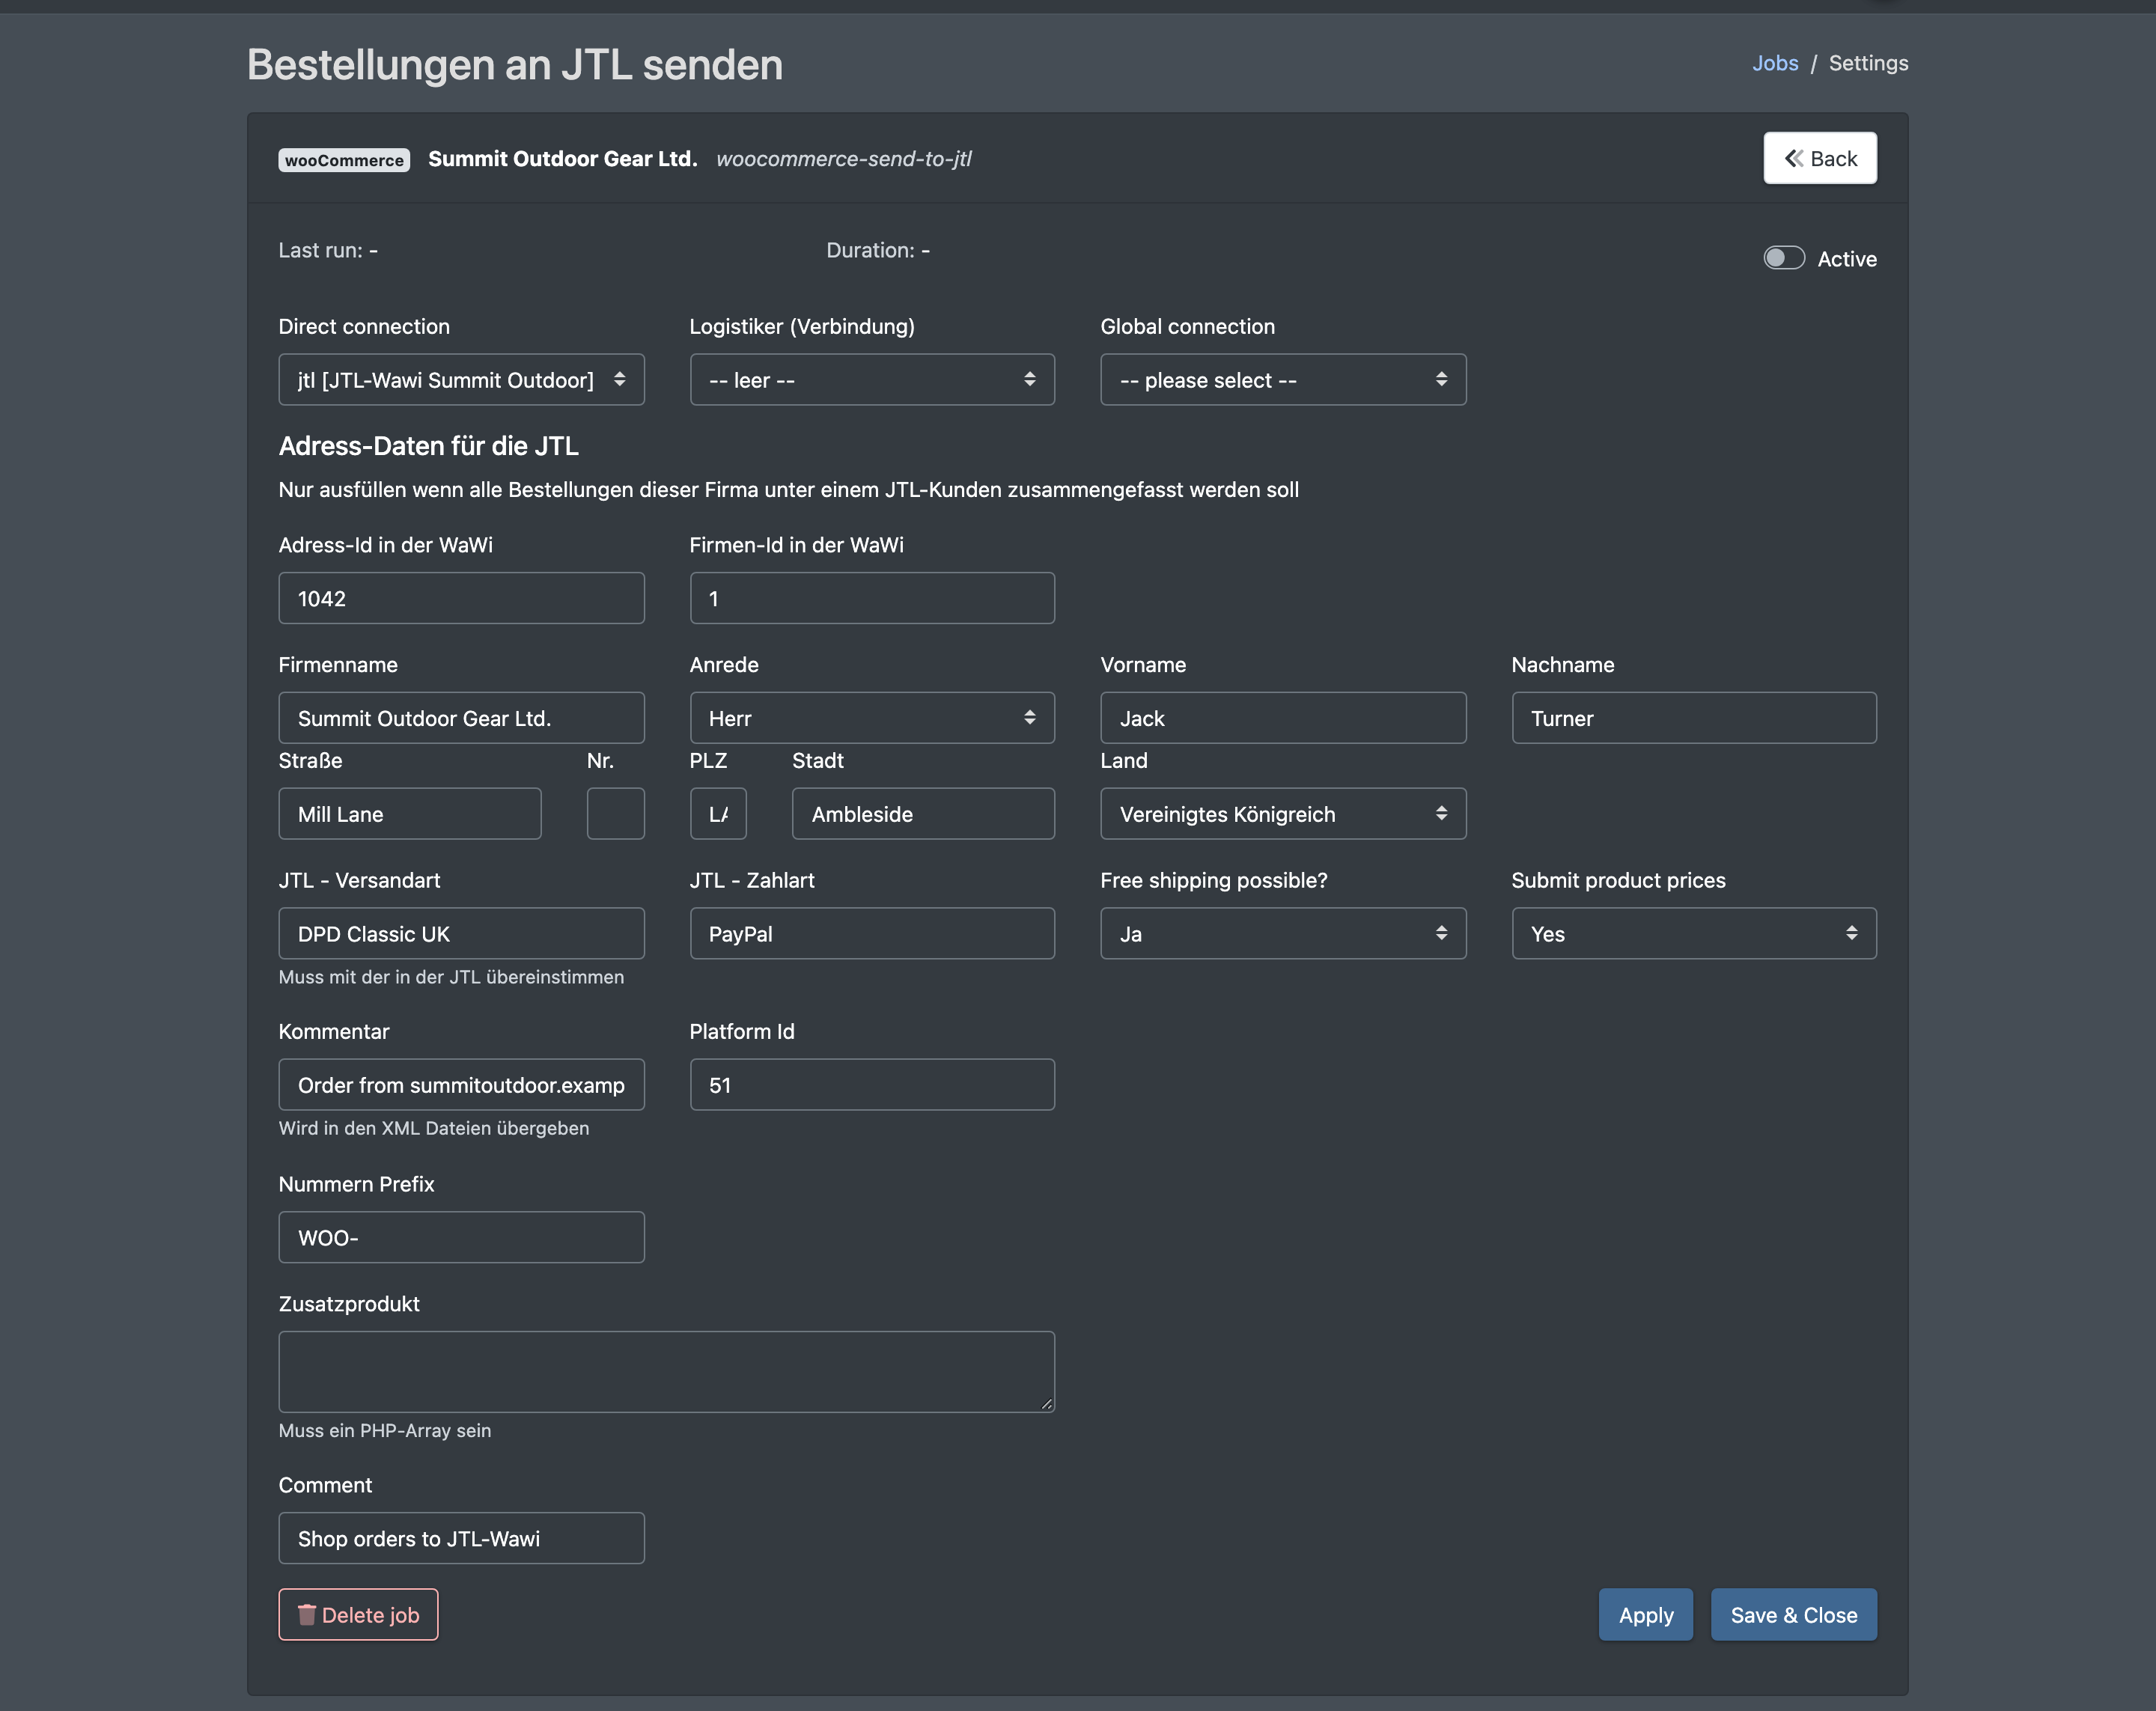
- Create the JTL job you need (for example "send orders to JTL", "tracking from JTL", "import orders from JTL", "import articles from JTL", "write stock to JTL").
- Open the job, select the JTL connection and fill in the job fields.
- Switch the Status on and save.
If a job you need is not offered in the list, contact X-Sitter support.
4. Activate the tracking feedback
For every sales channel that hands orders over to JTL, also activate the matching "tracking from JTL" job and select the JTL connection there. Only then are tracking numbers reported back to the sales channel.
Fields and options
SQL access data
"JTL data" block in the jobs that send orders to JTL
All jobs that hand orders from a sales channel to JTL share this block:
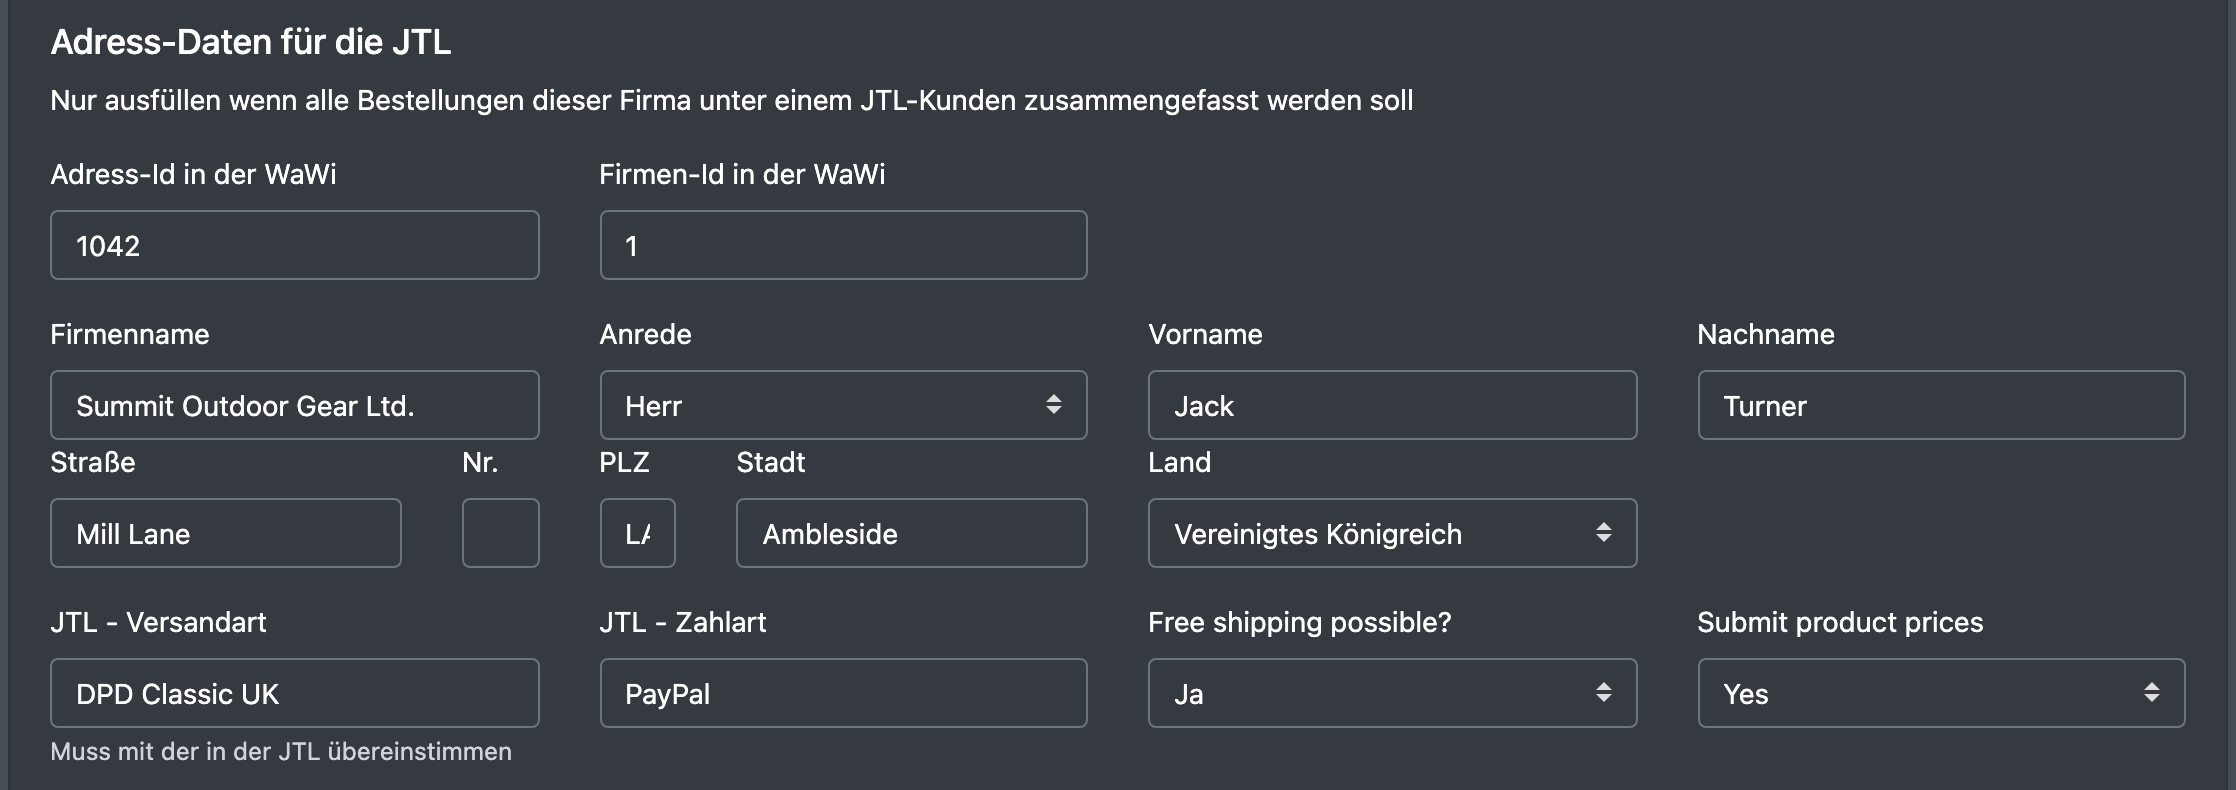
Important fields in the other JTL jobs
What is synchronised
Statuses
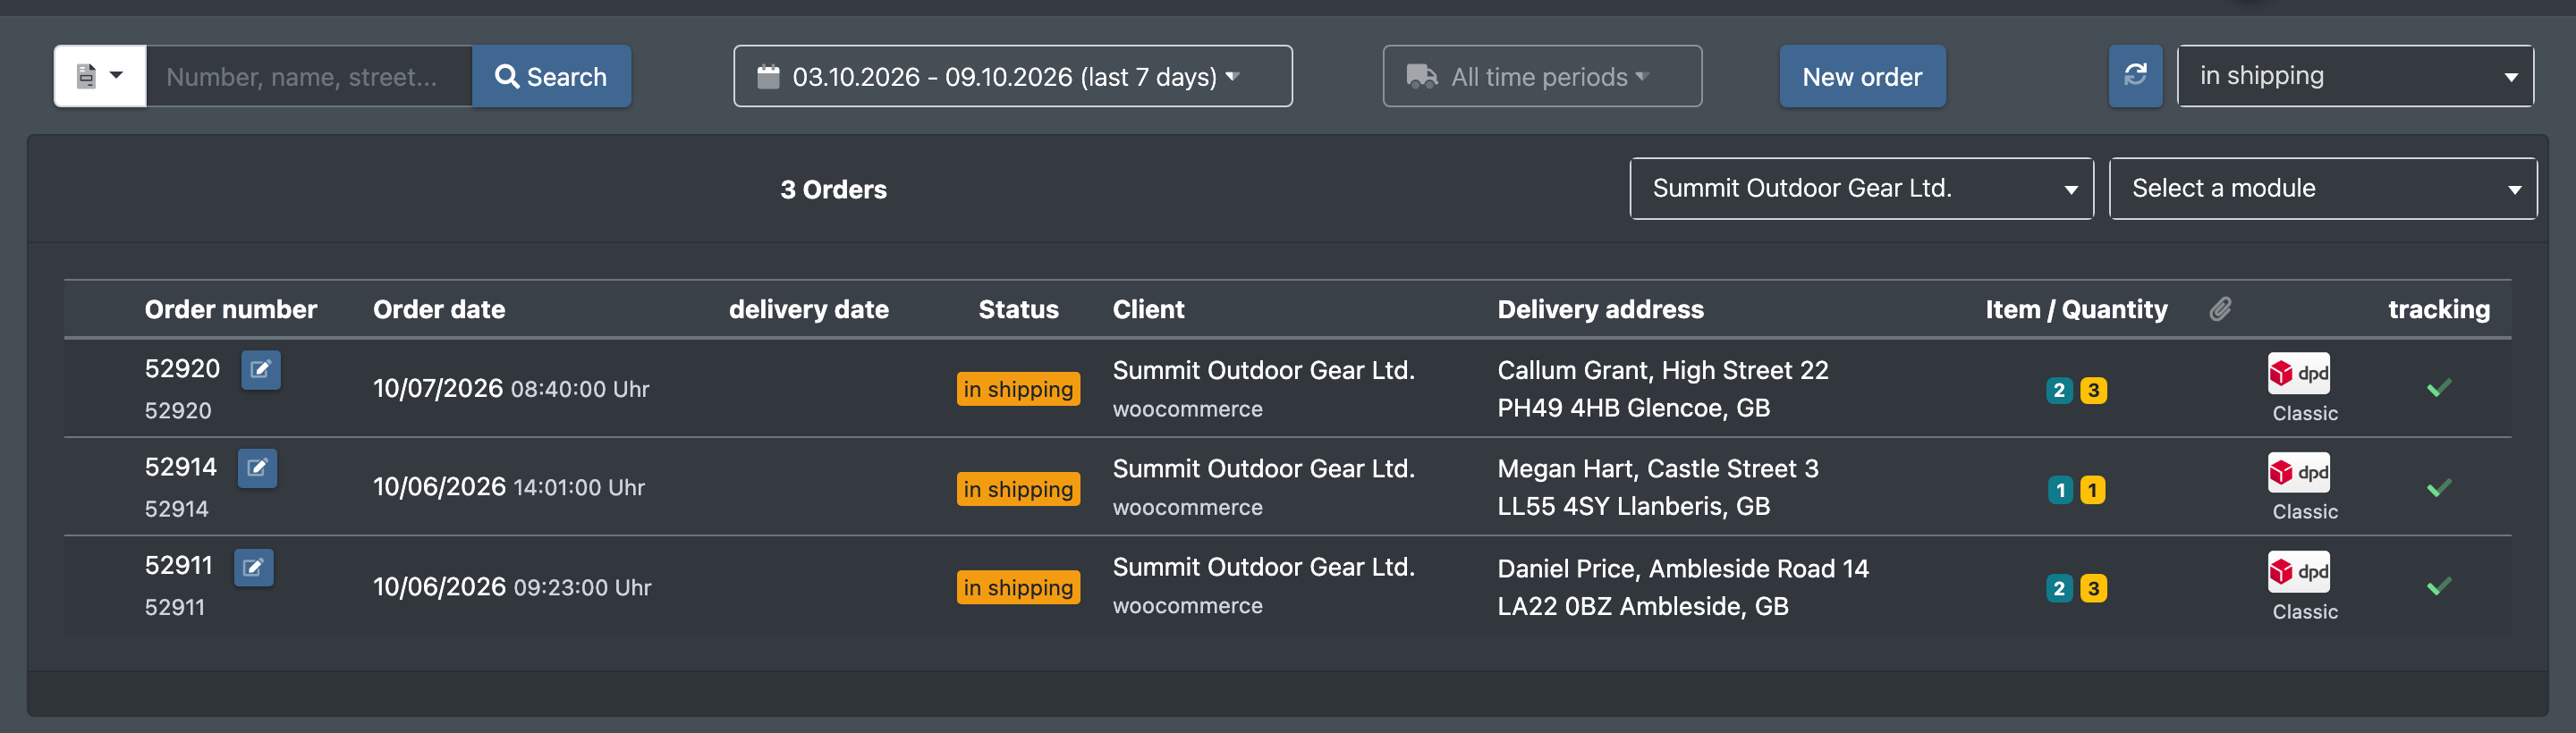
A sales channel order that runs through JTL typically goes through these statuses (see Order statuses):
- Open (Offen) – the order has been imported.
- In shipping (im Versand) – the order has been handed over to JTL.
- The tracking number is read from JTL.
- Sent (Versendet) – the tracking number has been reported to the sales channel.
Further statuses: Stock check (Lager Prüfung) and Stock checked (Lager geprüft) when the stock is checked in another JTL, and Error (Fehler).
JTL orders appear in the normal order overview.