Packages and tracking
With the dialog Package & Tracking Management (Paket- & Tracking-Management) you distribute the articles of an order over packages or pallets, enter tracking numbers manually or request a shipping label for a package afterwards. This is useful, for example, for freight forwarder shipments, for orders that were packed outside the packing table, or when a package needs a new label.
Before you start
- Your user needs the permission Package & Tracking Management. Ask your administrator.
- The order must be on a pick list – otherwise the button is not shown. See Create a picklist.
- To request labels: a shipping provider rule or carrier access for your company (see Shipping providers) or a ShipCloud account (see ShipCloud accounts), and a selected workstation.
Step by step
1. Open the dialog
- Open the order in Orders › Overview (Aufträge › Übersicht).
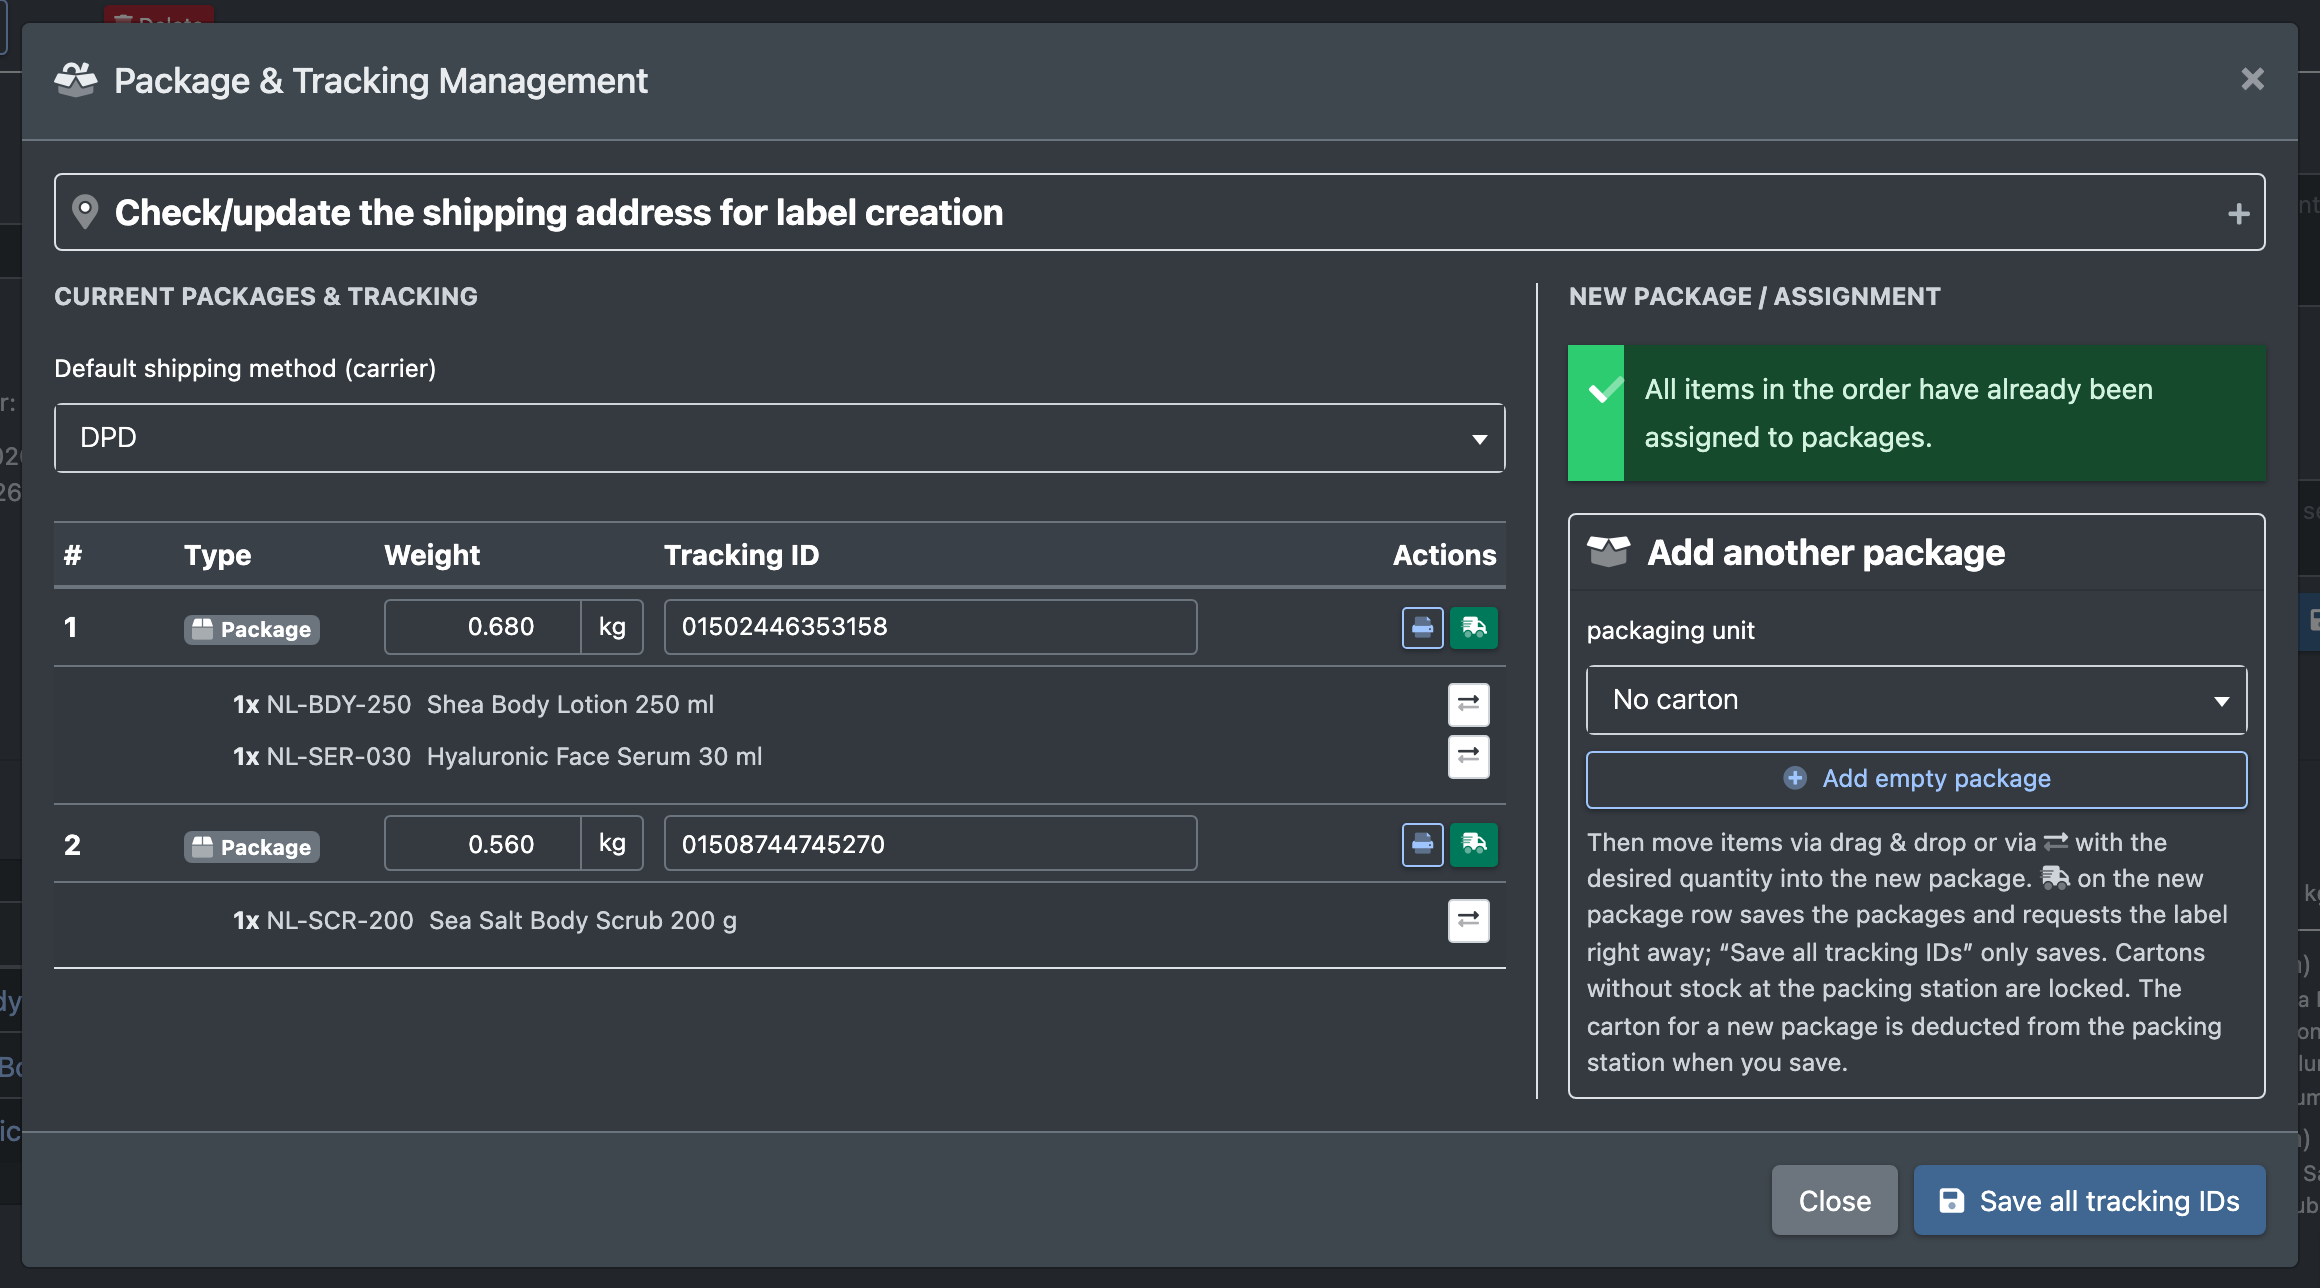
- In the area Tracking click the box button Manage Packages & Tracking (Pakete & Tracking verwalten).
2. Check the delivery address (optional)
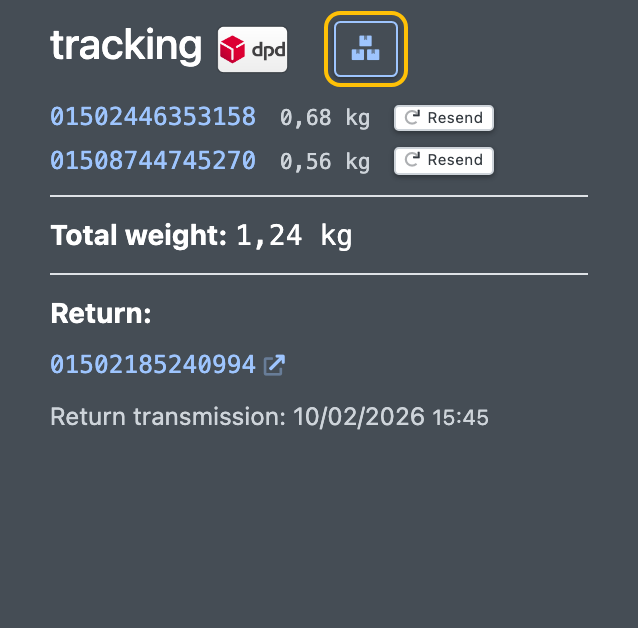
Open Check/update the shipping address for label creation (Lieferadresse für Label-Erstellung prüfen/anpassen) and correct company, first name, last name, e-mail, street, house number, addition, postcode, city, Country (ISO) (Land (ISO)) or phone. A changed address is saved to the order and logged in the order history.
3. Edit existing packages
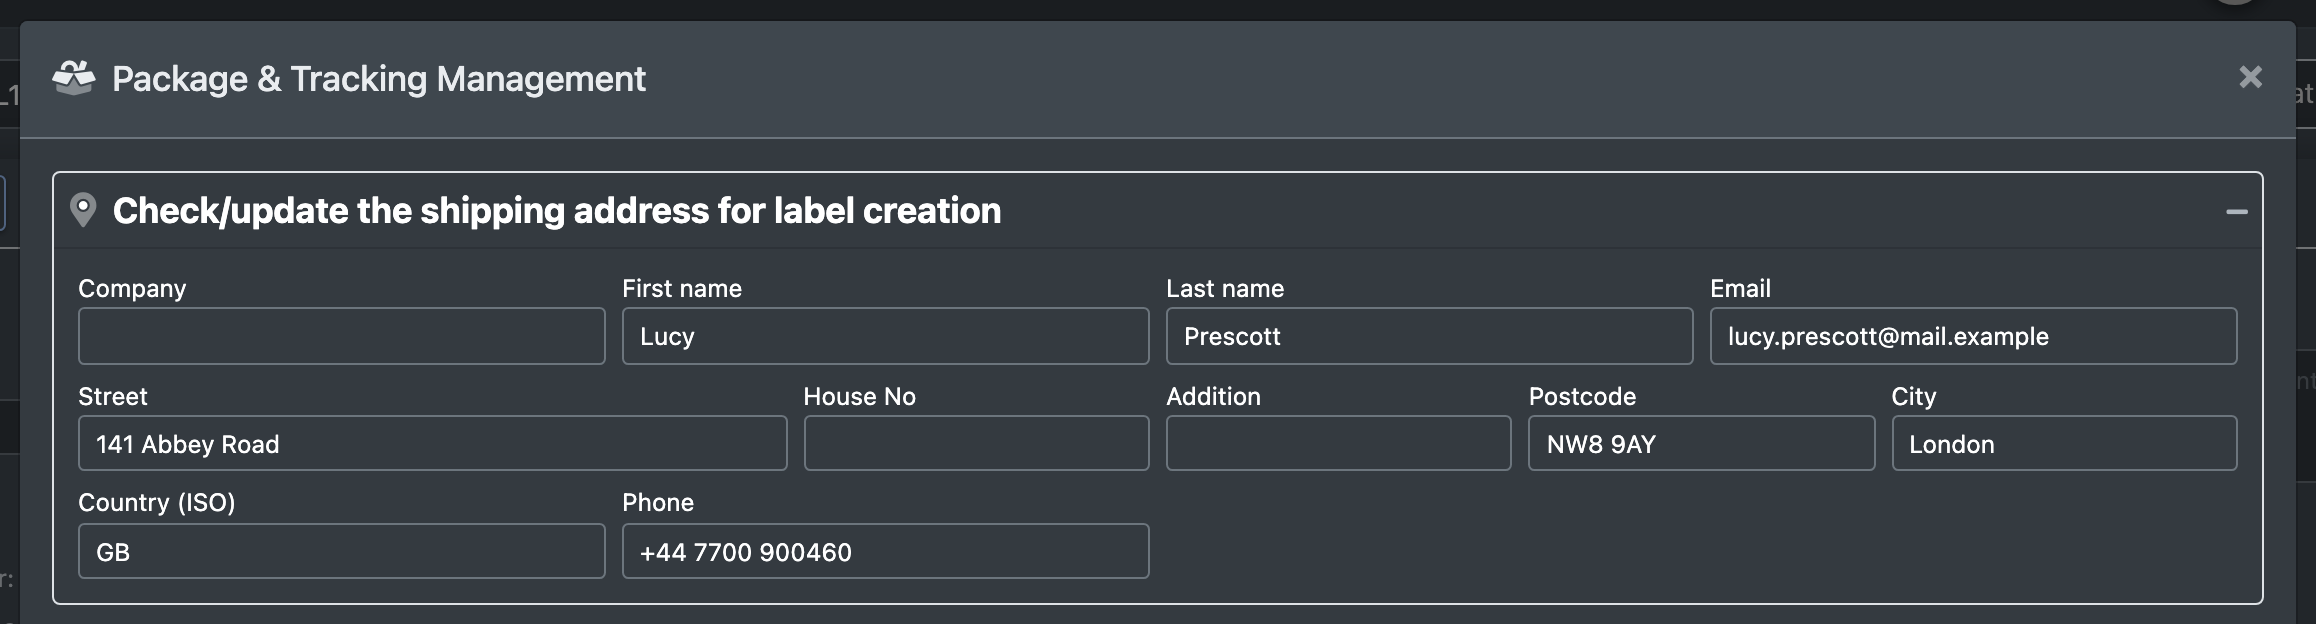
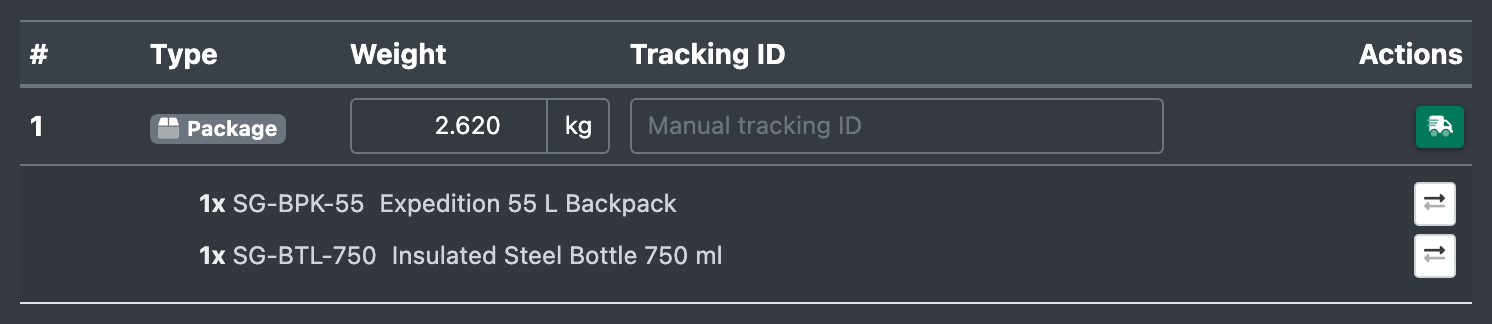
Under Current Packages & Tracking (Vorhandene Pakete & Tracking):
- Choose the Default shipping method (carrier) (Standard-Versandart (Carrier)).
- For each package set the Type (Typ): Euro pallet (Europalette), Pallet (Palette) or Package (Paket), and the Weight (Gewicht).
- Either enter a tracking number in Manual tracking ID (Tracking ID manuell), or click Request a label (Label anfordern). An existing label opens with Open label (Label öffnen).
- To move part of a line into another package, click the arrows button Move quantity to another package (Menge in anderes Paket verschieben).
4. Create a new package
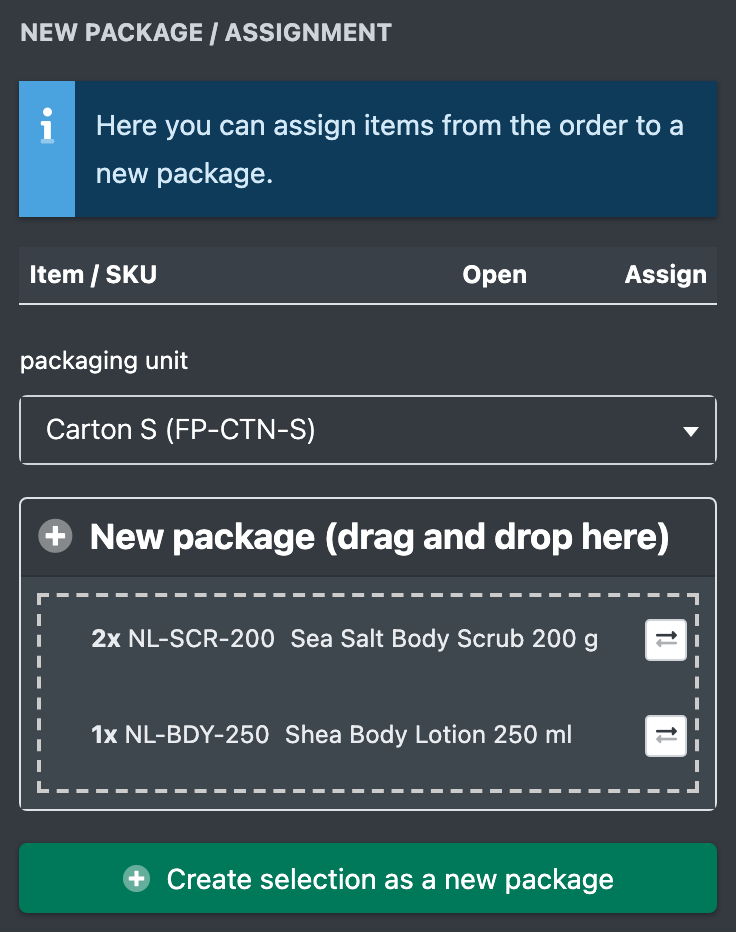
Under New Package / Assignment (Neues Paket / Zuordnung):
- Move articles into the new package with Assign (Zuweisen) or by drag & drop.
- Choose the packaging unit (Verpackungseinheit), i.e. the carton. Cartons without stock at the packaging material place are locked; the carton of a new package is booked out from there when you save. Choose No carton (Ohne Kartonage) if no carton is used.
- Click Create selection as a new package (Auswahl als neues Paket anlegen).
Alternatively, under Add another package (Weiteres Paket anlegen) click Add empty package (Leeres Paket hinzufügen) and then move articles into it. The shipping button on the new package row saves the packages and requests the label directly.
5. Save
Click Save all tracking IDs (Alle Tracking-IDs speichern). You see The package and tracking information has been successfully saved. (Paket- und Tracking-Informationen wurden erfolgreich gespeichert.)
What happens when you save
- As soon as at least one tracking number is saved, the order gets all tracking numbers, the status Sent (Versendet), today's shipping date and the chosen carrier as shipping method.
- Request a label creates the label via your shipping rules – either through ShipCloud or directly with DHL, DPD, GLS, UPS or Hermes. See Shipping labels.
- The tracking numbers appear in the order details with links to the carrier. See Shipment tracking.
Resend a single package
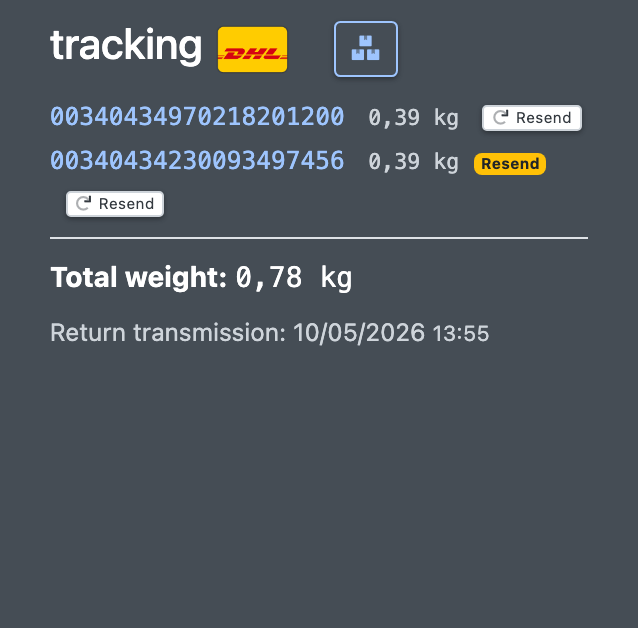
If a package has to be shipped again, the tracking area of the order details shows the button Resend (Erneuter Versand) next to the package. It creates a new shipping label for this package; the old tracking number is kept. Resent packages are marked with a Resend badge.