
Categories
The category tree orders your articles hierarchically. You use it to:
- navigate in the article overview – a click on a category shows its articles including all subcategories,
- assign articles to a main category and further categories,
- link categories to marketplace categories.
Logisticians can create one main category per client, named exactly like the client's company. New articles of this client are then placed there automatically.
Before you start
- Your user needs the permission for categories. Ask your administrator if the menu entry is missing.
- Categories apply to the company you have currently selected.
Open the categories
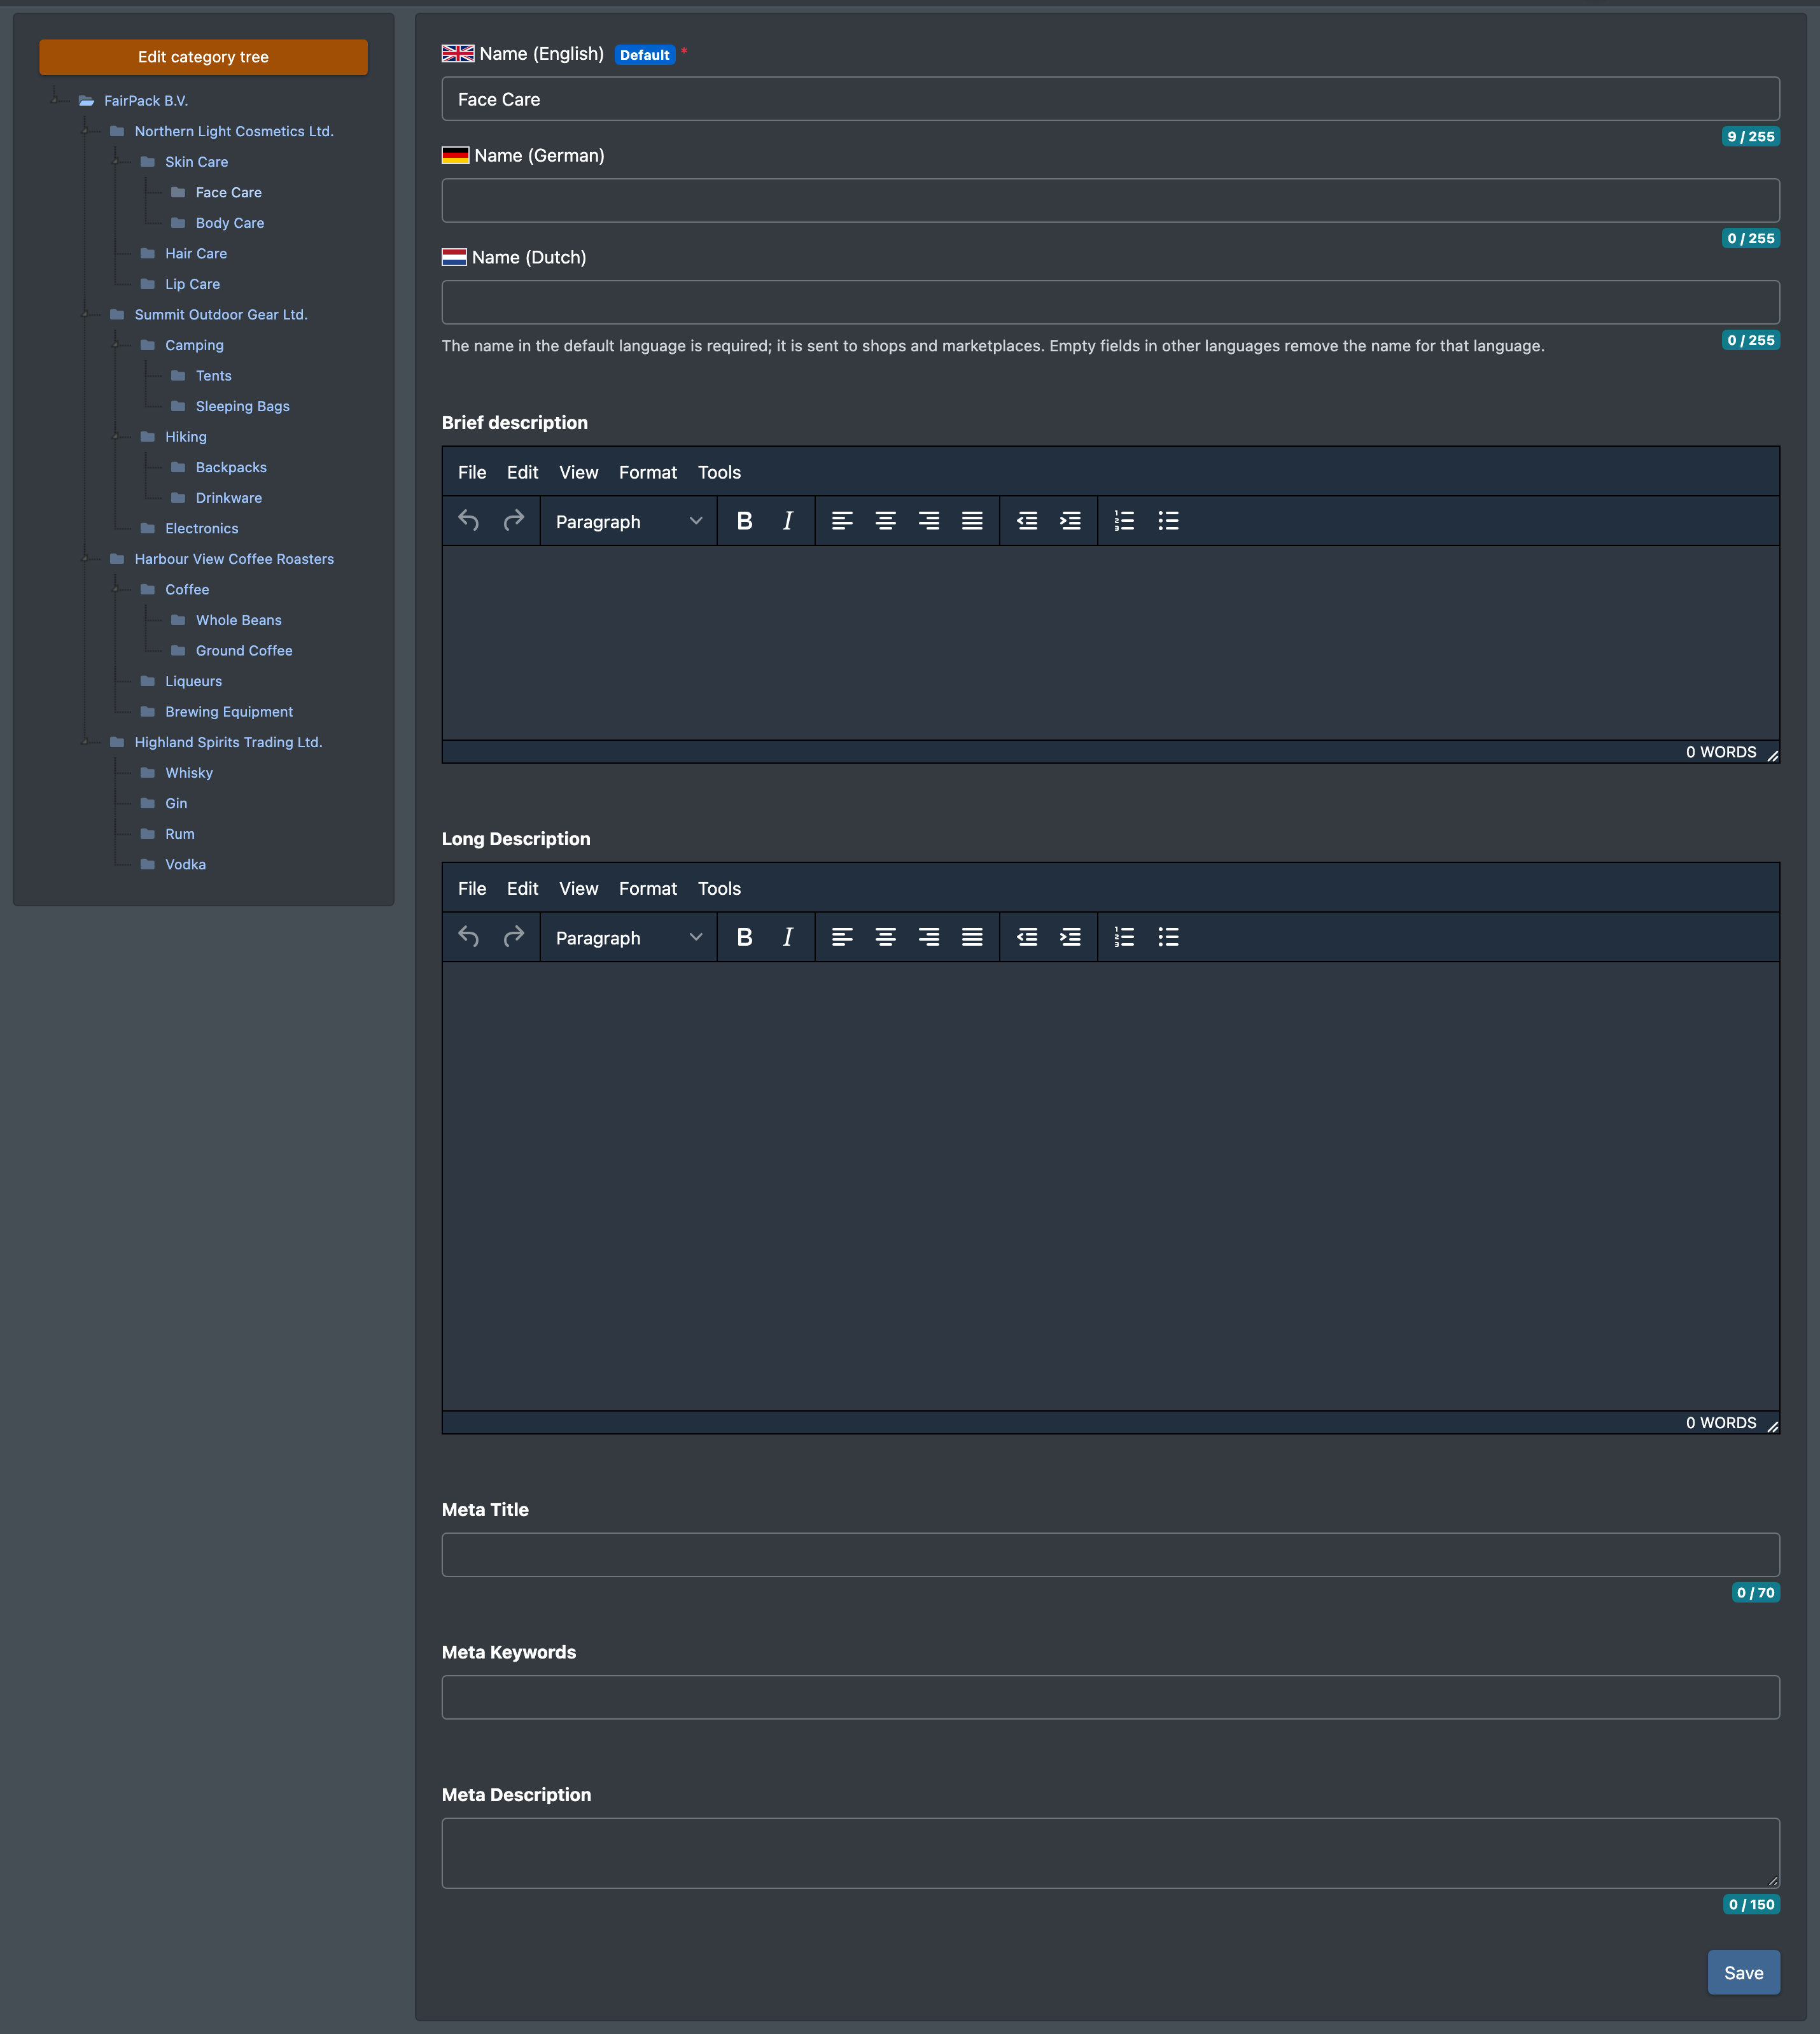
Go to Catalogue › Categories (Katalog › Kategorien). The tree is on the left, the details of the selected category on the right.
Edit the category tree
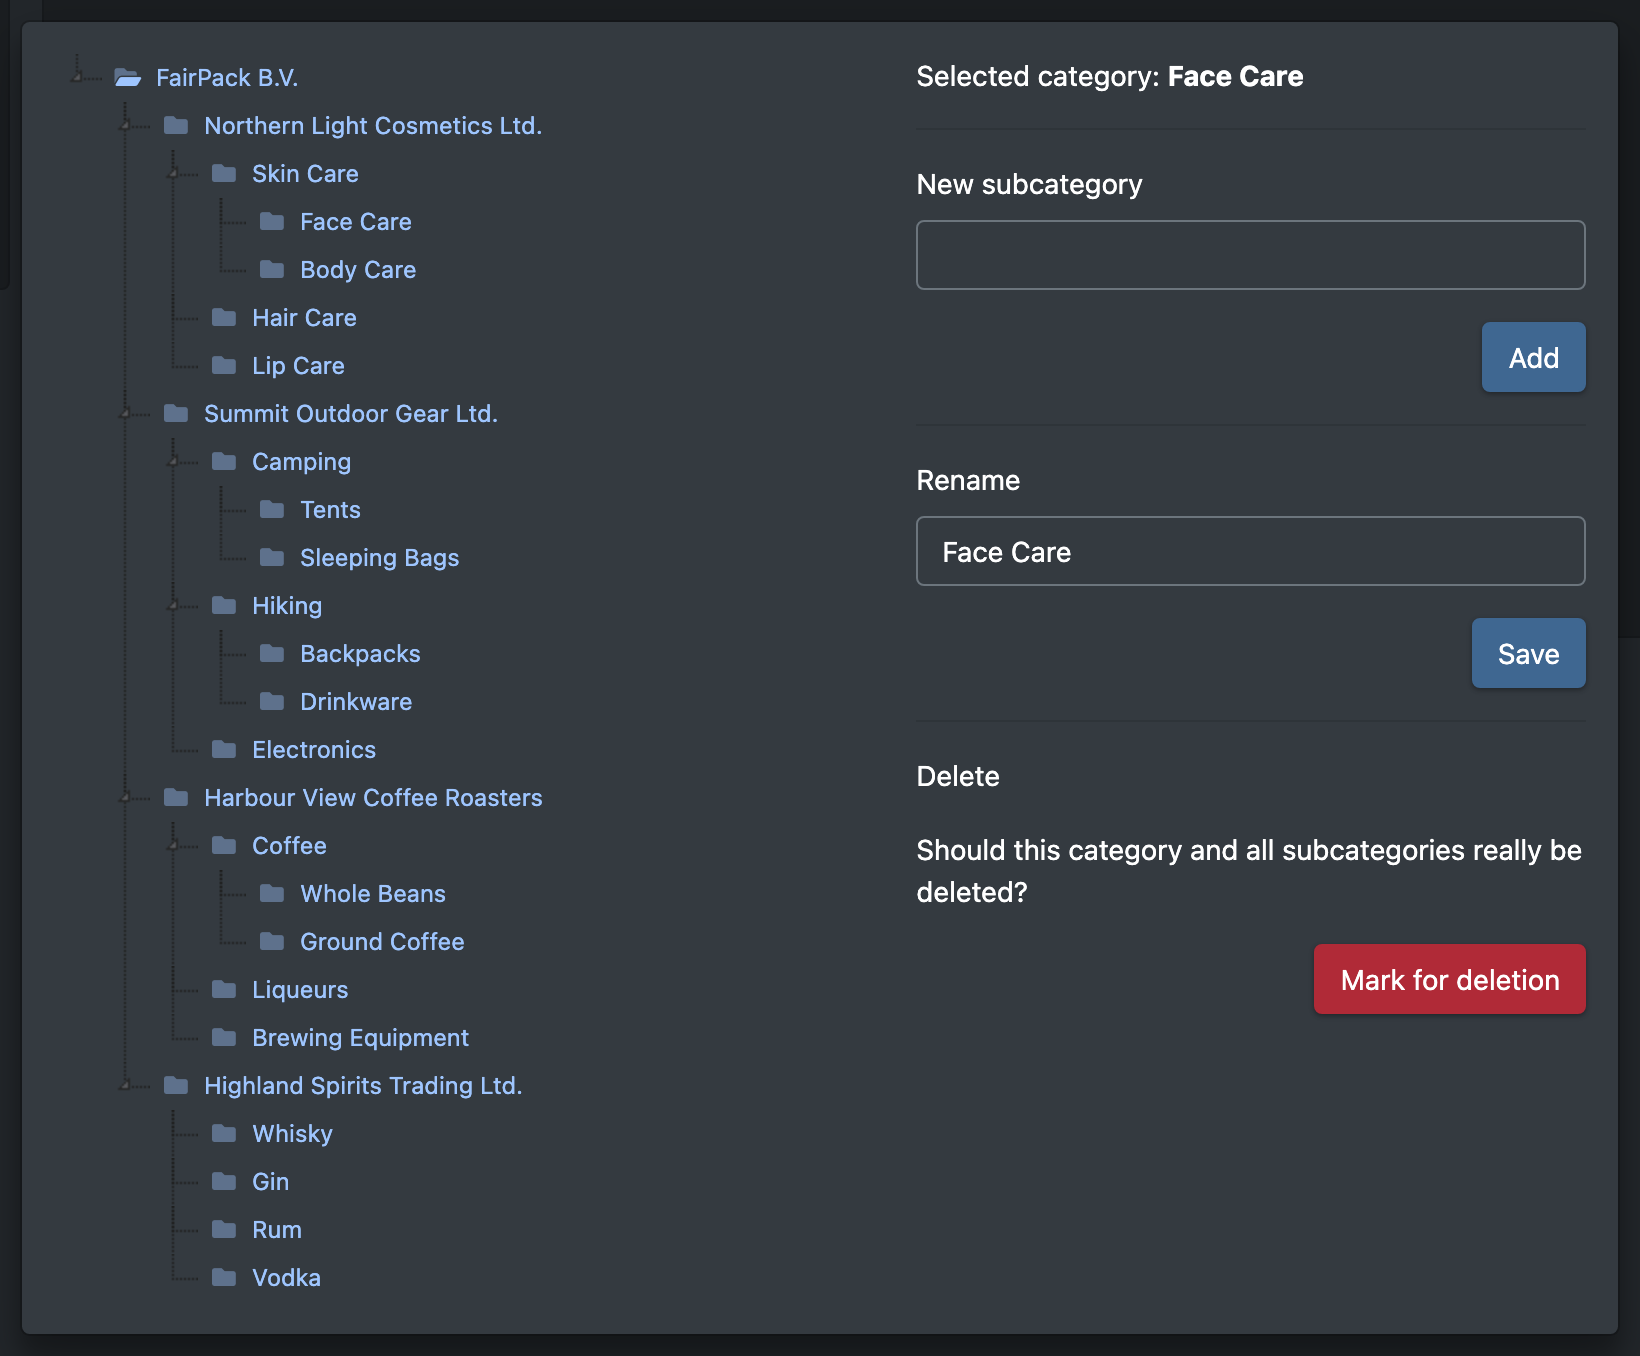
Click Edit category tree (Kategoriebaum bearbeiten). A dialog opens.
Create a category
- Click the parent category in the tree. It is shown as Selected category (Ausgewählte Kategorie).
- Enter the name under New subcategory (Neue Unterkategorie).
- Click Add (Anlegen). You see "The new category has been created" (Die neue Kategorie wurde angelegt).
Rename a category
- Select the category.
- Enter the new name under Rename (Umbennen) and click Save (Speichern). You see "The category has been updated" (Die Kategorie wurde ge-updated).
Move a category
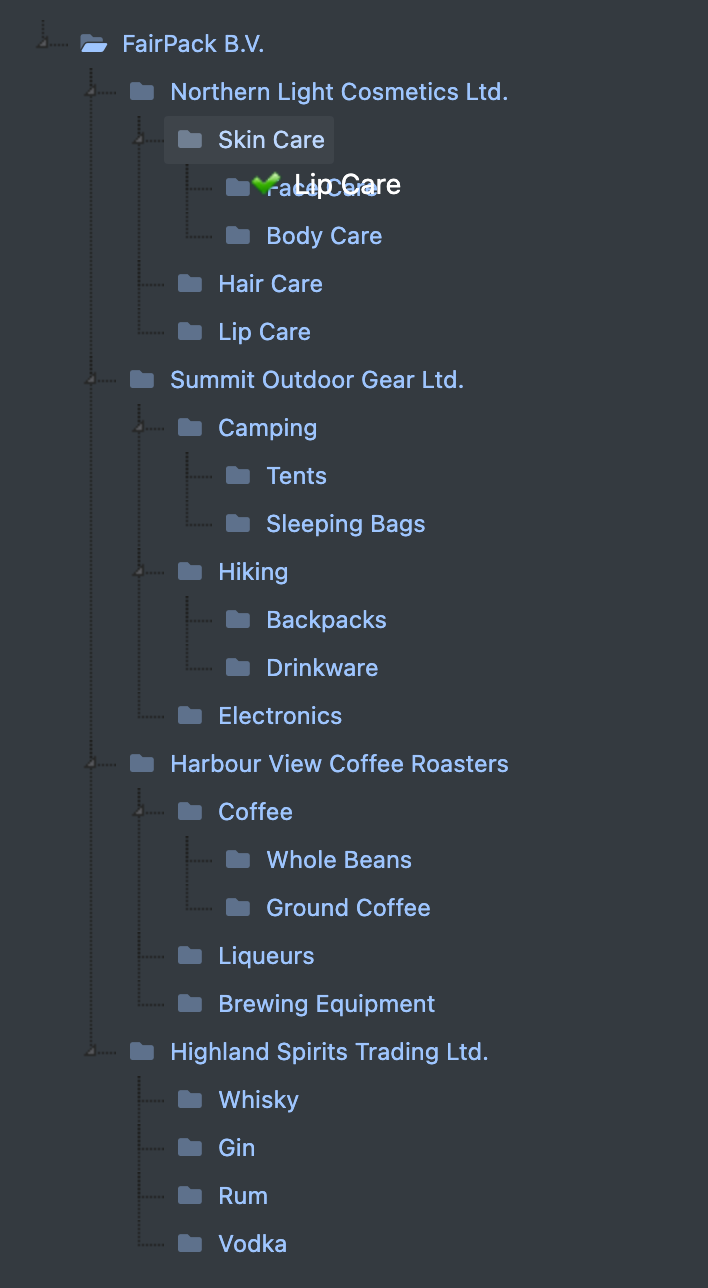
Drag and drop the category to its new place in the tree. You see "The category has been successfully moved" (Die Kategorie wurde erfolgreich verschoben) or "The new sorting has been saved" (Die neue Sortierung wurde gespeichert).
Delete a category
- Select the category and click Delete (Löschen).
- Below the question "Should this category and all subcategories really be deleted?" (Soll diese Kategorie und alle Unterkategorien wirklich gelöscht werden?), click Mark for deletion (Vormerken).
- You see "The category has been marked for deletion and will be removed shortly" (Die Kategorie wurde zur Löschung vorgemerkt und wird in Kürze entfernt).
Deleting a category also deletes all its subcategories. Articles lose their assignment to these categories; translations, category texts and marketplace links of the categories are removed as well.
Link a category to marketplaces
On the right, under Portal Mapping Ids (Portal-Mapping Ids), you can enter for each marketplace:
- Parent Id (Übergeortnete Id), marked Parent category (Elterkategorie) – the ID of the parent category in the marketplace,
- Id – the ID of the matching category in the marketplace.
Click Save (Speichern).
Assign articles to categories
- For a single article: Categories tab of the article, see Edit an article.
- For many articles: see Bulk processing.
- When creating an article, the category selected in the tree is used, see Create an article.
Good to know
- Categories can also be created automatically by imports, for example from JTL.
- If a client has a category named exactly like their company, new articles of this owner are placed there automatically.